


fatharris
-
Posts
2,459 -
Joined
-
Last visited
-
Days Won
6
Content Type
Profiles
Forums
Events
Posts posted by fatharris
-
-
45 minutes ago, RoverFolkUs said:
Aftermarket cat? MX5's don't like them.
Saying that I've had one before where the inlet air boot wasn't fully seated and was allowing a bit of unmetered air to get sucked in..
This will be the third cat the Mazda has had in my ownership 😅 this one only lasted 3.5 years and 8000 miles!
-
I was feeling pretty down after those MOT fails, but as always, the bad times don't last forever.
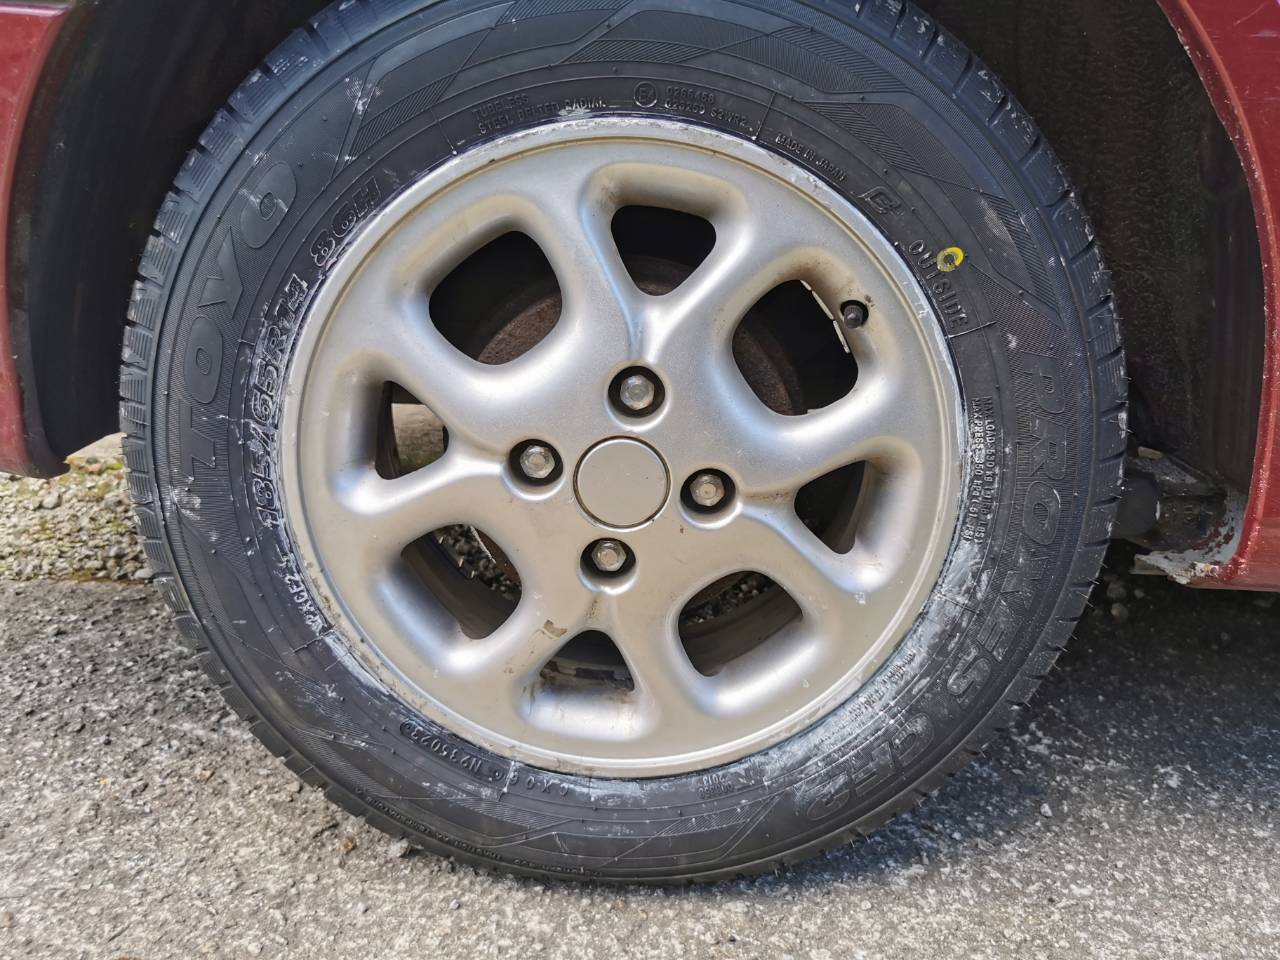
Yesterday, I dropped the Laguna off to @twosmoke300's garage for Dan to fit some new tyres all round.

Demon Tweeks had a decent chunk off Toyota Proxes CF2, and with the front two on the Laguna being very low on tread, and showing sidewall damage on a rear one, it made sense to get all four done in one hit - the one remaining good tyre was fitted to the spare wheel to replace the 16 year old rock hard Michelin. Tyres cost about £170 delivered for all four which was a bargain.
Whilst up in the air, Dan advised me that the rattling we've been hearing is the cat failing - these things come in threes evidently!
I've also been advised that the top mounts will require changing in the not too distant future, so I'll get some parts on order.
When I got home from collecting the Laguna, I was chuffed to find several packages waiting on the doorstep.
So this morning, I popped the MX5 on ramps and left it to cool down:
And got started on the Beat, up on stands, wheel off:
And got the caliper on the bench.
A new caliper refurb kit including pistons only cost £32 from Bigg Red. I absent-mindedly managed to catch myself when removing the pistons with compressed air 😅
But that aside, it was really rather pleasant to put back together.
Got some new EBC Ultimax pads due to the massive difference in old pad thicknesses on each side, fitted and bled the caliper.
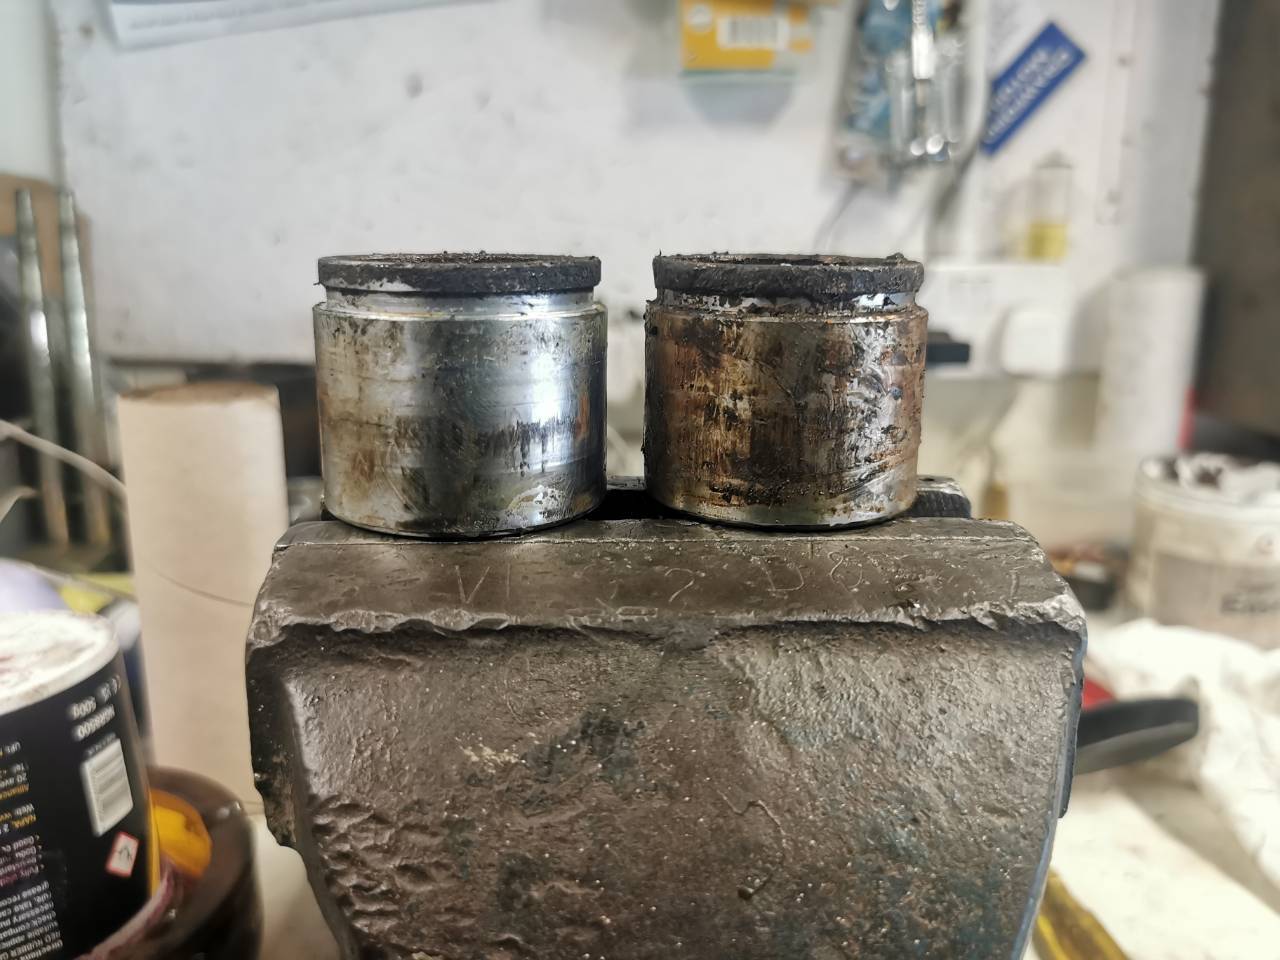
The other side was a bit grottier than the other - I think there's been some moisture in the system!
It all cleaned up lovely though and the caliper went back on nicely. The pads did need a bit of filing on the paint to allow it to move smoothly.
The old pistons - one cleaned up okay, the other was pitted.
Popped the cover back on and will arrange the retest for next week.
So, onto the MX5. The cat had cooled down and it was simple nuts and bolts to undo, albeit very bloody tight, requiring the impact gun.
I was disappointed to note that the cat had been replaced by an MX5 specialist, but they hadn't fitted gaskets!
Luckily, I had ordered some OEM ones online.
The MX5 is an awkward changeover year so the cat is an inch longer than the usual one - glad I measured beforehand!
Made sense to give the crusty bits a scrape and apply some Lanoguard whilst it was in the air - it's a 26 year old Japanese car, so there are quite a few I need to keep an eye on!
I've left it on the ramps to increase airflow and help the lanoguard set faster.
Lastly, buoyed by success so far, I finally got around to diagnosing Herman's ABS fault - its the only thing standing between me and an MOT pass.
Again, an awkward crossover year meant I had a bit of a hunt to find the ABS ECU, the internet was saying it was part of the under bonnet unit, but I eventually found it in the driver's footwell, above the throttle pedal.
With the BMW factory service manual flashed up, I jotted down the required contacts to check from the wiring diagram:
Did some probing:
And found my smoking gun:
Rear left sensor was throwing out nearly four times the resistance.
£16 for a new Intermotor branded unit and it should be here on Thursday. Result.
I felt rather pleased with the progress, so I've knocked it on the head for today and I'm going to celebrate with wine.
Cheers 😁
- Rust Collector, rob88h, Tickman and 5 others
-
 8
8
-
On 02/05/2024 at 22:20, kevins said:
I've found our mx5 is a bit flaky on emissions if they don't warm it up fully.
Trust me, I thrashed it like a ginger stepchild on the way 😅
-
Spontaneous vehicle acquisition is a serious condition.
Good luck!
Sent from my VOG-L09 using Tapatalk- Six-cylinder and brownnova
-
2
-
Could be some sexy bus replacement action going on

Sent from my VOG-L09 using Tapatalk -
-
Has anyone else got any wrecks running around your local area looking like they're ready to take their last breath?
I've got six of the fucking things clogging up my driveway.
-
I'm duty at work today so no tinkering, but I did order everything I needed to remedy the fails on the Mazda and Beat.
With the 3 day weekend looming, I'm going to be a busy bee either way. My focus will shift from the BX to these two until they've got their MOT pass, and if there's time, I'll start looking into the BMWs ABS fault.
- beko1987, mk2_craig, Rust Collector and 1 other
-
4
-
Top down is the only way!
Never heard of a valve doing that before, good spot!
Sent from my VOG-L09 using Tapatalk -
What a peach, she looks glorious!
Sent from my VOG-L09 using Tapatalk -
Ah, shite.
It failed on emissions and scraped through last year, so not entirely unexpected.
Sent from my VOG-L09 using Tapatalk- Tickman, Jenson Velcro, JMotor and 3 others
-
 6
6
-
Beat was dropped off after a quick blast to warm everything through.
Good news! The cat was fine and went through emissions.
Failed on a binding front caliper though, which is annoying
Ah well, Mazda's been washed, ragged, and dropped off. Let's see if that can break the cycle.
Tappeting noise has cleared too so that's a bonus.
Sent from my VOG-L09 using Tapatalk -
That's your get out of jail free card!Stalingrad doesn't show volume numbers - not sure how I feel about it
Sent from my VOG-L09 using Tapatalk
-
Radio volume set to evens or multiples of fives.
-
Probably couldn't afford the second stop.
Sent from my VOG-L09 using Tapatalk -
4 minutes ago, twosmoke300 said:
How is the budget on this one now ?
Bet you have a spreadsheet on it 🤣- does it make an allowance for label tape?
Oh christ, I daren't think now, no spreadsheets yet, although I may sit down at the end and work out the financial cost.
Don't want to do it in the middle otherwise MrsH will see it, bludgeon me to death and get rid of the car!
I have learned a lot on this project though, so it's been worth it in that regard.
-
Good luck! Hopefully it's an uncomplicated journey

Sent from my VOG-L09 using Tapatalk -
How long are you on this train for?
Sent from my VOG-L09 using Tapatalk -
10 hours ago, 2flags said:
This is one of the benefits of a wet liner engine. If one cylinder is borked then you can just replace that cylinder and not have to have the whole thing rebored and all new pistons. The block can also be rebuilt without the need for a machine shop.
And at £43 delivered for a new liner, it wasn't exactly breaking the bank either!
-
Oh fuck me, what a day.
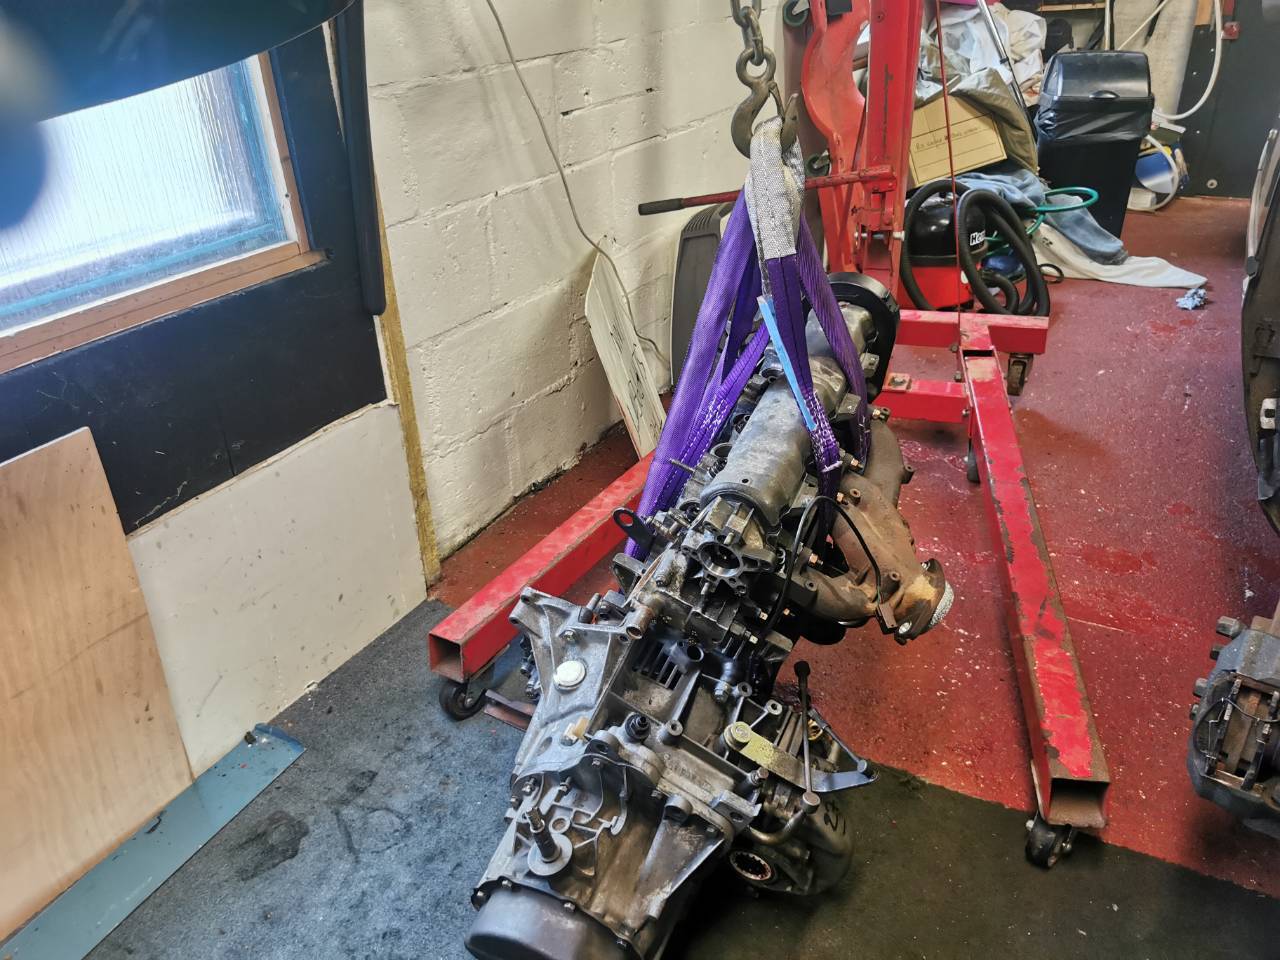
Started off okay, I set up the engine crane to get it off the stand.
Finally, it meant I could install the rear crank seal - this was the second attempt, as the first one went too far in - luckily I ordered 2!
Clutch and flywheel went on.
And the gearbox was fitted.
Then, MrsH was roped in to help me get the engine and box into the engine bay.
This turned out to be an absolute dick of a job, not helped by the area we had to move the crane around.
Eventually, we admitted defeat, and whipped off the gearbox and exhaust manifold in order to make it a much smaller package for lifting and manoeuvring.
With the engine bolted into the mounts, the gearbox went on after a bit of a fight, and the mounts tightened.
Annoyingly, I didn't notice I had looped the nylon lifting sling around one of the mounts - knowing how much agro it was to get the engine in position in the first place, I elected to cut it off and throw it in the bin.
Not many photos follow, but rest assured I was busy. First point of order was to fit the driveshafts, which was going well until the outer CV joint popped off it's clip for no good reason. This was an additional faff because it meant I had to deal with that bloody grease again.
The next job was assembling and reconnecting the hydraulic manifold and pressure regulator - this had been removed by my mate Dan when he popped over to help, and nothing had been marked up, so this took nearly two hours to get into position, connected and bolted up.
Radiator went in (five minute job) and then I decided to fit the external clutch arm and connect the clutch cable to it.
This is where it all went a bit wrong, and clearly the off and on had meant the clutch arm on the inside of the bellhousing wasn't sitting right, putting the pushrod at an angle. An attempt to re-centre it failed miserably so the gearbox has to come out again.
At this point, I had quite a large tantrum, took the driveshafts back out and called it a night.
I'm hoping I can get the gearbox out without disconnecting any of the hydraulic lines this time, but still feeling pretty low about the whole thing.
Ah well, two MOTs tomorrow will fix those blues, I'm sure (!). The Mazda has only had the alternator change and a bottle of cataclean chucked into the tank. Engine sounds a bit tappety at the moment as well.
The Beat was parked near the MOT centre for tomorrow afternoon, I feel quite confident that one will be okay, but the Mazda is likely to bomb this one.
We can but wait and see.
For tonight, it's a big G&T, a bath and an early night.
Cheers.
-
HALLE-FUCKING-LUJAH
I've booked tomorrow off work, let's see how we get on.
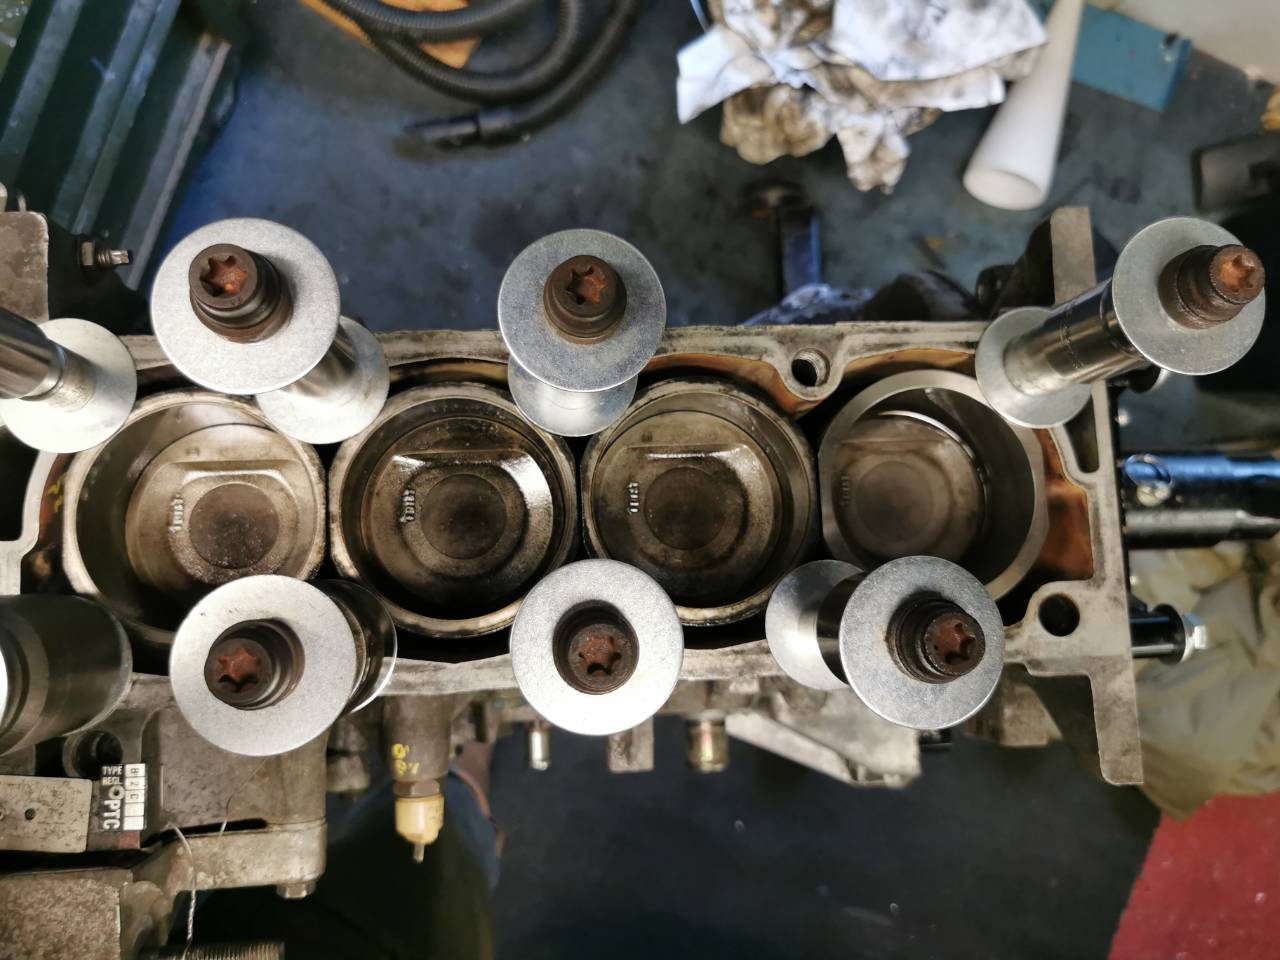
Final piston and liner went in with minimal dramas.
Then, the oil pump, chain and sprocket.
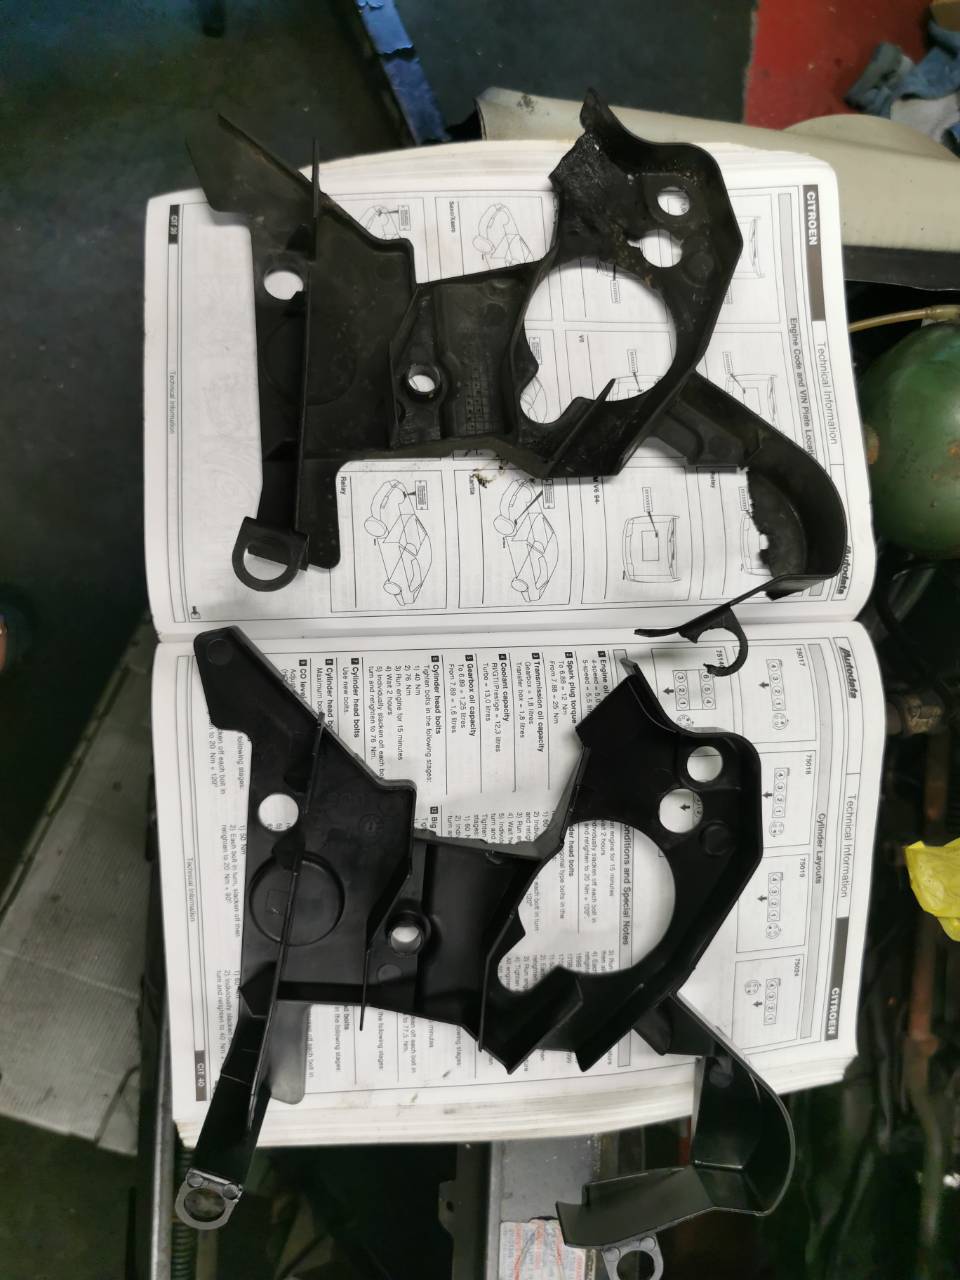
I finally test fitted the new middle timing belt cover, and discovered it needs a little bit of modification with a pair of snips and a file to fit nicely.
The front crank plate and seal were fitted, this got a smear of hylomar around the contact areas.
Marking the layout of the bolts on the way out made reassembly a LOT easier.
With everything done on the bottom end, the sump was refitted with a new gasket - the sump had a smear of grease applied to it to prevent the gasket sticking to it in future.
Next up, the cylinder liner clamps were removed
The new head gasket laid into place:
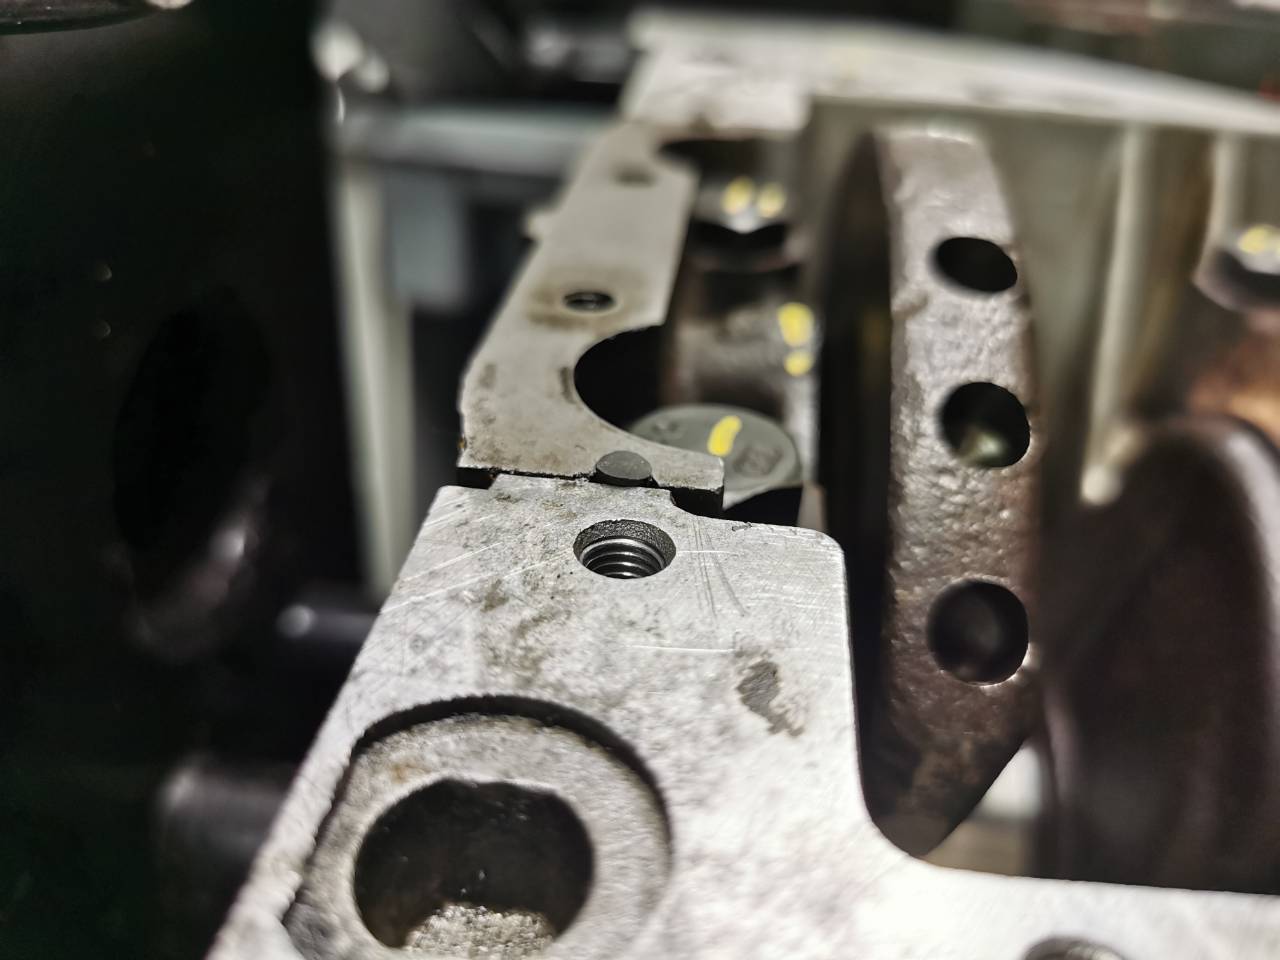
And the cylinder head lowered into place. This was the job I was dreading the most as it had the biggest potential to go wrong - was very glad I picked up a breaker bar this afternoon to help make this work a bit more bearable.
The threads were cleaned up following advice from Phill (cheers), who suggested grinding two slots in an old head bolt and running it through each bolt hole.
Mercifully, the torquing down went without incident, which was a massive relief - the helicoil did its job excellently!
Once I'd stopped sweating about that, I fitted the timing belt and gave it many revolutions to check it was all good 😁
Fitted the timing belt covers and engine mount.
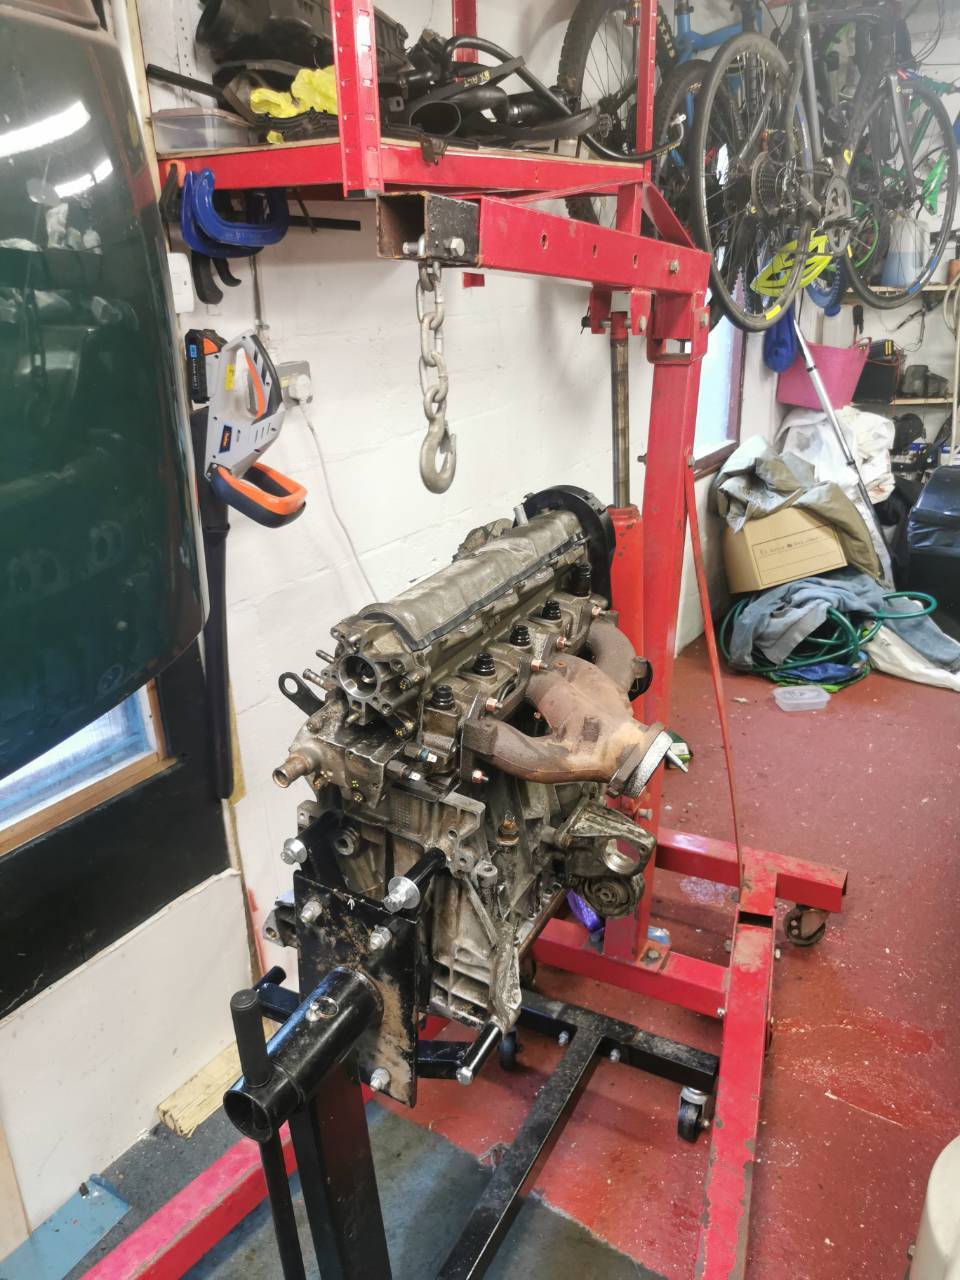
And fitted the exhaust manifold - it's getting harder to rotate that engine in the stand now, it's bloody heavy!
And that's where I've left it for the night, very pleased with what's happened today and hopefully tomorrow will be equally productive!
Cheers 😁
- 83C, Surface Rust, paulplom and 21 others
-
24
-
Looks excellent, well purchased!
Sent from my VOG-L09 using Tapatalk -
Still no rings.
Decided to do some other jobs whilst I waited.
The front brakes were cleaned up and contact points lubricated (forgot the after photo)
And the front arches, subframe and front floorpans were given a dousing with Lanoguard.
The front indicators were given a splash of colour too.
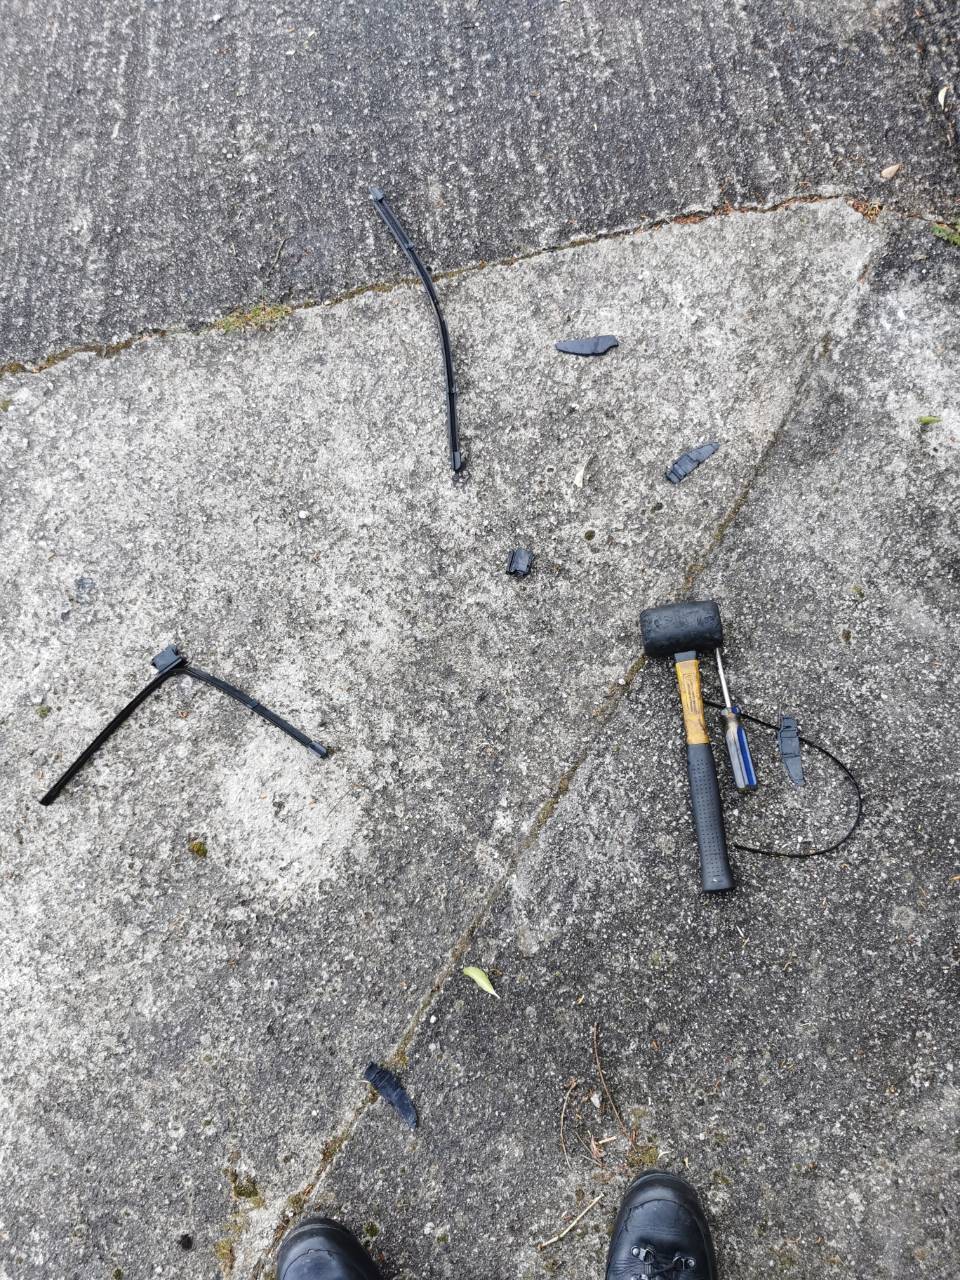
Today, I changed the wipers on the MX5 - this ended up being a bit of a faff as the old ones were properly wedged in place, so they had to be broken up before removal.
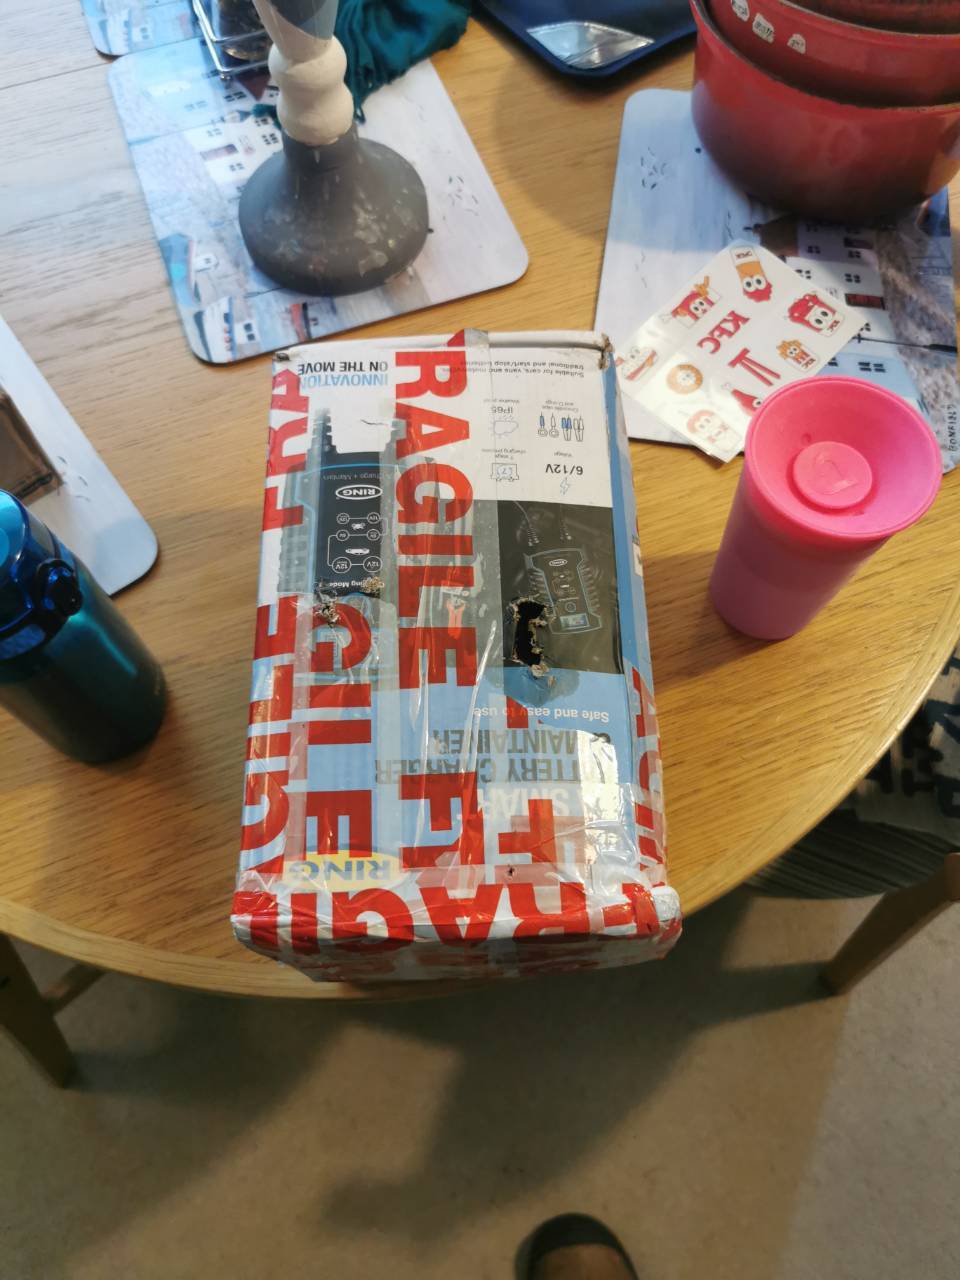
A parcel also arrived!
Forgot to get some more photos, but someone on the Honda Beat club helped me out massively with a set of fully-serviceable front calipers.
These were cleaned, fitted and the brakes bled.
A very short scoot back and forth on the drive revealed that for the first time, I have a little bit of pedal travel!
Unfortunately, the check engine light now doesn't illuminate on the ignition during the self-test. Car still starts and runs so I'm not worried about it for now, but will require investigation in the future.
Finally, I did a little bit of work to the engine today, as my angle dial torquing tool thingy arrived.
So 3 out of 4 connecting rods are now torqued up. The Haynes manual said torque straight to 49nm, Autodata said 40, slacken, 20, then 70 degrees.
Remembering the camshaft bolt debacle, I went with Autodata.
Lastly, after plenty of time to settle in position, the No.1 crank bearing hockey stick seals were trimmed.
On the plus side, I think I'll be getting my rings very soon, fingers crossed!
Cheers 😁
- Tickman, Dyslexic Viking, JMotor and 5 others
-
8
-
You're some kind of bloody wizard, you! Thank you!Ooof, what about? https://www.amayama.com/en/part/honda/45216sc2003
Not cheap cheap, but £23 each + £9 shipping for pistons and another tenner for the 2x seals (#7 and #5 in the exploded diagram)?
Sent from my VOG-L09 using Tapatalk


FatHarris - tales of a motoring moron ***Bank holiday fixings 4/5***
in AutoShite
Posted
Quick day today.
Unshipped and supported the hydraulic manifold - this time without disconnecting the pipework.
Took the radiator out and unshipped the gearbox.
It didn't take me too long to figure out what went wrong with the clutch fork.
A tab had sheared off the clutch release bearing. I've refitted the box and put it back on the transmission mount as parts are going to be a bit of a pain to source, as this is a bearing for a 1988-1989 BX, despite the car being a 1992, fingers crossed the right one turns up!
Ah well, guess I've got a free bank holiday tomorrow, out of the garage!
Cheers.