vulgalour
-
Posts
19,590 -
Joined
-
Last visited
-
Days Won
59
Content Type
Profiles
Forums
Events
Everything posted by vulgalour
-
My old British car has a starting issue, surprising nobody.
-
Another update on this - there will be pictures and videos and stuff in the future, for now I just want to keep you abreast of progress - since Pat and I spent some time figuring some stuff out. Ignoring the Lanchester wiring diagrams and focusing instead on the RF95 regulator box wiring diagram and the PLC6 ignition switch wiring diagram, we managed to get quite a few systems operational and eliminate the weird light gremlin. This is very good. However, the starter motor doesn't want to engage properly now, it seems to be stuck so I'll have to pull that off and bench test it. I'd also got the field and main wires on the dynamo the wrong way around and when trying to remove said wires to correct this, the eyelet sheared off the wire and instead of the nut coming undone, the post is now loose and spinning. Additionally, there is literally no space to get at the stud to tighten it up and hold it while undoing the nut so the dynamo is going to have to be removed from the car to sort that out. The good thing is I now have all of these systems working: Headlight dip Headlight main Rear sidelights (no brake lights, the switch seems to be the culprit here) Rear number plate light Oil light Instrument panel lights I probably have the interior light circuit working but didn't test it with a bulb because I forgot. It was working, so it should still be working. Horns and semaphores aren't wired up yet, nor are the front sidelights, so I don't know if they work or not. The Ignition light does work, but I'm not sure yet if it works exactly properly because as with the above, I haven't tested it properly yet so I'm ignoring it for now. I do need to get a new pair of headlight bulbs, one of the dipped filaments has burned out (you can see it sat in the bottom of the bulb) but that's hardly surprising since they're the lights the car came to us with. The key to getting this working was to have Pat read out what circuit should be going where and then do that one bit at a time. The previous work labelling and checking continuity helped enormously and while there was nothing massively amiss with what I'd done, it did help identify issues like the dynamo being wired incorrectly. We also no longer have the issue of the headlights turning the rear lights off, I don't know what was causing that, but something we did today resolved it.
-
Neighbour was continuing with his clear out so I ended up with a whole host of light bulbs, electrical connectors, metal drip trays, more tools (including a really neat old-fashioned torque wrench with the swing arm indicator on it), and a good sized bottle of welding gas that he no longer needs. Even if the gas is only a little sniff in the bottom of the bottle that's fine by me, I've only got the tiniest bit to do on the Maestro and haven't been able to get a refill sorted due to other expenses lately. He's warned me that there might be more stuff up for grabs as he continues the clear out and I have zero complaints, so much of the stuff has been genuinely useful odds and sods, some of which has been used quite regularly.
-
Had another attempt at this today. I followed what seems to be the correct instructions for the RF95 regulator box and the PLC6 ignition switch. However, something is still wrong. As soon as I turned the ignition on, the wiper motor was running. It seems the switch (the knobs on the dashboard) is reluctant to disengage, so I just unwired the wiper motor for testing purposes. Headlights work normally and don't turn off the rear lights now. Rear side and brake lights don't work at all. Bulbs are good, wiring seems correct and good, but I can't get anything out of them at all. Number plate light glows dimly when ignition is turned on, which is shouldn't do. It otherwise operates normally when side/head lights are turned on. What's weird about this is the number plate wiring piggybacks off the rear lights so if it's coming on with sidelights the rear lights should be too. Couldn't find any connections or earth points amiss on this. Haven't tested anything else, I was just trying to get the lights working today. I think I'm going to have to get someone else in to sort this out because I feel like I'm just going around in circles at this point. It's likely I've wired something incorrectly. It's also likely there's a faulty component, intermittent or otherwise, that's manifesting problems that aren't actually of my making. I haven't the experience to know what's causing the problems that are happening. I do have information, but again my lack of experience is making it difficult for me to understand the information. If it hadn't been for the wiring, the car would probably be driving by now, it's really held everything up. If you are, or know of, someone in the Maidstone area that would be interested in trying to help me figure out what on earth is wrong with this job, please let me know. I'm a bit skint as I type this unfortunately, which is why I'm not bothering a business with the request for help. I suspect someone with experience will take one look at it, move two wires, and it'll all be sorted.
-
Just got back from the opticians, many pennies lighter, and have new specs on the way. I'm a bit overdue because of *waves hands at world*. Prescription hasn't changed much, but just enough to push me into needing varifocals. Hope I get on okay with them, it'll be nice to not do the specs shuffle when I'm working on the car with instructions, or when I'm checking stuff in the supermarket.
-
Funny you should say that about the primer because that's exactly what happened with me when I was priming this. Switched brand part way through as the can I was using didn't quite have enough, didn't think it would matter (even though I know you shouldn't do it, I've got away with it before) so I bet that's what it is. At least the paint doesn't clog the paper when sanded, it actually sands pretty nicely. Here's hoping it is just a primer issue since that's a lot easier to resolve.
-
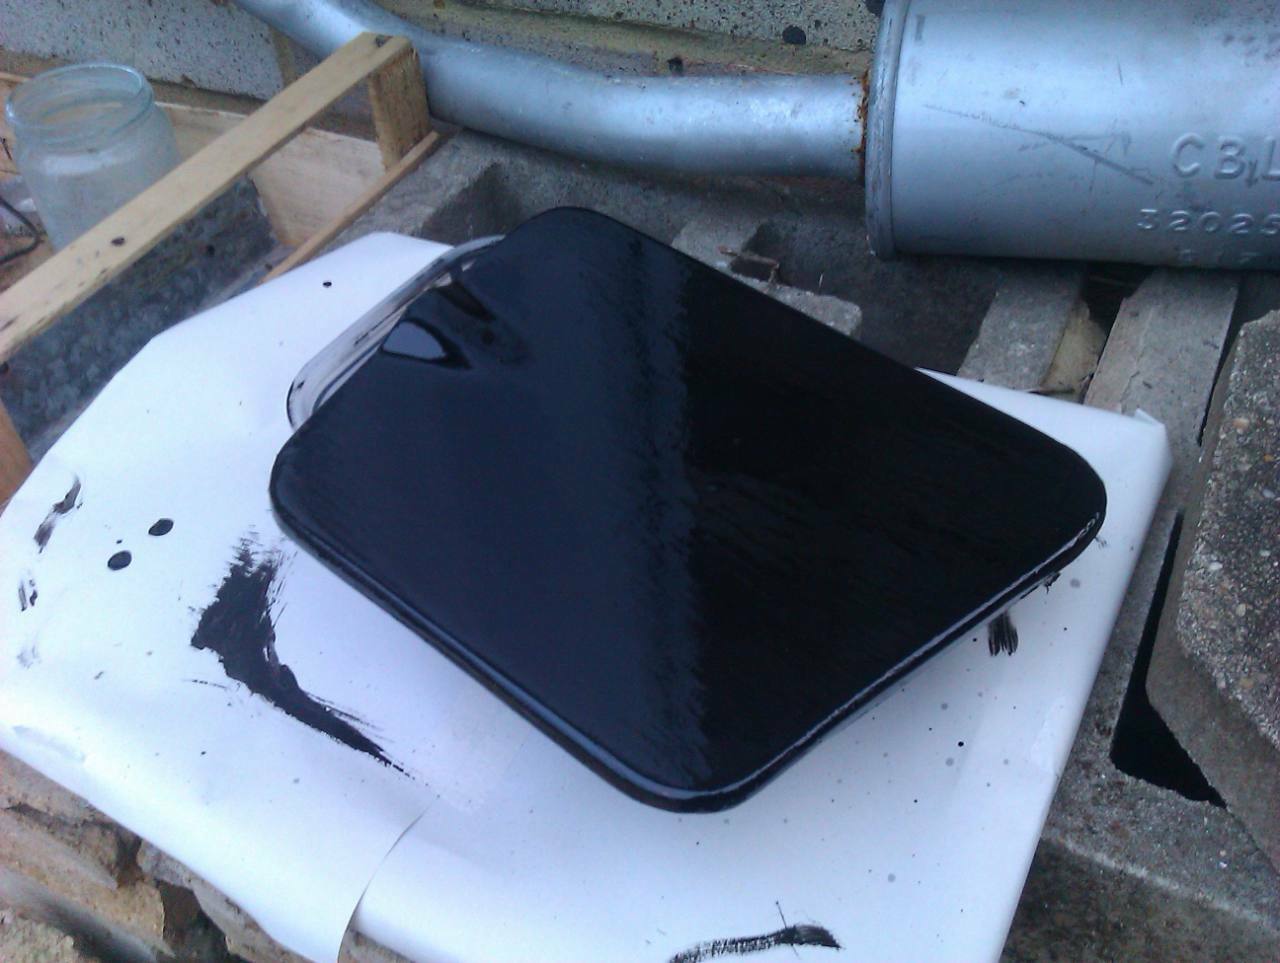
Back in the paint stripper with this one. Third coat didn't level out properly and reacted all over. Didn't do this coat any differently to the second coat, same flatting back, same paint, etc. so I can only assume there's something on this panel that the paint doesn't like. Bit of a bugger. I've never had this much trouble with brush-on paint before. Can't afford to replace it all with the premium stuff and I've got so much of this stuff that I'm just going to persist until it behaves. I'm going to do a sample on the car to see if I get a different result. The pink I've already done didn't react, even when thinned with the same thinner. The one known difference is that I primed this fuel flap with different paint to what's on the car and I suspect it's that which is causing the reactions. Sometimes with paint you just have to start again. I know, I should just spray the car. Thing is, the neighbours are too close, I have no clean and covered space I can use to paint in, and I haven't got anywhere to keep even a small compressor. So brush painting it is. I've never had this much trouble with it before, the only reason I'm persisting is I know I'm capable of getting really good results with a brush and some time.

-
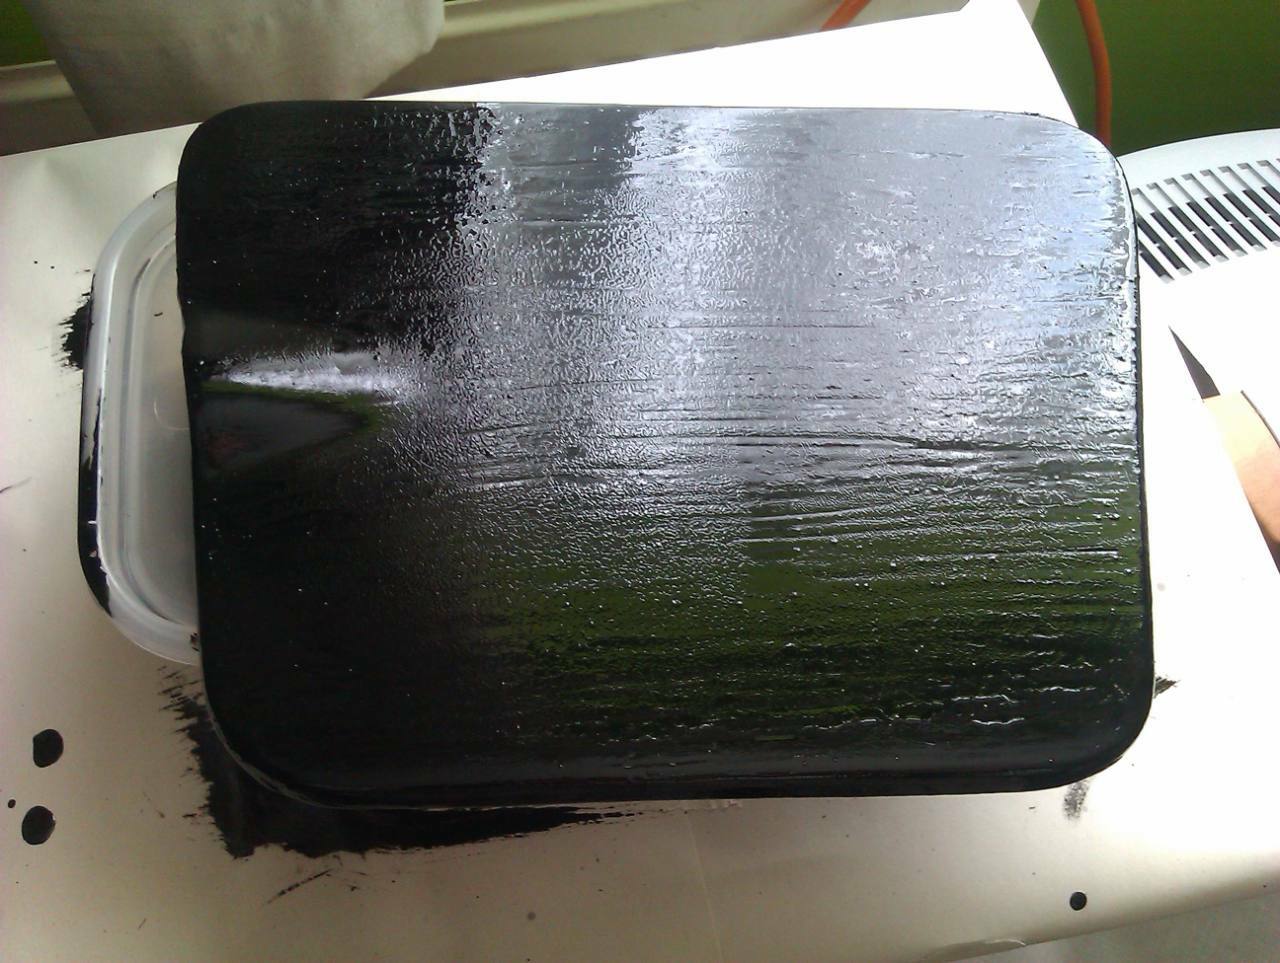
Painting this one little fuel flap has been a bit tiresome. The brush paint requires three coats to get to a thickness you can flat and polish it nicely. I'd already got the second coat on the outside face before the whole piece reacted for some reason and I had to flat it back almost all the way to primer. What you see here is the second coat of brush-applied paint, before its finished settling out, which is why it looks a bit wibbly. Happily, no reaction this time. Providing the third and final coat goes on without trouble, this can then be flatted back and polished and I should be able to get a reasonable finish on the rest of the car.
-
That's the most Scottish thing I've seen in quite some time.
-
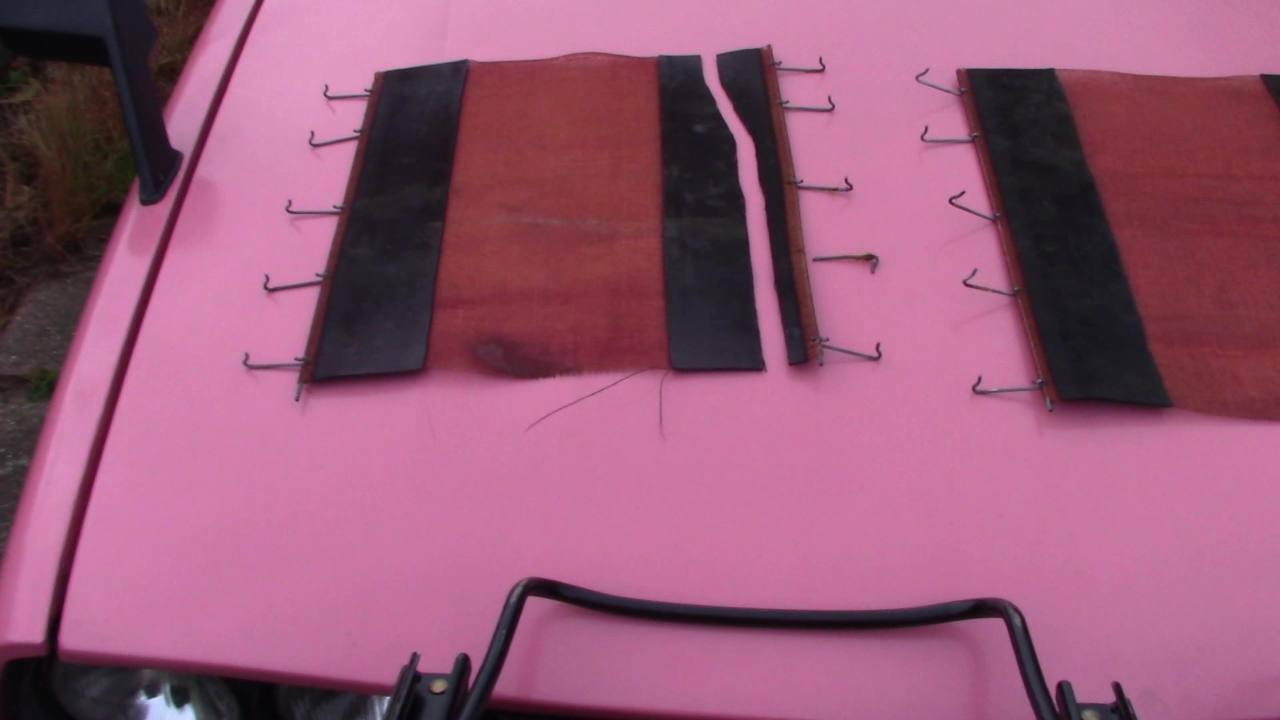
Seat base collapsed on the Princess recently, I wasn't sure why but what I could see without removing the seat was potentially torn rubber webbing. Wasn't sure how the seat base came apart, and was delighted to discover the diaphragm can be removed without dismantling the seat. The new webbing I got is a good match for the original, and the fabric looks to be the same hessian as used on the Lanchester, of which we have some left over that was looking for a project. All wins. Only thing I'm not sure of is the best product to bond the webbing and the hessian together so I can make two new diaphragms. The metal rods and hooks are re-usable except for one that has been cut for reasons unknown. Failure seems to just be degraded rubber, the old webbing comes off on your hands like soot so even if I just put the passenger one (which is intact, but saggy) on the driver's seat I'm pretty sure it too would collapse and then I'd not have a good pattern to work from.
-
When I called the estimate was 10 minutes, they answered in about 7.
-
 I see it popped up in the recent LMM video at 30:12 (video should go to that timestamp)
 -
Cooperative. I've been with them for years, never had a problem with them.
-
Card fraud. My suspicion is the payment thingy in the multistorey, the device for paying seemed a bit off but since I was unfamiliar with it (I've used the multistorey twice in about three years) I just thought it was my unfamiliarity with it. Anyway, someone tried to spend a grand of my money as a result, first I knew about it was the bank stopping my card and sending a warning text. Happily, the bank stopped any money leaving my account that shouldn't, unhappily it's 3-8 days for a new card because reasons. I hope whoever it was trying to spend my money had a really disappointing time.
-
They don't photograph well, that's the trouble. Get the right colour - black, chocolate brown, bright yellow, white - and lowered back to pre-rubber height they actually look pretty good in person. The new wheels on the A40 look really good, matches the rest of the car very nicely. The seat upgrade is a great choice too, for when that happens.
-
This time, I replace the bonnet and find out why the rear washer jet doesn't work.
-
Yeah, I missed that mistake on the big diagram, it should be shown as per the separate switch diagram, I just managed to not see the lack of update there. Happens when you've been looking at a thing for long enough. Last night fresh eyes managed to point out a couple of items: I hadn't updated the whole big diagram so the ignition switch wiring is shown as incorrect. I'll update this and repost. (exactly as @Jikovron points out) The 46-7 wiring diagram has an RF91 regulator. The hand drawn wiring diagram has an RF95 regulator. So part of my confusion is that the wiring diagrams I have access to for this car are all wrong in one way or another. I should have started by trying to find diagrams for the RF95 regulator and the PLC6 ignition switch and ignored the wiring diagrams completely. That way I would have stood a better chance of actually getting this all plugged in correctly. My concern now is that I've definitely wired things incorrectly and that may have damaged the regulator and the ignition switch. Or the regulator and ignition switch may have already been damaged or faulty when we got the car which has led to the initial confusion. All is not lost, regulator and switch are both available new amazingly, I suspect because of the American love of British sports cars from this period which share the same components. The plan is for on Thursday (weather permitting), Pat and I are going to attempt to go through every system as though we've only just installed the wiring and ignore everything that's 'correct'. Once we've done that we can start working out what plugs in where and hopefully start doing some fault finding. Worst case, we'll get someone else in to go through it and sort out whatever it is that I've done wrong, though we dread to think what the labour cost on that might be.
-
They're rare and nobody cares.
-
I tested the switch off the car for this to eliminate the car's wiring as being part of the problem. This is how the switch behaves on the bench.
-
Pulled the switch off the car today and tested it for continuity. Every function is doing something, and it's always the same something, but what I don't know is if the somethings it's doing are the correct somethings. Here's a diagram. On the two wiring diagrams I have for this car that show the switch, neither suggests connecting anything to socket L and since it's unlabelled in the diagrams I can find for this switch, I don't know what it's supposed to do. I'd wired the switch as below. Colours for the above are: red - rear sidelights and number plate light red - front sidelights yellow (x2) - A at switch to A1 at voltage regulator white (x2) - A3 a switch to A3 at voltage regulator white/black - Clock/dashboard (I don't know where this is supposed to connect) blue - headlamp dip switch I don't really understand why any of this would mean the sidelights go out when the headlights come on or, as is currently the case, nothing works at all. Oh, and from pulling the old wiring to now this wiring job has so far taken me ten months, which is why I'm a bit stressed about it.
-
I have spent today methodically making sure the Lanchester doesn't work anymore. Removed the switch, decided against dismantling it to rebuild, squirted cleaner in it instead which flushed all sorts of detritus out and improved the feel of the switch so it's more clicky and less sludgy. Cross referenced my various wiring diagrams including one for the switch itself, and things were just as they were before. This either means there's still a problem in the switch or there's a problem with my wiring, but since I can't see what the problem with the switch wiring could be, I turned my attention to the other wiring on the car. Then I tried to work out which of the references I was working from was correct. It was so frustrating I made a crib sheet, like so. This made things about as clear as mud. It's worth noting on the 46-7 diagram the reference letters/numbers for the voltage regulator are different to the other references I've got, so could well be incorrect. Spent most of the day trying to find some commonality and common sense with what was on the car and gradually made sure the lights all stopped working completely. No idea what I've done to be honest, the battery isn't showing as flat so I imagine I must have done something wrong, or the ignition switch has completely failed or something, I don't know. I've tried to go through a system at a time to get things to work, going with sidelights, headlights, and main beam. In trying to fix the headlight/sidelight issue I've only succeeded in making everything inoperative and I've no idea how. Below is the updated wiring diagram to show where I'm at with things. I must have wired something up stupid, or I've burned out a component or something. I just want it to work.
-
Well... this is the Princess so...
-
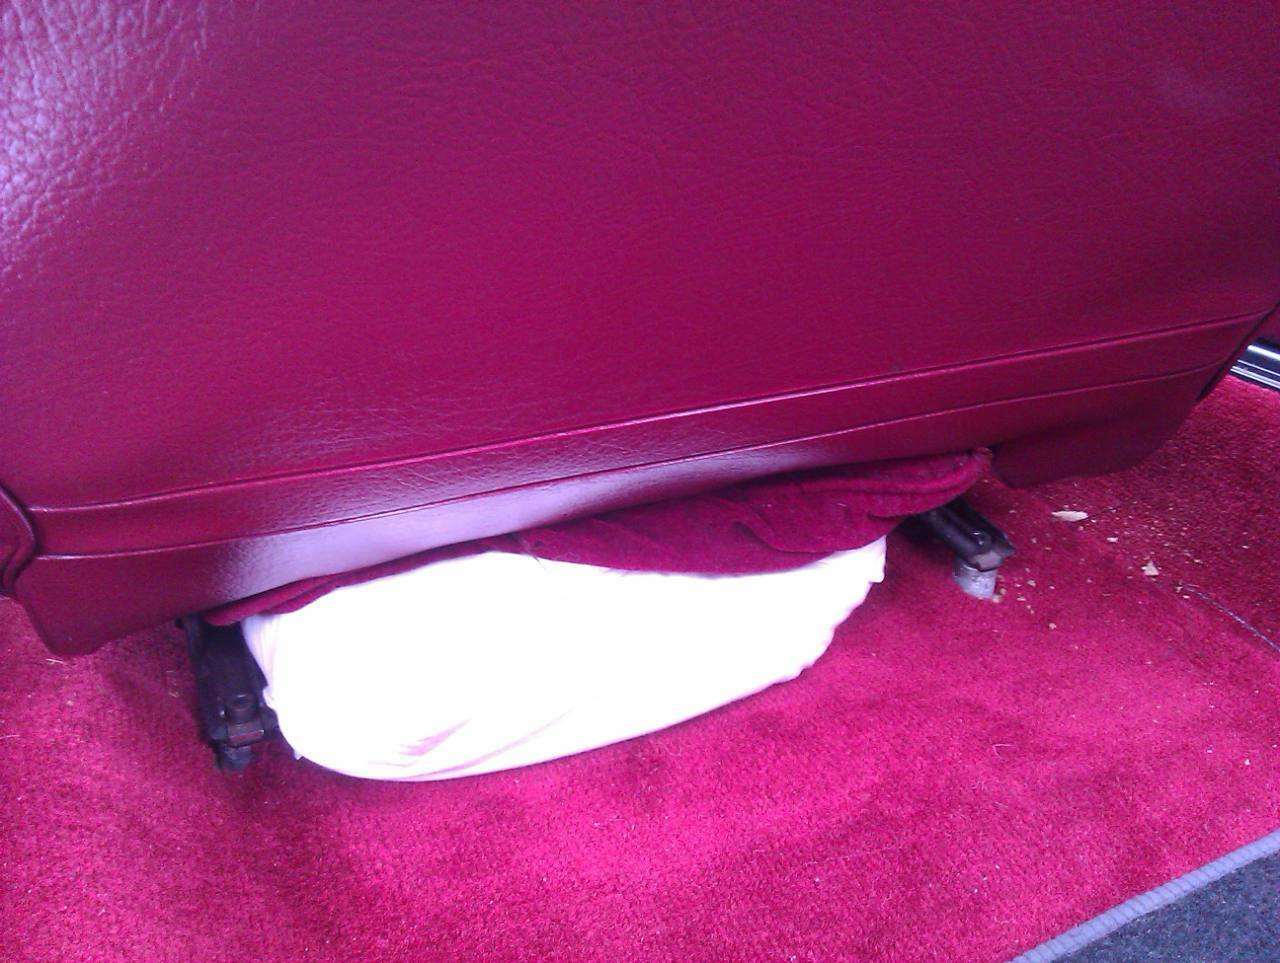
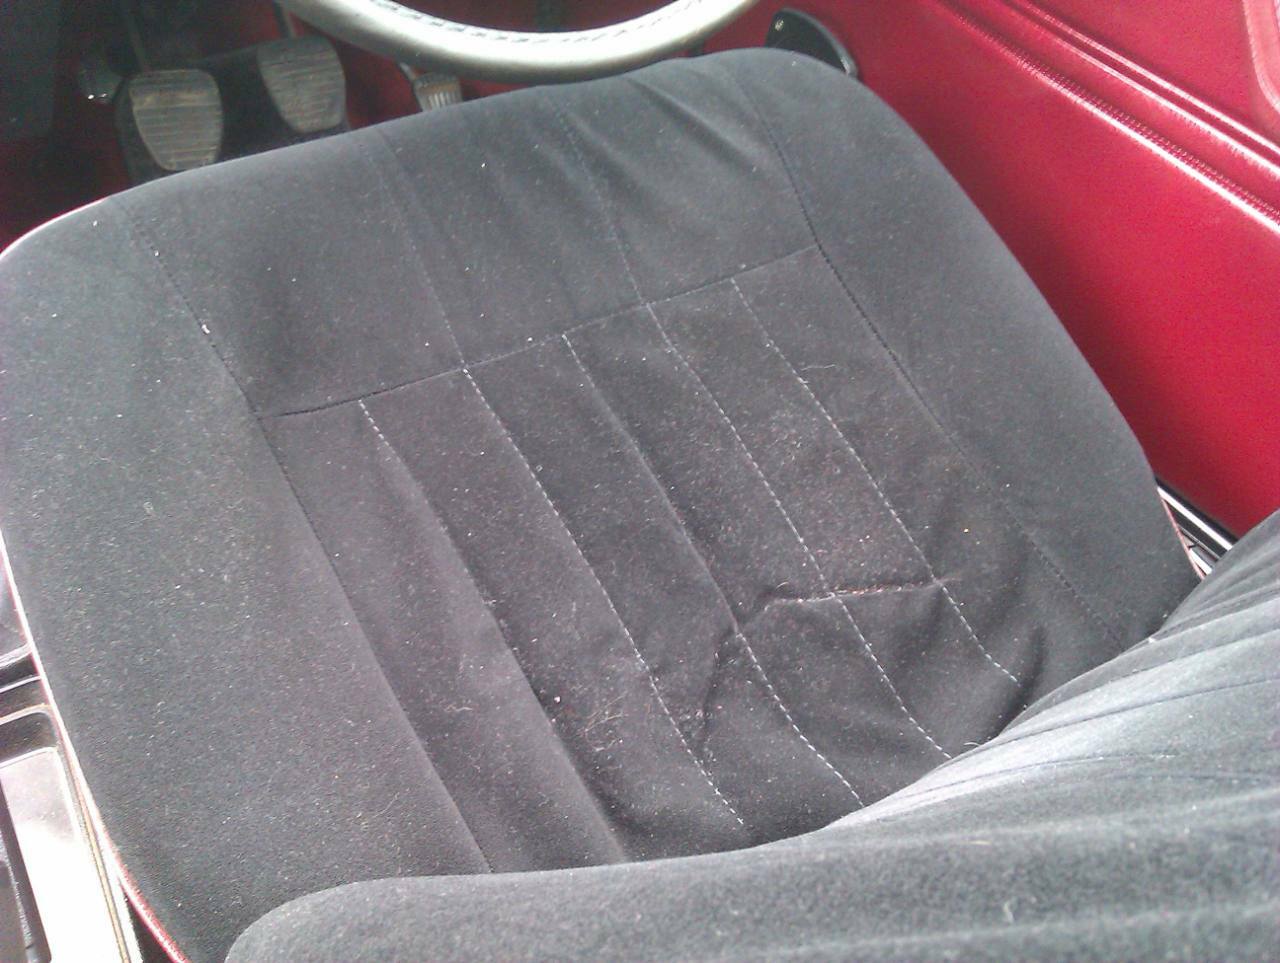
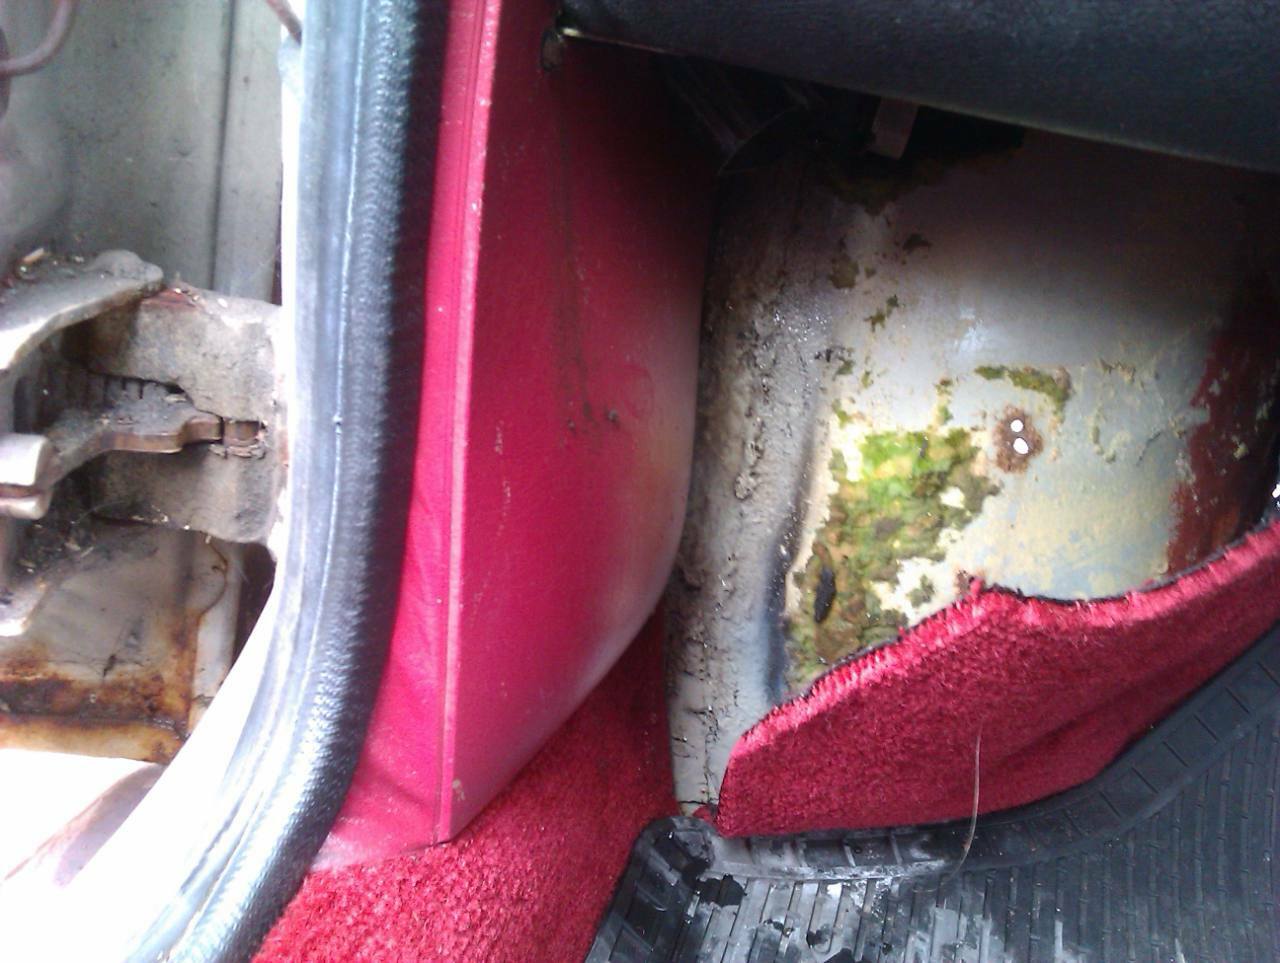
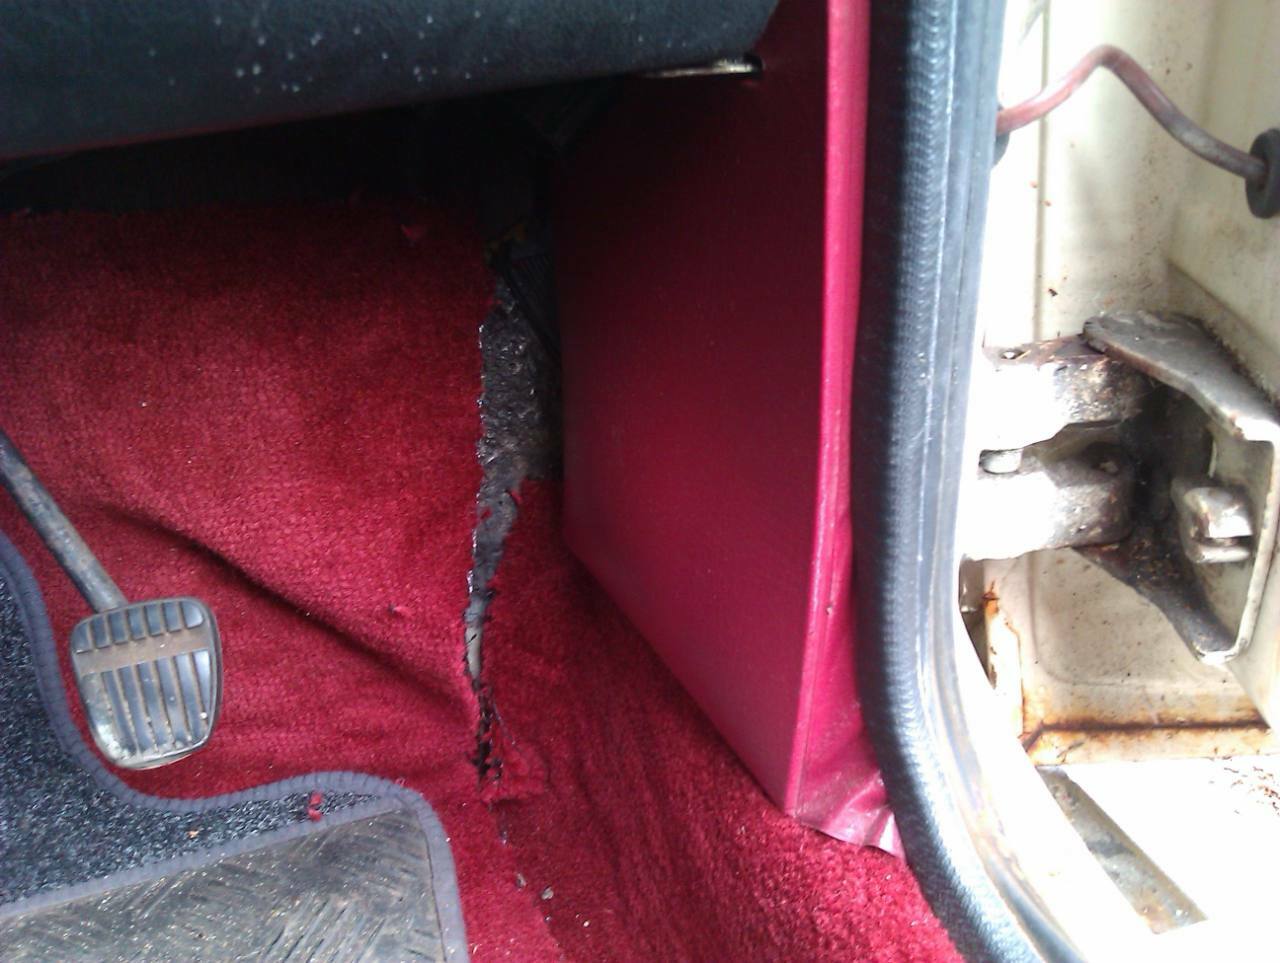
Right, further to the above I fixed the driver's seat by shoving a couple of cushions under it. It's not a great fix but it should stop it tearing further before I can get the seat out of the car to fix it. Then I noticed the kick panel trims are FULL of water. I've never figured out exactly how water is getting in here, and I've had all the usual suspects apart, cleaned, etc. to no avail. It used to just put the water in the footwell where it could be dealt with, this is the first time it's put it inside the kick panels that I've noticed. The urge to pop said panels is quite strong, instead I'm going to remove them from the car and do more leak tracing. I can see me having to take the Princess off the road again soon just to deal with the current round of bullshit its giving me.
-
Driver's seat base just collapsed on the Princess as I was pulling on to the drive. Got one more errand to run later today so I can't pull the seat to check just in case I totally break something, but a cursory inspection suggests the hessian webbing or rubber straps in the seat base has torn. You just know it's going to end up being one of those jobs that's a right palaver to put right, in part because nobody makes anything for Princess interiors, spare seats aren't exactly commonplace to rob bits off, and I'm going to end up having to DIY the sodding thing like everything else. Serves me right for using it as a car I suppose.
-
Rodent wee is brutal on anything metal, it's astonishing what it'll just dissolve so it's entirely believable that's what caused your hole there. Nice to see all the cosmetic improvements on the green one.