mat_the_cat
-
Posts
6,428 -
Joined
-
Last visited
Content Type
Profiles
Forums
Events
Everything posted by mat_the_cat
-
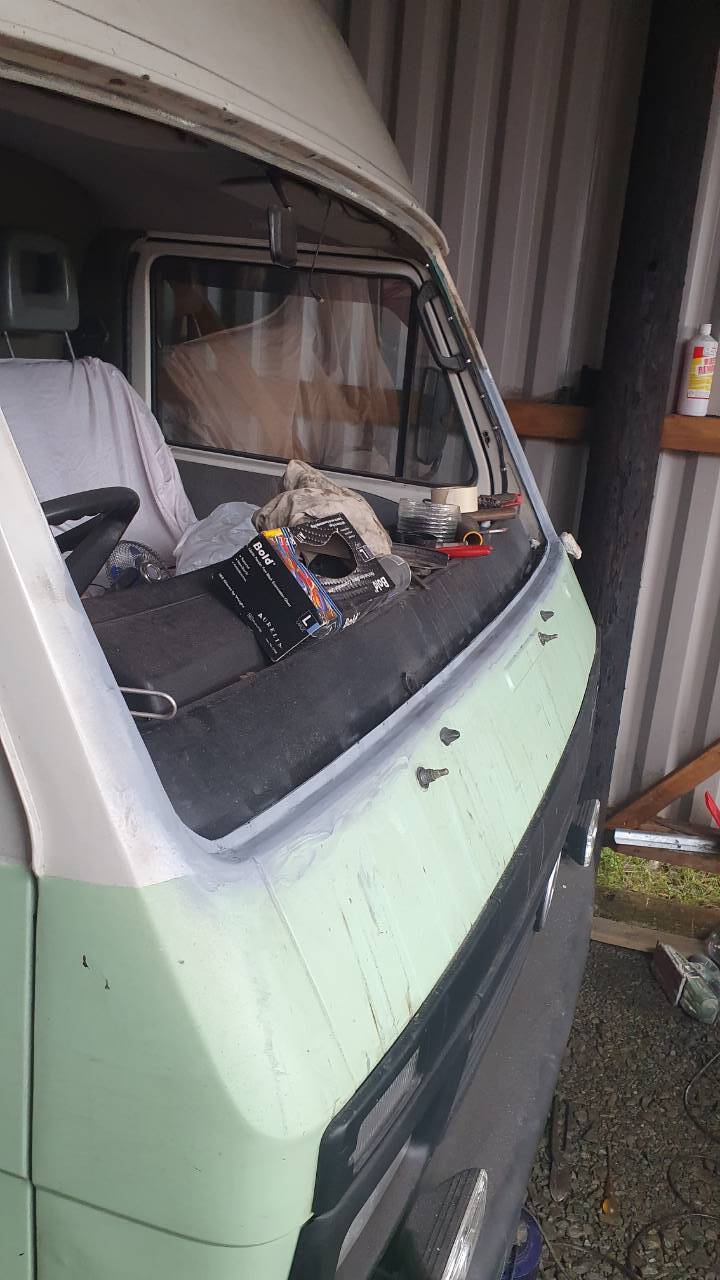
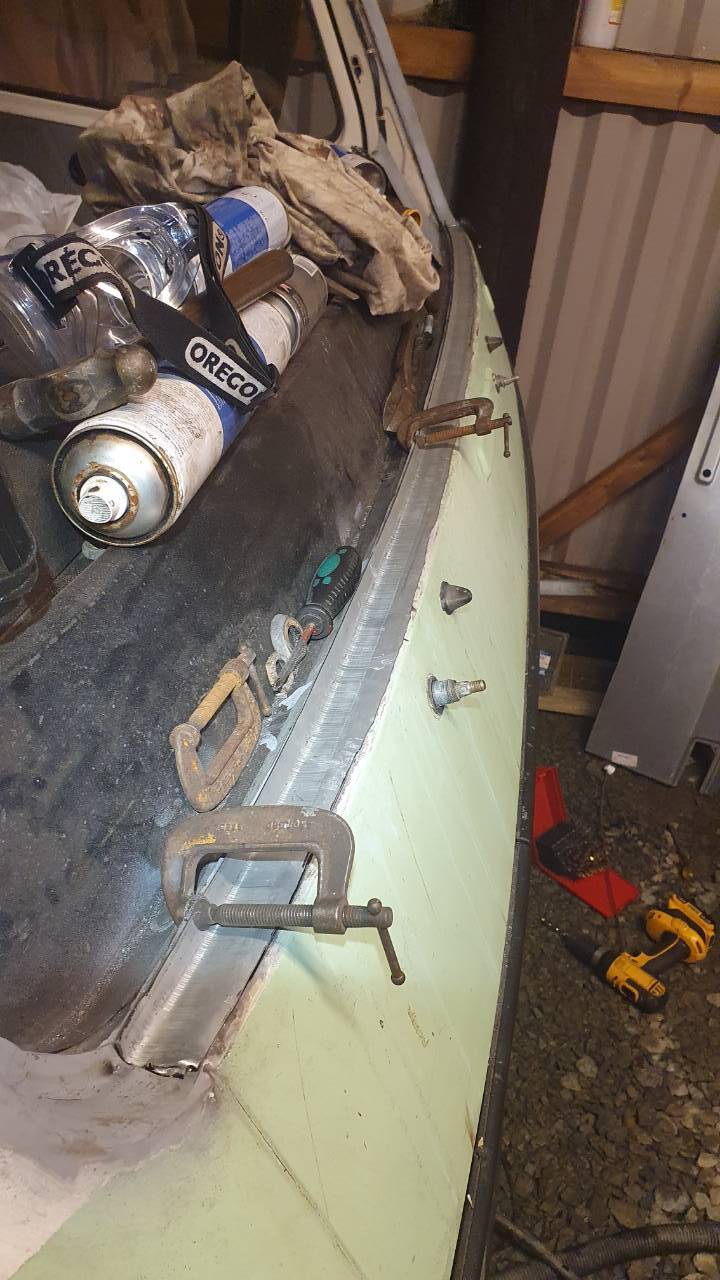
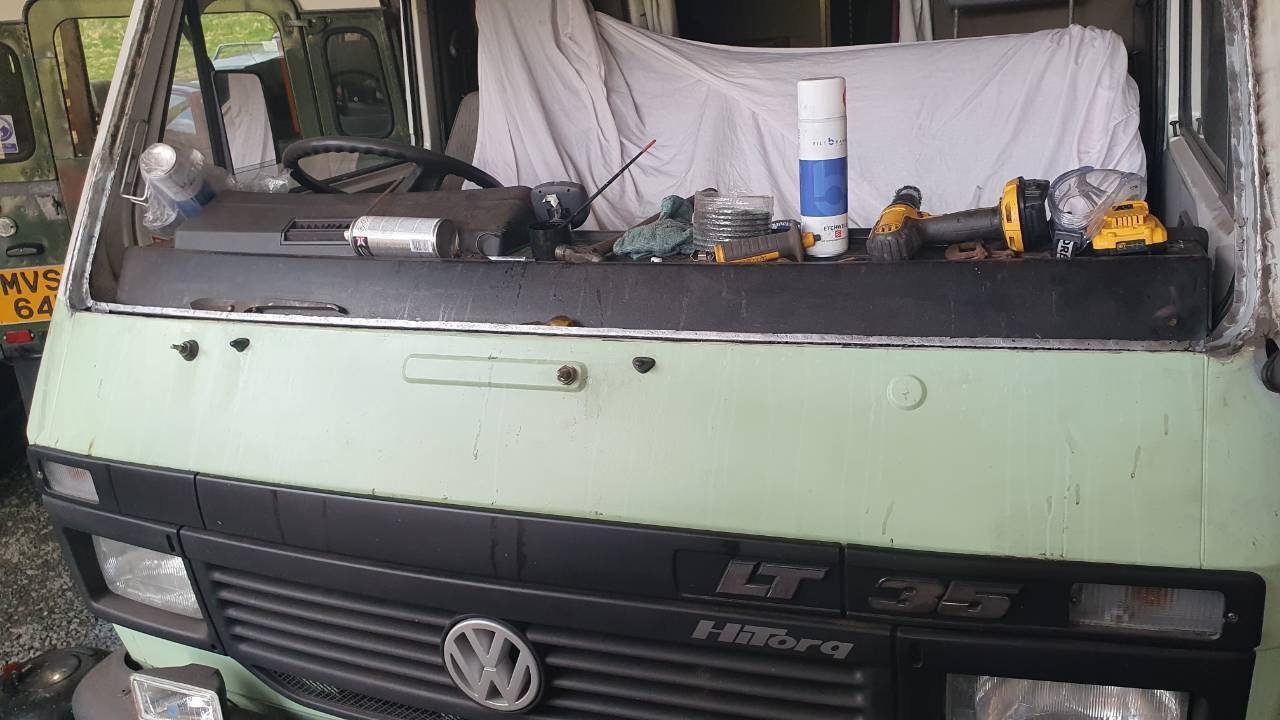
 Good news and bad news. I don't have to worry about the paint being hard enough tomorrow, that's the good news. Bad news is that Auto Windscreens sent me a message today saying they are struggling to obtain the glass. If they'd said this with more than 24 hours notice I'd have made sure I had a screen there waiting! Anyway, I did get a coat of green on last week. Before masking off the inside and aiming a jet of Dynax S50 at the seam. Watch this space for further developments; the real ballache is I have to clear all 3 vehicles out into the open, as I have concrete arriving on Wednesday to lay the floor.
-
...or the module which controls this has lost its ignition feed? Some people suggest earth fault for *every* unusual electrical fault they don't understand!
-
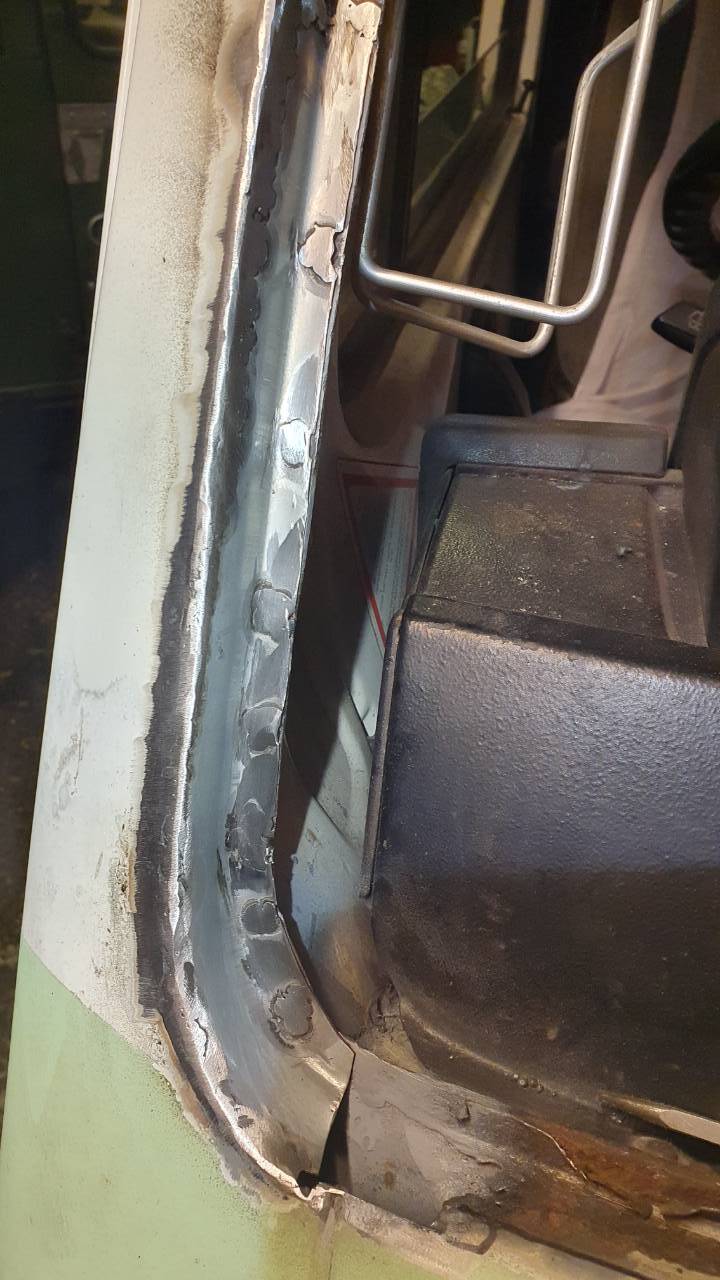
This last week has been awful for moisture, so I couldn't paint (even under cover) until today. Had to clean up the bare metal again, and painted in BH Etchweld followed by a zinc primer. Then the exciting part...4 coats of colour! (Think this was only after the first coat or two). Before going over with 3 coats of lacquer. Really *really* hope it's fully hardened by a week on Monday!
-
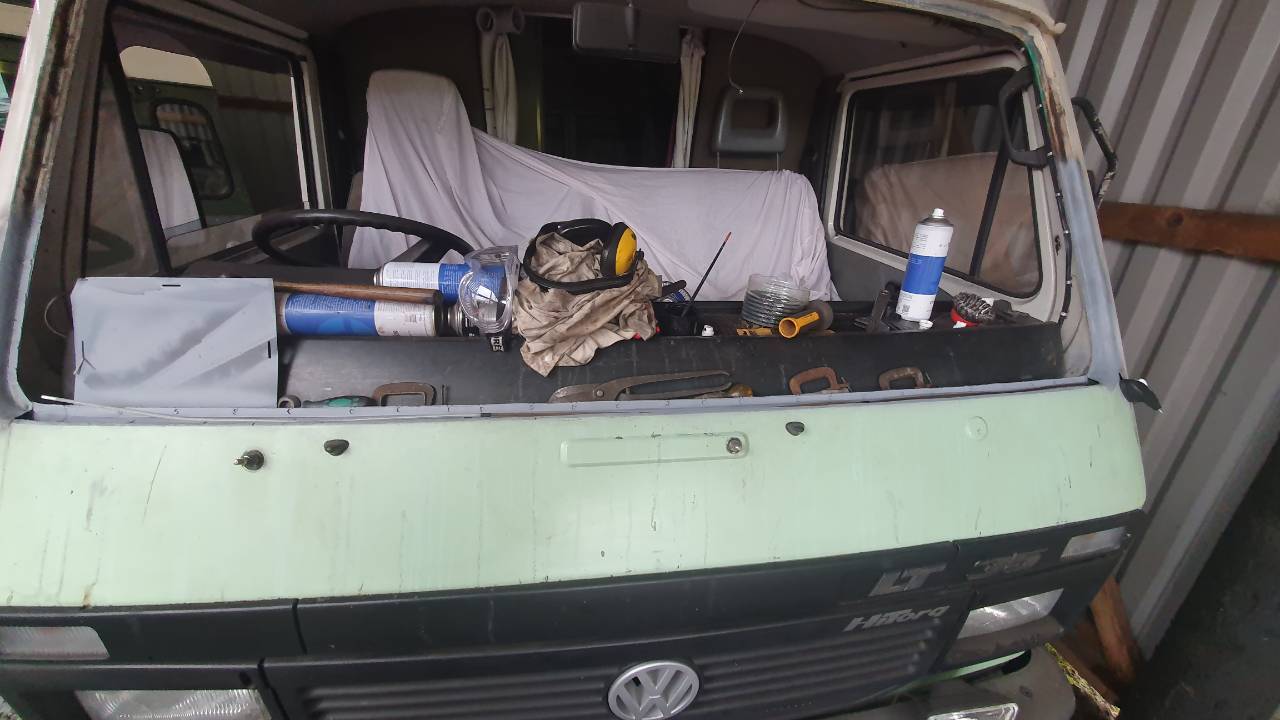
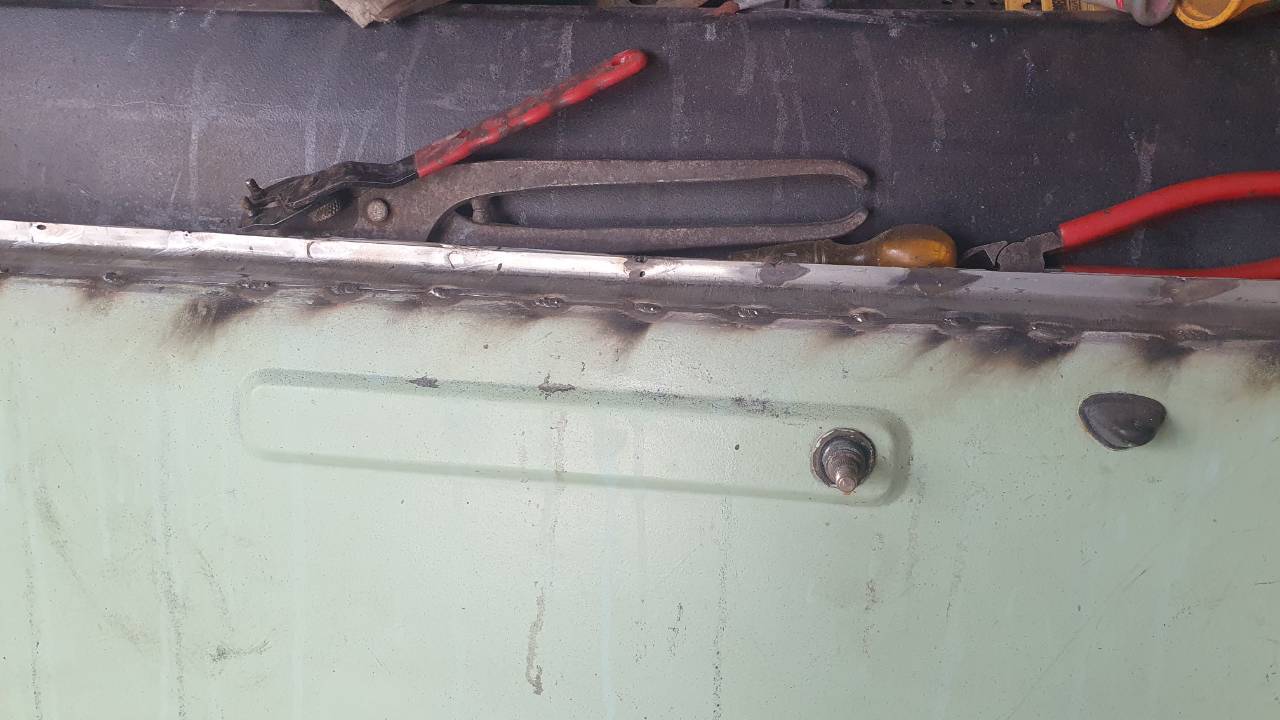
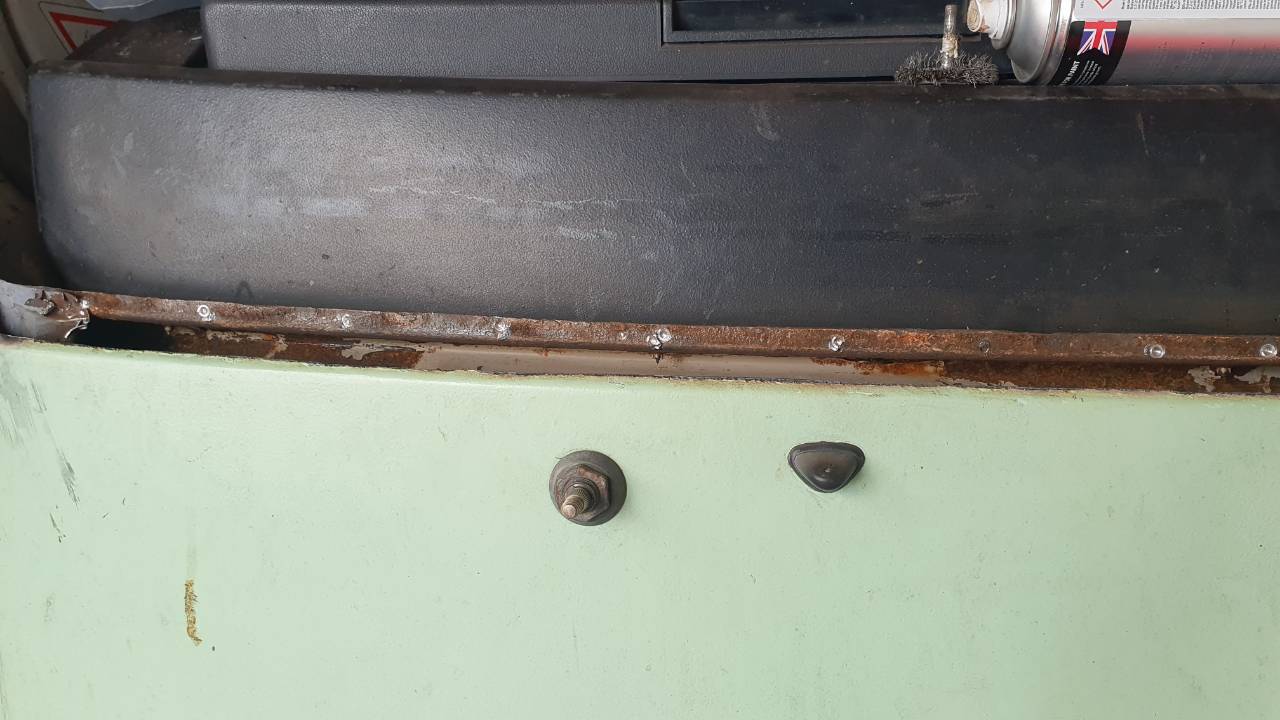
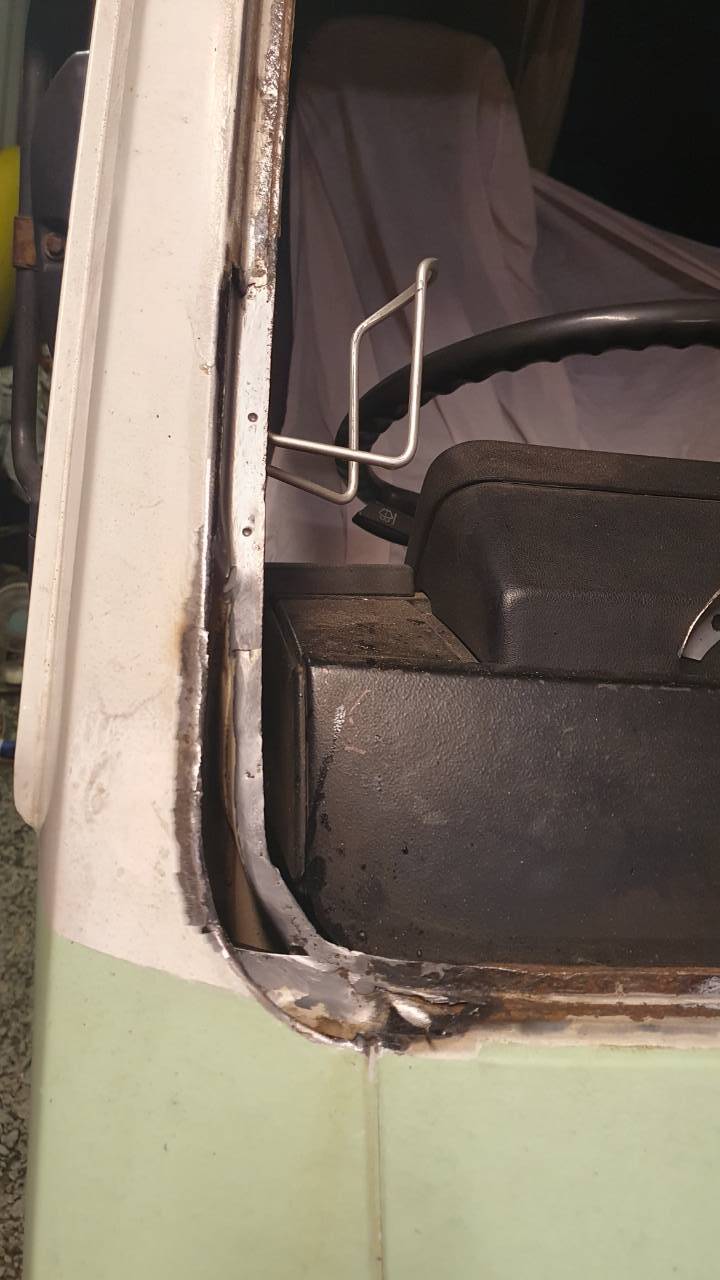
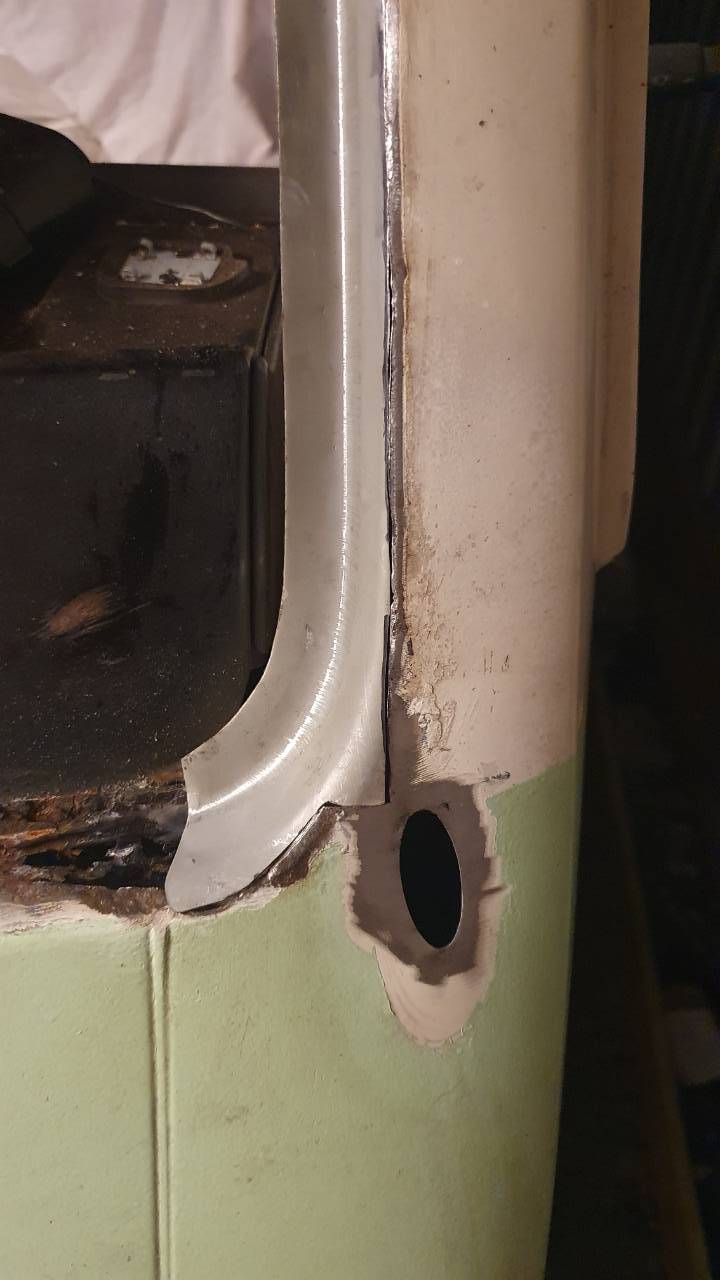
Minor update - both A pillars and (quite a few) rust spots on the upper lip have been cleaned up, phosphate treated and ready for masking and etch primer. I'm hoping for some decent weather so I can bake the paint before the screen is fitted, but not massively optimistic. Thinking at least a week to harden.
- 488 replies
-
- 15
-

-
We're really looking forwards to this - it's a lovely part of the world! (Put it this way, we live in the Snowdonia national park, and Shropshire is our go-to place for a weekend away).
-
Before doing any welding whatsoever, I made an extra long lance from 3 originals joined together. This is so I could arrange it in the correct position for optimum coverage, before putting the panel in position. I used mini G clamps to hold the 3 layers together. And here you can see how the holes in the outer panel are lined up with those in the middle layer, which I'd previously only tacked into position and ground back. This meant I could create a decent plug weld, and tie all 3 layers together. Once I'd done all the plug welds and tacked the front edge, I ground them all back ready for seam welding in stages. I was trying to minimise the gap to make life easier for myself when it came to welding 1mm steel. I found that on a current sufficient to get good penetration on the first pulse, by the time I'd laid down 3 or 4 more pulses, the localised heat build up meant I was in danger of blowing through, so I just moved on to another location. And repeat... Finally, it was a case of taking the flap disc to it, followed by the power sander to flatten out any imperfections. This should still be under the seal, so I dont think I need to use filler. Then a coat of etch primer to protect while I treat the surface rust which is around the rest of the frame. Lastly I used my new lance to spray cavity wax on the rear of the weld, which did reveal two pinholes...easily dealt with though. Time for bed now!
- 488 replies
-
- 21
-
-
1964 Volvo 122S - Amazonian rustforest. Electroshite.
mat_the_cat replied to juular's topic in AutoShite
Nice work there, and exactly the sort of little (and not so little!) things which would give me pleasure also. -
The inner panel repair is now complete. So I then made a couple of holes in it! Just so I could inject some cavity wax into it, as it's far easier to do it from above - and it also is so penetrative, it highlights any pinholes in the welding. I've hacked up my new panel, and sat it in the correct position... ...before beginning the slow process of trimming to match what I've cut feom the van.
- 488 replies
-
- 15
-
-
Work on this has slowed slightly for two reasons. Firstly we are now having guests staying in the Airstream, and I don't think they would appreciate angle grinding during their stay. And secondly my welder had failed again! A different fault, but I traced it to the new board I'd been sent. I contacted the supplier, rather expecting them to suggest that another fault in the welder must have damaged their replacement board. But fortunately they sent a replacement out to me but agreed it was rather puzzling. To my surprise the next day two arrived!! They decided to send two from different batches just in case there was a more widespread issue and i suffered another premature failure. Over and above as far as I'm concerned. Back to the van and I actually managed to do a better job than expected in curving the inner repair section. I started by cutting a few slots in it, but when I started flattening out the 90 degree angle to match the original, found it naturally started curving in the right direction! I drilled out to match the position of the original spot welds... ...and have begun the steady process of welding it all into position. I did bite the bullet and go for a new panel in the end - I think this will enable me to do a neater repair and hopefully avoid needing to use filler. It's still a zinc coated panel so should be better at resisting rust, even if not hot-dip galvanised as the inner layer now is.
- 488 replies
-
- 11
-
-
Great! I was thinking that the firewood pile was getting depleted!
-
Scammers reaching a new low today: Someone my wife knew has recently died - https://www.bbc.co.uk/news/uk-wales-68435343 So she gets an invite to his funeral online, but the website wants card details to verify identity, but that no payment will be taken. Next thing is she's getting a call from the HSBC fraud department saying that the scammers are trying to take money! I'm guessing they must trawl social media for people who've died, and then go after the friends and relatives.
-
Memoirs from the Hard Shoulder: bASeman's Spot of the Year award.
mat_the_cat replied to BorniteIdentity's topic in AutoShite
This even looks like a period photo, the car, the condition of it. Like it! -
FatHarris - tales of a motoring moron ***Non-BX related content 17/4***
mat_the_cat replied to fatharris's topic in AutoShite
You took a dump in the services car park whilst crouched behind the front wheel? -
The idle speed problem was a really simple fix! The throttle return spring, for some reason, was pushing on the wrong part of the quadrant so minimal tension when shut. This is just an internet photo, but it was around 90° too slack, pushing on the circled moulding rather than where it should be. To celebrate @Puglet took it out for a drive this evening, once the tourist traffic had died down. Looking rather nice! (ATCNBE...) Another job off the list!
- 107 replies
-
- 14
-
-
The inner panel is now cut back to decent metal, revealing rust which had crept between the layers of the lip. Before cleaning it up I welded the marks from the spot weld drill. I wanted to make sure the metal was full thickness so when it comes to welding the layers together I can crank up the current without risking blowing through. It took a while to remove the rust, as it had pitted quite deeply in places. There's a little bit of light rusting on the inside, which I've treated with phosphoric acid to hopefully stop it getting worse. I'll inject with cavity wax after welding, obviously. One casualty was the angle grinder I use for knot wheeling - only a cheap one so really a disposable item.
- 488 replies
-
- 10
-
-
That's something I didn't consider, but I'm finding it tricky to bend the angle section to the curvature required. It could be done easily with a stretcher, which I don't have. I think I'd have to make several slits and weld them back up afterwards, so it could still be done although I'm tempted by the lazy option!
-
Go on, why...? I have fitted one to the roof and end up twanging it regularly so planning to go back to the original position.
-
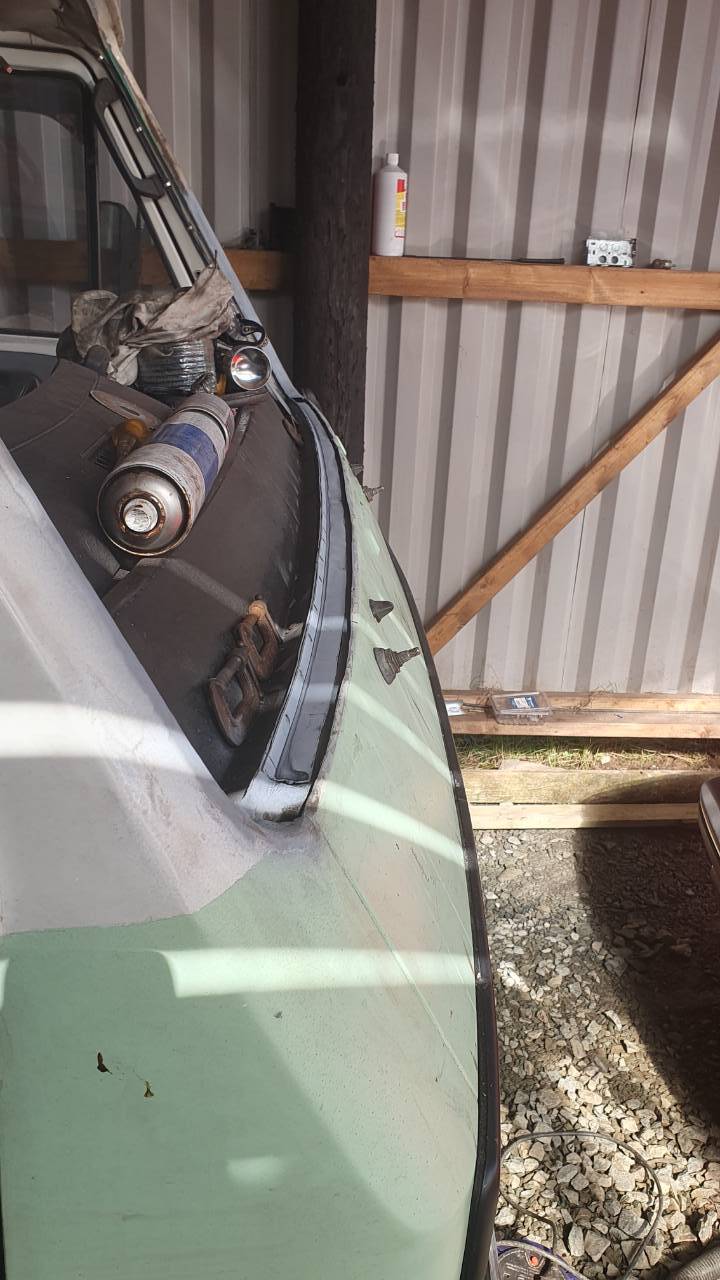
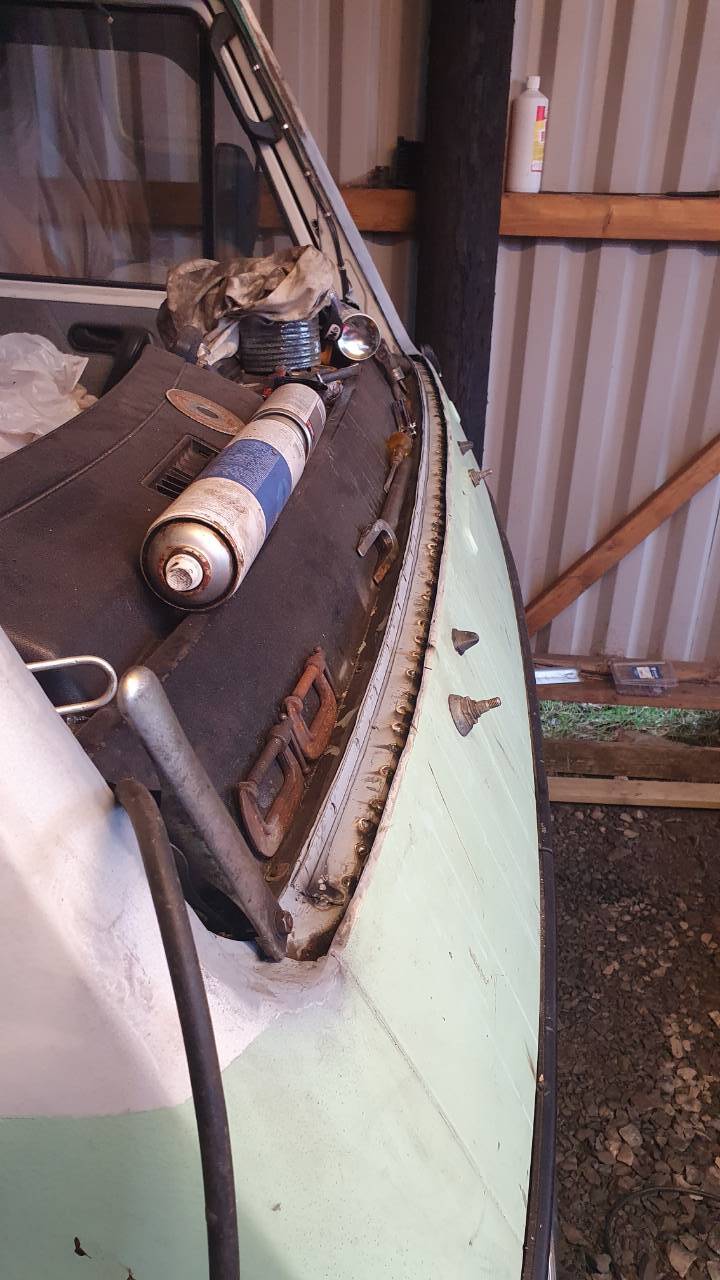
I've finished off both pillars now, and cut away the rusty lower lip. Ahhhh. The inner panel is in a similar state. I will have to rethink my plan, but reckon I'll have to cut out more of the front panel for access - which means it'll be more difficult to neatly weld in a length of standard angle section. However I can probably use that to weld in a functional repair to the hidden panel, and buy the proper repair panel for the visible outer repair.
-
South American taxis 900,000km Atos and 890,000km Matiz!
mat_the_cat replied to Dyslexic Viking's topic in AutoShite
Neither do I! -
Primed and ready to weld in: Ideally I'd have left the aerial off, but access is incredibly restricted behind - the original poked through from the back and was tightened from the outside, but all I can find to replace it need tightening from the rear. I'm hoping I can reach the back to tighten, but don't rate my chances of actually threading the nut on! Then began the long process of welding it in, swapping sides regularly to allow to cool. Driver's side is done... ...but I ran out of gas when the passenger side was almost complete I didn't quite cut it perfectly at the bottom, so need to bridge the gap with weld.
-
1964 Volvo 122S - Amazonian rustforest. Electroshite.
mat_the_cat replied to juular's topic in AutoShite
I have tried a few options along these lines until I found one which was both discreet and charged at a decent current! Do you know what it will charge at? -
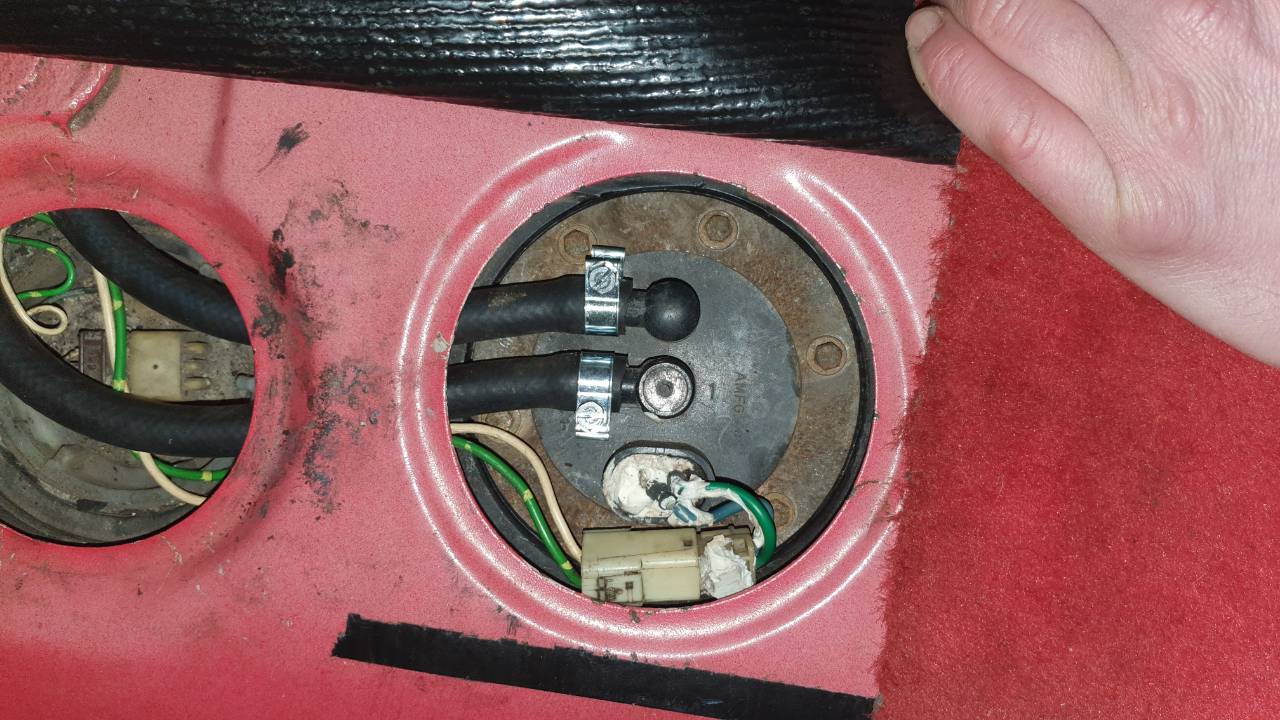
This is the original fuel pump housing; as I mentioned earlier it has been modified so that the supply hose connects directly to the pump, although this means a tight bend leaving the housing. The pre-filter had also been damaged (presumably when the housing had been previously taken apart) so although you can still buy the earlier bare pumps, we really needed the whole assembly which is no longer available. At least not as a new part, but managed to find a reasonably priced used one, at £40 delivered. The filter was in great condition too, in fact the only downside was a slightly messy repair to the wiring where it enters the top of the housing. It was easily fitted, and the hose routing is much improved. After @Puglet has been using it for a few trips it's obvious there is a problem with the idle speed. When hot it will rev at around 3k rpm, unless you blip the throttle in which case the idle settles down to around 1k rpm. Which tends to rule out a permanent air leak. What it seems to be is that the throttle butterfly is not closing fully, unless you cause it to snap shut by blipping it. I wonder whether the throttle position switch is stiff and holding it open slightly, or perhaps the spring is weaker than it should be. The throttle body is new though, so a fault seems unlikely...
-
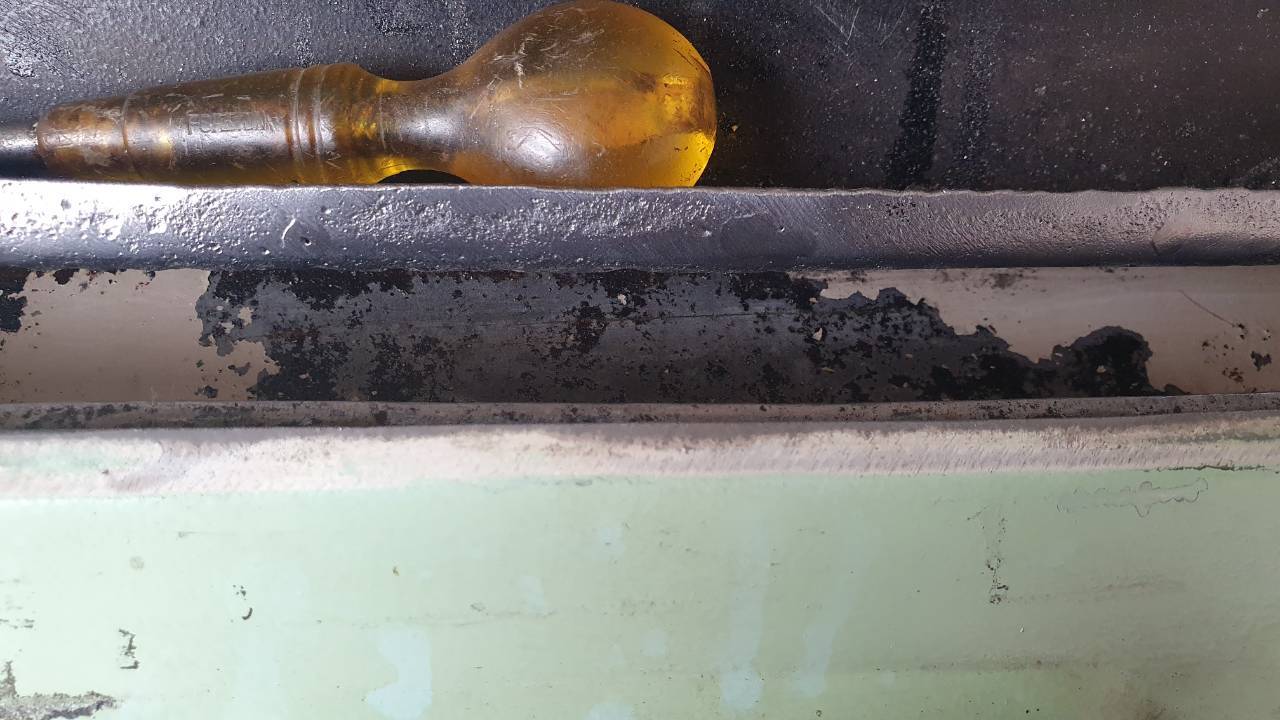
I've now trimmed the repair section for the other side. I'd wanted to have the joint on the curved section under the seal, both for neatness and also to minimise distortion. However on the passenger side I needed to cut out that little bit more, as the metal was quite thin. I've also cleaned up both sides ready for welding; I've since painted with weld through primer but didn't get a photo.
- 488 replies
-
- 13
-
-
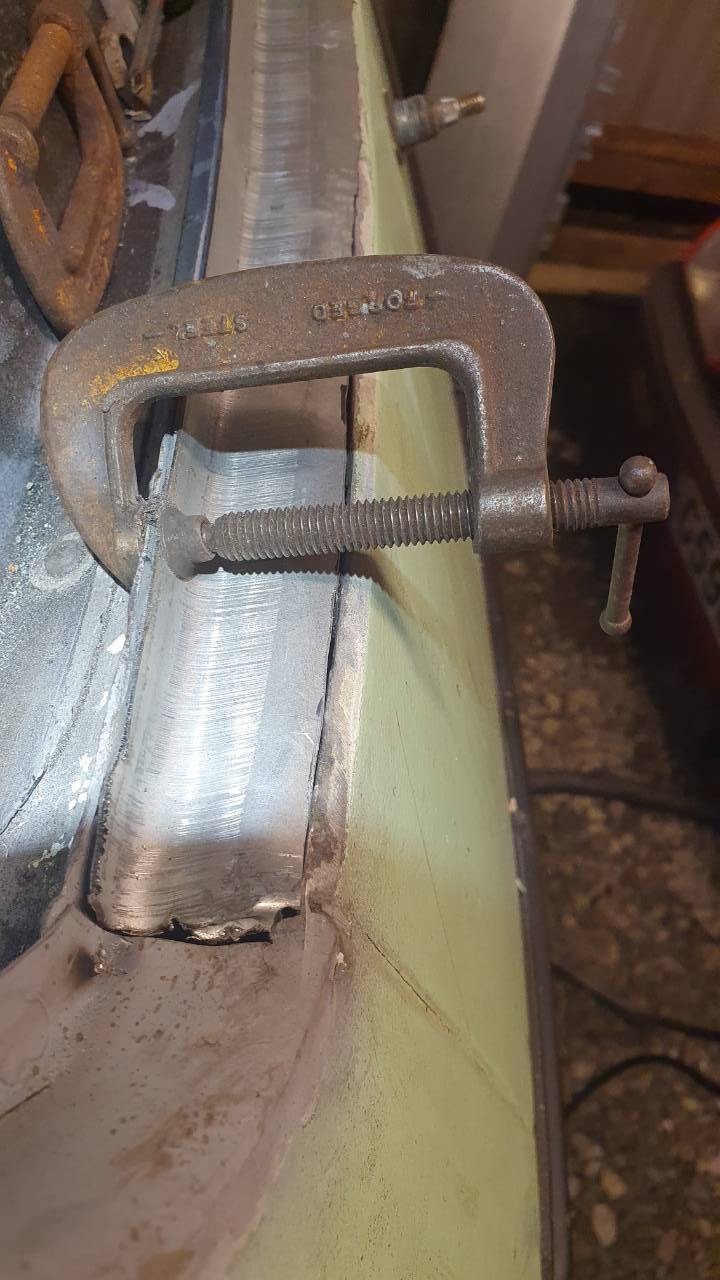
This is the 5th time now for me! The first was my own fault for only wearing glasses rather than goggles, and once was unlucky when I flipped the welding mask up too early to get a faceful of cooling sparks. I've even taken to closing my eyes whenever possible. For the section below the windscreen I did wonder about buying a complete panel again: https://coastalmotorhomes.co.uk/volkswagen-lt-front-scuttle-panel-1975-1996.html But it's a little different cutting up a £30 panel versus a £100 one! There is a little curvature in both directions, but I'm pretty sure it will be simple to make it out of a standard angle section: https://www.the-aluminium-shop.co.uk/galvanised-steel-angle? I generally prefer welding in proper hot-dip galvanised steel, especially when overlaps are involved. I do tend to use weld-through primer, but I figure that if moisture is going to potentially sit between two layers, it's going to be vastly better to have a layer of zinc metal rather than a layer of paint. Just have to be a bit careful with the fumes, and grind back a bit before welding.
-
Well, that was a pleasant surprise! 20 minutes on the dot from entering hospital until leaving! Only a few minutes wait on a Friday night was not what I expected. All out now although a bit sore. The thing I can't understand is how the spark got inside my goggles. It's not the first time, which I put down to coming through the vent holes. But these new googles have a convoluted path which should prevent that happening.