


juular
-
Posts
2,559 -
Joined
-
Last visited
-
Days Won
22
Content Type
Profiles
Forums
Events
Posts posted by juular
-
-
7 hours ago, wesacosa said:
https://www.thesun.co.uk/motors/27165634/cheap-skoda-1000-mile-road-trip/
I took a £150 Favorit 2000 miles across Europe. If only I was a YouTuber I too might have made it onto the pages of The Sun !
Fuck sake. I did near enough 900 miles in the Amazon to get to Rustival and back. And I'd do it again tomorrow.
Between us we put over 900 miles each on the 205 and the Toledo on our FOTU road trip last year.
It's not a long way.
-
Wait a second...

No, really, @MrsJuular noticed that the Volvo branded spark plugs (which weren't cheap) looked like they were held together with glue.
I was doing a (yet another) spark test with them all lying out on top of the engine block, except this time it was starting to get dark outside. This time I noticed how thin and crappy the spark looked, which prompted a closer look.
Ironically I bought these spark plugs last year to try and sort the running issues that were likely caused by the burned #3 valve which I have now fixed. I hadn't thought those "genuine Volvo" plugs would contribute their own issues.
So I chucked on an old set of NGK plugs I had lying in the boot, and...
Running perfectly!
MOT time now.
-
Rewire complete.
Have made a few changes. The switched fusebox is fed from a master 100A relay which is triggered from the ignition key. This takes the heavy load off the ignition barrel which could get extremely hot with all of the current for all systems passing through it.
The coil is fed straight off the barrel and is unfused, as it should be, so even if the relay fails the engine won't stop.
Apart from that I made sure all cable ends had good quality spade connectors and heat shrink wrap with adhesive. This way they're pretty tough and reliable and eliminates some of the nasty and corroded original connectors.
The engine bay is much cleaner now without the fusebox, relays, and associated wiring nests.
Wiring for the reverse lights and overdrive now run inside, and I've packed the gap around the gearstick with insulation to cut down on road noise.
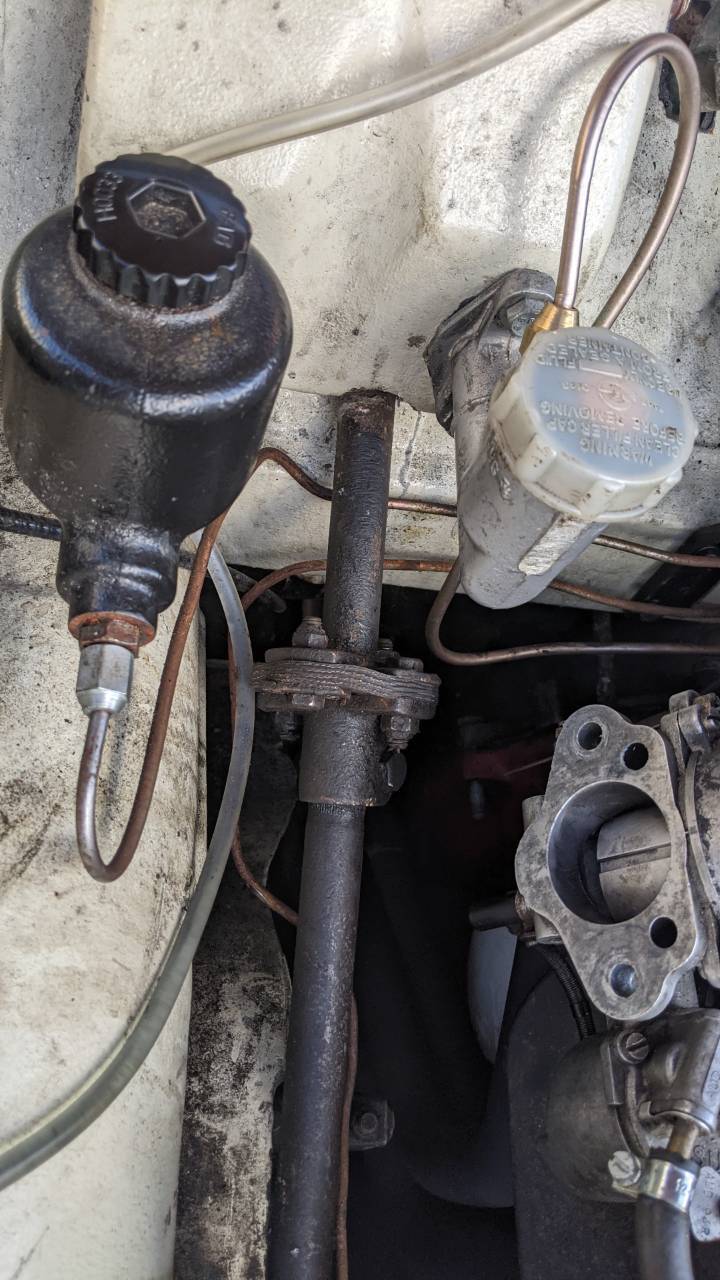
Important upgrade done to the brake lights. The original brake light switch is a fluid pressure switch which tends to only activate when you're standing on the pedal.
I've changed it for an electrical pedal switch, which needed a bracket made up.
A real pain to drill the bolt holes for this in the pedal box so the top hole is in at an awkward angle.
Still it does the trick and is a massive upgrade. The lights now come on as soon as you touch the pedal.
While the steering wheel was off I swapped the steering column coupling bush as it was really sloppy.
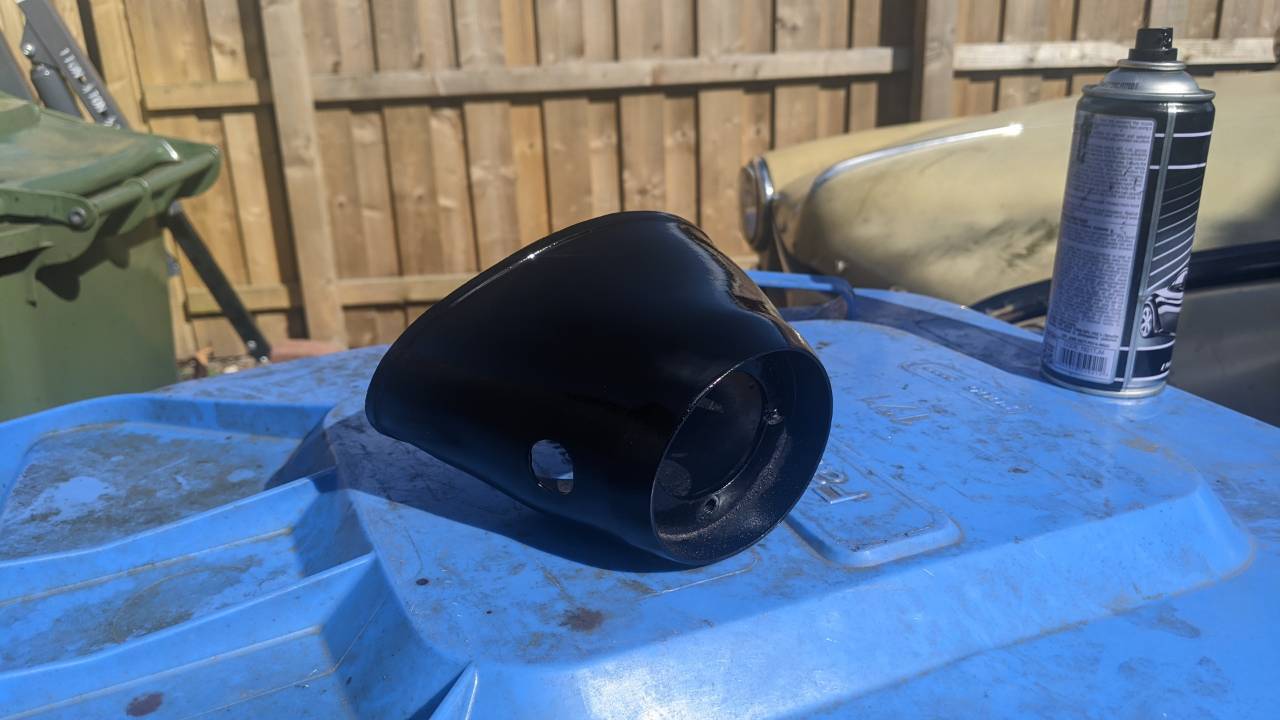
The steering column shroud also got a coat of paint after I did some repairs to the cracking brittle plastic with some epoxy.
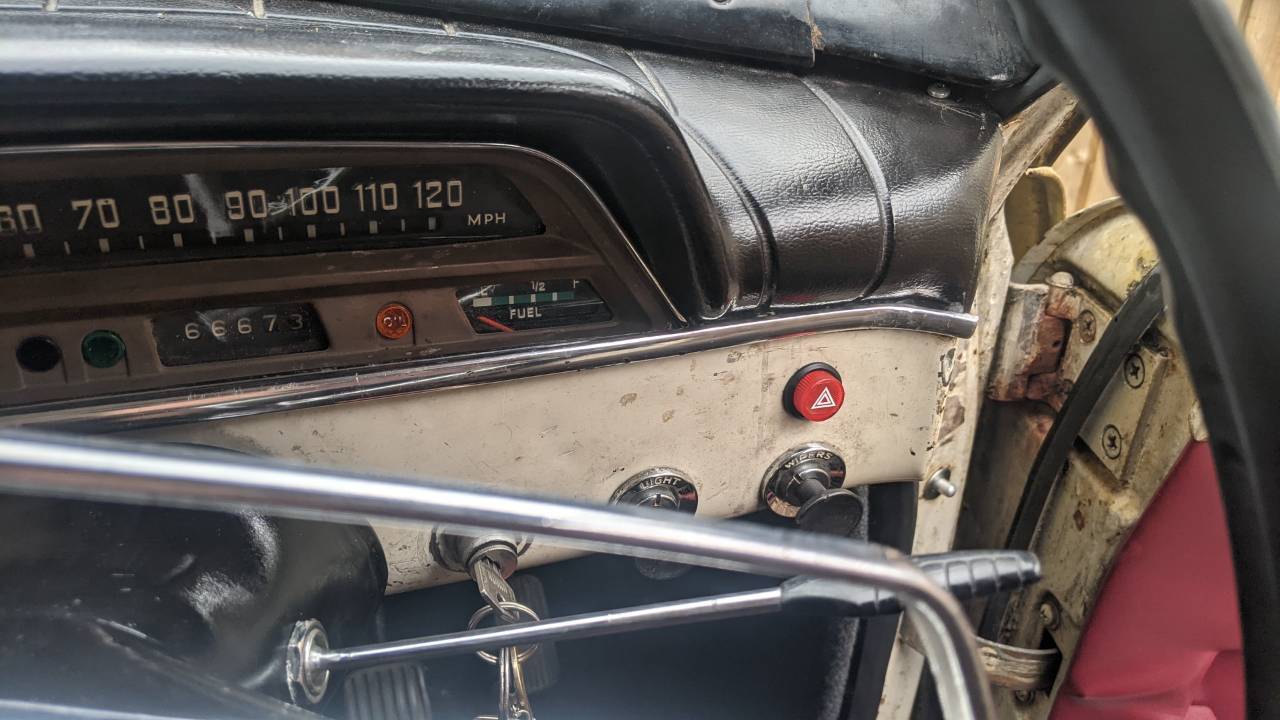
Last few bits done inside. A new hazard switch.
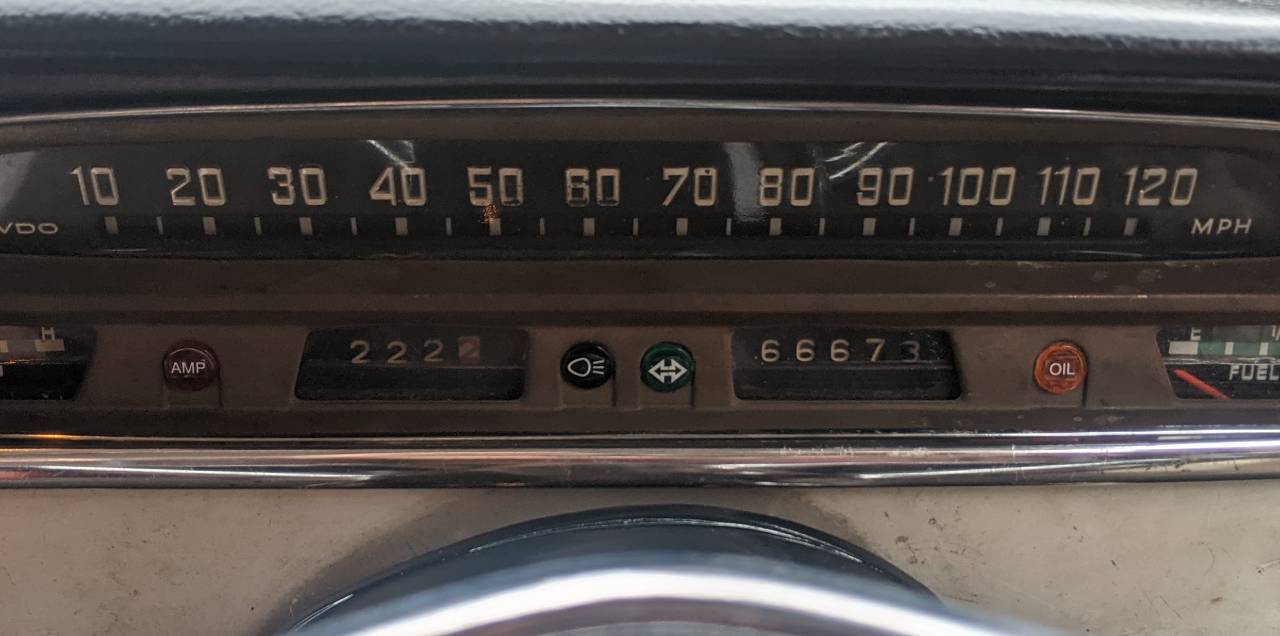
I then remembered I bought a set of instrument panel stickers off Demon Tweeks.
So I then did what I originally meant to and sorted the dash light graphics.
Before.
After.
-
On 25/03/2024 at 22:03, mat_the_cat said:
I have tried a few options along these lines until I found one which was both discreet and charged at a decent current! Do you know what it will charge at?
This one will do an actual charge rather than a 'charging slowly' which is all most other adapters I've tried recently seem to manage.
-
-
Vans are definitely the best vehicles to drive anywhere in, as other van and lorry drivers let you out, and everyone else gives you space. It also helps to have giant mirrors and a better view ahead.
My Trafic has only 115bhp to carry a tonne and a half plus camper conversion, but 290nm of torque. It will sit at 75mph in cruise at around 2000rpm and is probably the best motorway car in the fleet.
I do also enjoy losing people on twisty roads in it, you can see the union flag brake lighted Mini drivers puffing up to explode from rage.
- warren t claim, loserone and Lacquer Peel
-
 1
1
-
 2
2
-
11 hours ago, mat_the_cat said:
I've finished off both pillars now, and cut away the rusty lower lip. Ahhhh.
The inner panel is in a similar state. I will have to rethink my plan, but reckon I'll have to cut out more of the front panel for access - which means it'll be more difficult to neatly weld in a length of standard angle section. However I can probably use that to weld in a functional repair to the hidden panel, and buy the proper repair panel for the visible outer repair.
Liked for the doing it properly approach.
If you cut off more of the outer panel, can you not weld it back on once you're done, then continue with the angle section repair?
If you cut it out with a thin 0.8mm disc it'll fit back together beautifully.
- JMotor and mat_the_cat
-
 1
1
-
 1
1
-
3 minutes ago, loserone said:
I can definitely overtake safely in the express, it just requires planning.
I spent most of my time driving a 59bhp 205 diesel on the wrong side of the road just trying to get past arseholes. No need for anything more powerful as most people drive everywhere at 40 anyway.
-
2 hours ago, Rust Collector said:
I think that motorways should have the speed limits removed on sections outside of urban areas and away from junctions/slip roasd etc., Autobahn style.
Driving across Germany in the V8 Lexus was an absolute joy.
Two things I noticed driving the Autobahn were that people knew how to merge correctly at speed, and that there wasn't a lot of L2 hogging. It helps that people have no hesitation flashing at those who are in L2/L3 when the lane to their right is clear.
Does Germany have any motorway specific training / test involved in getting licences? I found it a lot easier and more relaxing to drive there, even doing 100mph in a van!
-
2 minutes ago, Rust Collector said:
keep our less confident/capable drivers over in the relative safety of lane 1
I worry that the ones that are already camping out in lane 2 are doing it because of a perception of safety. Though I admit there's also a big wedge of ignorance there, it's not uncommon for people to state blindly that lane 1 is for trucks and lane 2 is for cars.
-
1 hour ago, beko1987 said:
Best way, rip it out and do it all properly! Gonna hide a usb socket or 2 up somewhere?
Plus once you've done it right you probably halve the wires hiding under there without really trying
@MrsJuular found a low profile USB adapter for the cigarette lighter that blends in really nicely, check it out below left. It's so discreet and easy to add/remove that I don't know if I will bother adding any USB ports.
-
7 minutes ago, Talbot said:
An unpopular opinion: Drivers should be re-tested on a regular basis, and to a far higher standard than they are currently. This is actually more important than checking the car on an annual basis.
However, this will never happen as the Government makes far too much money from fuel duty and other vehicle taxation, so removing dangerous/idiotic/incompetent/blind/drunk/thick-as-shit drivers from the road will cost them too much money.
I would happily sit a driving test on a regular basis.
Related, I'd love to see a separate test and licence required to use motorways, since it seems such a daunting concept.
-
You'll have to wait for the sound video because I just did this.
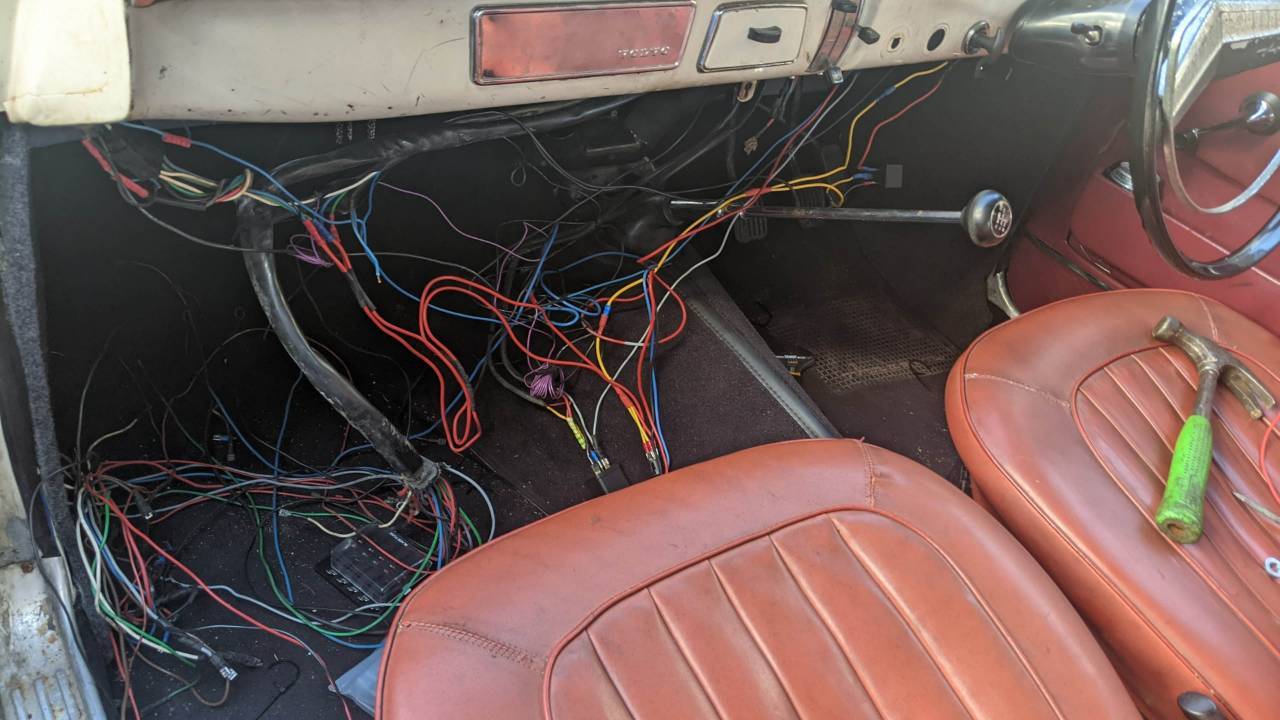
The wiring on this was getting on my tits. Had a lot of instances whereby things work but not quite all the time, or fuses randomly blowing. The original factory wiring is shite. I have now ripped out EVERYTHING.
You can see on the right here that the back of the fuel gauge stands in as an unfused positive terminal for almost everything under the dash including the wiper motor, indicators, heater fan and who knows what else, held on by a piddly 6mm nut. That is going to change.
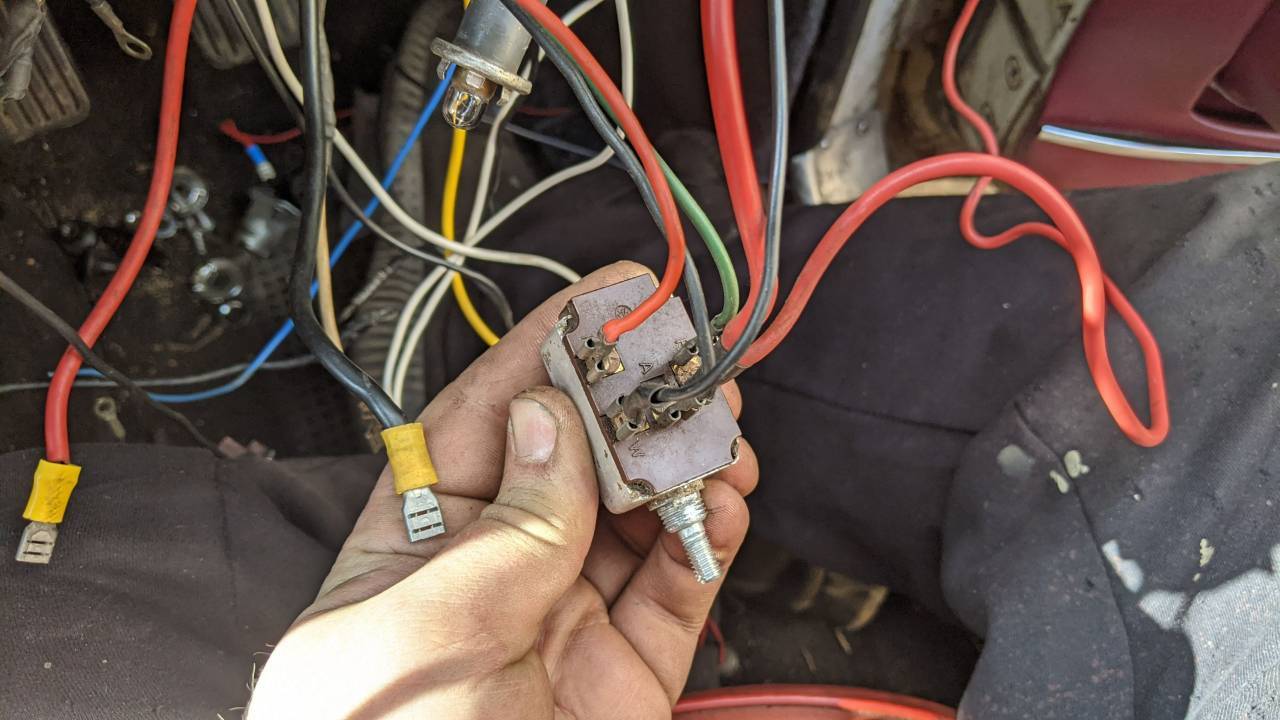
I present the main light switch. Again, unfused and permanently live, with the permanent live cut and twisted into the feed to the small footwell lights, from factory.
The big feed to the wiper switch. Again, some dodgy chaining of big positive wires going on here.
The circuits which are fused are run off a shitty engine bay fusebox which is riveted together, and the rivets are starting to come loose causing random dropouts. That and the small issue of continental/glass fuses being total shite and hard to come by when you need them most.
Solution : bin off the fusebox in the engine bay, and run everything off a pair of blade fuseboxes inside the footwell.
The fusebox on the left is the permanent live one, which will run the interior dome light, indicators / hazards, and headlamps.
The box on the right will be ignition switched, but I am also going to add a main ignition relay so that the ignition switch isn't constantly handling all of the current running through the entire car. I know it's designed to take it, but the switch (and key!) can get very hot and I'm just waiting on the contacts burning out, especially if I decide to add any more load in the future.
The important thing is that everything is going to be fused, and that the fuses are going to be easier to replace when needed.
I seem to be doing this all off the top of my head, WCPGW.
-
35 minutes ago, Dyslexic Viking said:
Mechanical diesel engines are the best engines and should be in everything and should still be a thing in cars.
Diesel engines of any arrangement sound better than any petrol I6 or V6.
Bonus opinion.
An I5 sounds way better than any V8.
- Dyslexic Viking, loserone, PicantoJon and 1 other
-
3
-
1
-
11 hours ago, mat_the_cat said:
Well, that was a pleasant surprise! 20 minutes on the dot from entering hospital until leaving! Only a few minutes wait on a Friday night was not what I expected. All out now although a bit sore.
The thing I can't understand is how the spark got inside my goggles. It's not the first time, which I put down to coming through the vent holes. But these new googles have a convoluted path which should prevent that happening.
This has happened to me too, I don't know how the shards manage to get through so easily.
I've started holding grinders almost sideways to keep the spark trail heading away from me, because I've noticed my specs with plastic lenses are covered with melted bits with embedded metal shards. I've been lucky it hasn't been worse.
Glad you got it seen to quickly.
-
2 hours ago, EyesWeldedShut said:
Cracked the insulator on the spark plug and it's tracking to earth when it's in the head but looking good when it's out and earthed?
Very reasonable shout.
-
Whatever bet you placed, I reckon you're wrong.
Cranked the starter with the plug out to blow the fluid out of the cylinder, then drained the remnants from the oil pan. Refilled the oil and started it.
#3 is now giving good compression which is a massive improvement. So I was right in that it had a stuck ring.
..but!
#4 is now not firing at all.
WTF?
4 gave a solid 175psi compression on the last test.
It's getting fuel and spark.
Answers on a postcard.
-
11 minutes ago, Sunny Jim said:
For any other introverts out there who don't generally enjoy mixing with large groups and are wondering whether or not to come...
DO! Whether it's at Shitefest, FoD, FoTU or Rustival I've found meeting other shiters really relaxing and enjoyable. It's that feeling of, "Ah, I can relax, I'm with my people" that makes their company easy.
Yes! That nice feeling when for the first time in your life, you are the target audience!
-
1 hour ago, Sunny Jim said:
Could you make it @Dyslexic Viking? I'm sure between us someone could pick you up from the airport and I could lend you some camping gear. Flights start from about £130.
@Dyslexic Vikingyou absolutely bloody should.
-
Found a pair of rear bumper overriders for not much.
I'll need to bin those bicycle reflectors and build a couple of housings for the original ones, which I have in a box here.
I definitely won't be buying them at £80 each.
-
It's the perfect excuse to learn to weld. As others always say it's not the welding, it's all the messing around to get to the point of welding that's the time consuming bit. Note I didn't say difficult, because separately the tasks are pretty simple, it just takes 40 times longer than budgeted for when you put them together. For example I'd be taking the seats and carpet out from what I can see.
Can you still get outer sill panels for these? That looks like the most annoying bit to fabricate. The rest would probably just be the odd bent bit of 1mm steel.
Overall I don't think it's a full on resto project, probably about average for something that age.
Get it fixed I say!
-
-
Full disclosure, I used furniture connector bolts to keep the filters on which maybe wasn't the most technically sound idea, but it was the only ones I could get my hands on that were the right length.
Today I replaced them with proper M8 long bolts and nyloc nuts which should hopefully last at least a week.
Minor adjustment to the exhaust. The back box was smacking the old exhaust hanger bracket because the little strap that came with it was a miserable length.
Fixed that by adding an extra bit of galv plate to drop it.
Seems to do the job ok.
-
It got later and I annoyed everyone.
Feels like it's added 30bhp, breathes so much more freely. Not noisy either.
Then it tried to chuck an air filter off on the motorway.
Better bolts enroute. You'd think for 50 odd quid they'd include fixings..


.jpg.91ab944b08a3bd0986c6089de6ad197d.jpg)


1964 Volvo 122S - Amazonian rustforest. Electroshite.
in AutoShite
Posted
Just did a test drive there, it's going really well. Only casualty seems to be the temperature gauge not working. It looks like the actual sender on the engine has failed as it's gone completely open circuit, so a new one is on its way.
Next up, I have more fun upgrades.