-
Posts
9,387 -
Joined
-
Last visited
-
Days Won
2
St.Jude last won the day on May 13 2023
St.Jude had the most liked content!
Retained
- Shiter formerly known as sgtBerbatov
Contact Methods
-
Website URL
https://www.mywifehatesthiscar.com
Profile Information
-
Gender
Male
-
Location
Stourbridge
-
Interests
Crap cars, film photography
Country
-
Country
United Kingdom
Recent Profile Visitors
5,231 profile views
St.Jude's Achievements

Rank: Talbot Matra Rancho (10/12)
14.3k
Reputation
-
 5speedracer reacted to a post in a topic:
Unpopular Motoring Opinion Thread
-
Finished for the day. Door is off, had to drill the two screws I fucked earlier. The stumps are still there but I can deal with that later. Somehow. Replaced the arch and the panel that the A pillar welds to. I think I’ve been told a porky that the Lada uses 1.2mm steel. I think it’s closer to 1.0mm. But it is what it is. I need to put in the chassis arm/jacking point, floor, inner sill which hopefully is next weekend. Then I need to take the outer sill off. And my smashed phone got even more smashed at the end. So that’s annoying as I liked using it for filming. But it’s dead now.
-
Finally welding. This is a replacement part of the bottom of the A pillar. And it’s a hard reminder of how easy it is to blow holes in existing steel. It’s not too bad really though. I also added a plate on the back (seen above, the strip with three holes in). This plate goes behind it, so it’s like a “C” going around the pillar. That’s welded behind too, as well in the front (as per how the original was put on). But the strip on the right didn’t exist, so I’ve added that. Anyway, onward.
-
-
So finally got the order of rust remover, and realised something. I am a full kit wanker for Bilt Hamber. But I like what I’ve used, and the primer stood up well to being outside. The Deox-Gel has been applied to the bottom of the A pillar, I’ve no cling film so relying on a sandwich bag and gaffer tape to keep the gel from drying out. In the mean time, this came today. Only place I could find one of these was the US Amazon site. All the others were Beta ones with a chrome fitment at the base which I didn’t want. But why would I want this? Well unbeknownst to you all I started to remove the door. One screw, eventually, came undone. The second screw was a proper bitch, to the point this happened: The bit twisted, then slipped, and I ended up chewing the screw. So it needs drilling out. That’s for another time. Tomorrow I’m working from home for the rest of the week. So I will be cutting the steel to make a replacement panel.
-
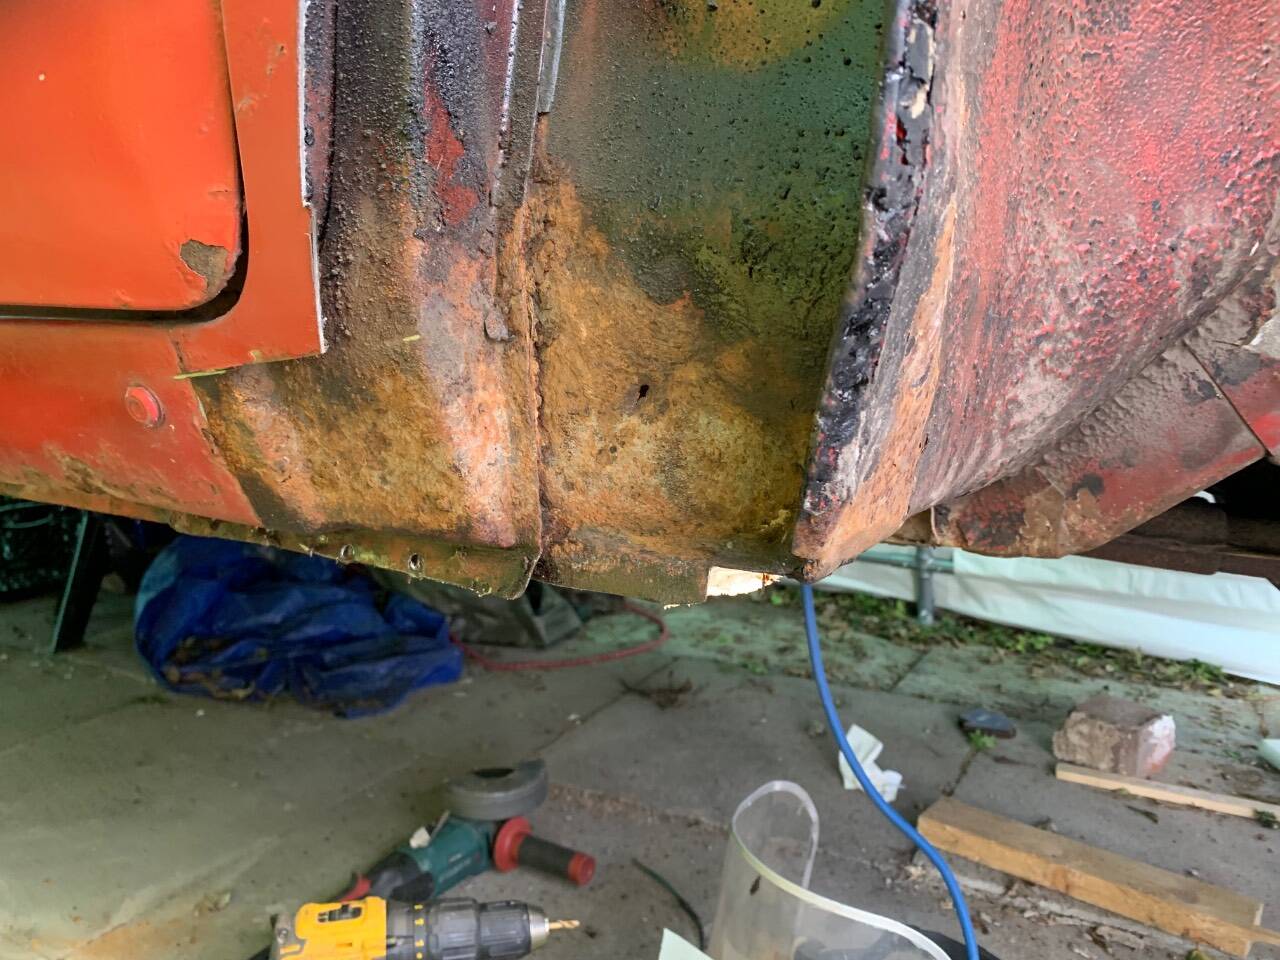
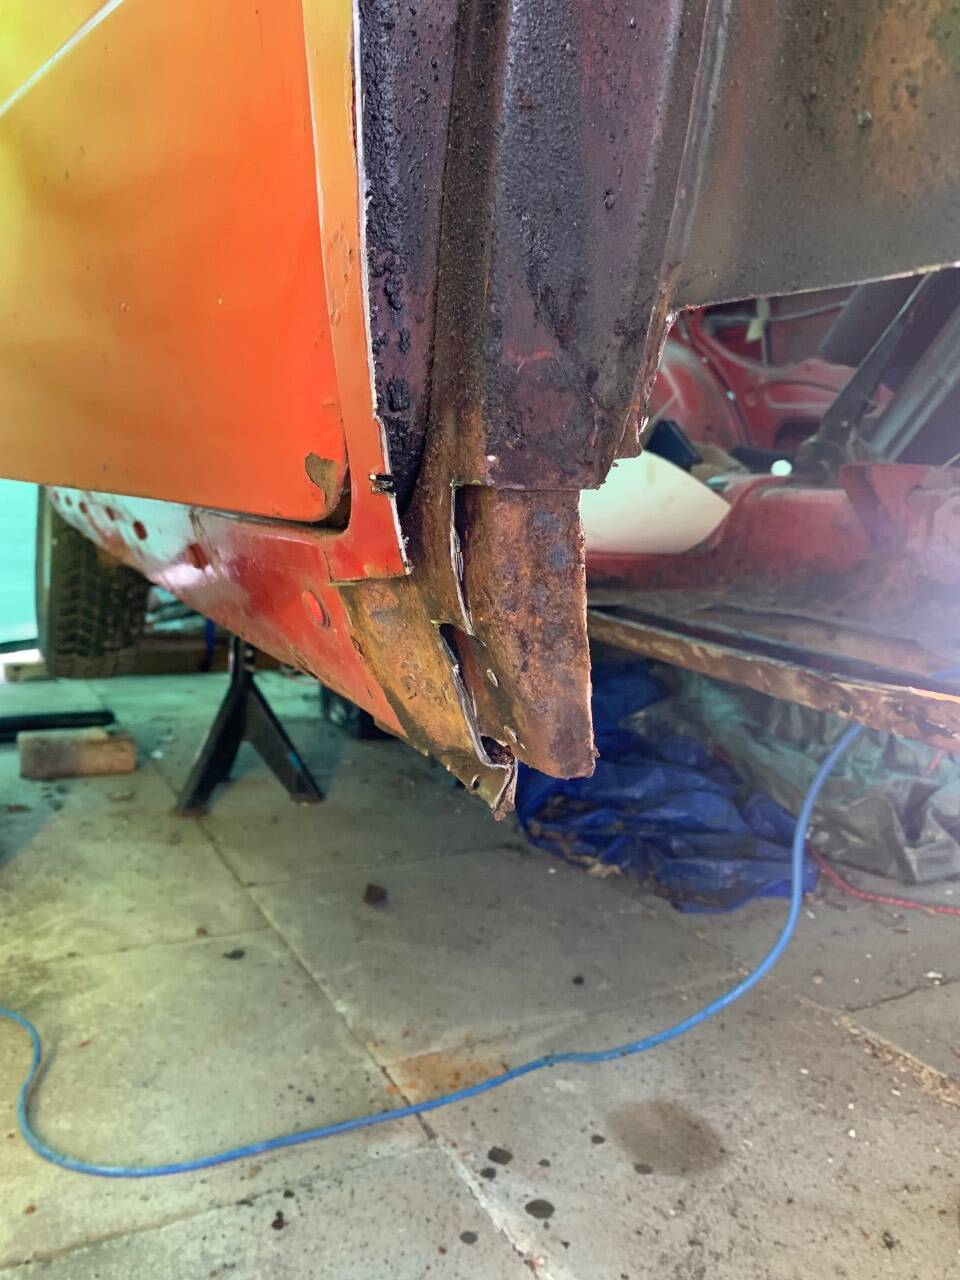
I did no welding today. Not for the want of trying. In a quest to tidy the area up and sort out the rust I found yesterday - well I found more. At the foot of the A pillar it was thick with muck. A good 3” block of it. Given I have to put a new outer sill on, I thought I would just take the whole bottom of the wing off. I was cleaning up the inside sill stuff and I gave that rusty bit a tap with the chisel. No hammer, just me… Oh dear. Yeah all of this needs to go. Not all finished with rust discovery though. The bottom of the A pillar was equally rotten. Thankfully, this covered more steel which was rusted BUT only rusted where you see it. I cut more of the skin off to see. As you can see in Australia, this is how it looks. But the inside part is strong. I have cut back more of the interior sill because I suspected the inner sill was rotten. It was, but only really where the A pillar meets it. Remember kids - this car is MOT exempt! I had intended to use rust remover on the A pillar before painting it and putting things back together. I don’t have any, and couldn’t find any, so I’m going to order some online. When it comes I’ll give it another go with the wire brush (already did it once) and will paint it with weld through primer. Which I may need to buy some of! It’s a jigsaw now really. Love it!
-
Could be there all week doing that but it’s worth a shot. Tried to drill out the welds I could see but mostly took the chisel to it. And the angle grinder to get it off properly. Will cut the bit of floor out from under where the seat rail was tomorrow. Then going to attack the hole in the sill tomorrow.
-
So here is a 10 minute video of the mistake I made leaving it under that sheet and the work I did last week: This evening I decided to get a head start on tomorrow. I spotted a hole under where the the seat rail is last week, and decided the best thing to do is to take the rail out altogether. For now anyway. Some spot welds are easy to find… But I can’t really see where the main spot welds are… And fucked if I know how to get my drill in to this gap! However, this gaping hole passed me by last week. Hiding above the jacking point. View from the inside: So I’m going to go ahead with the removal of the seat rail tonight. I will drill what I can see but the rest I’ll just hammer with a chisel. Tomorrow I’ll remedy that hole in the sill before I cut the rest of the floor and make a panel. Also a question to the hive mind: the sills on this are full of a bituminous substance. If it gets hot in the summer it drips out, and I never really could get it clean before. What can I use to remove it? I’m guessing the bulk will come off with a scraper but it’s difficult to get inside the sill. What else could I use?
-
Are you doing anything with it Saturday?


