Fumbler
-
Posts
5,590 -
Joined
-
Last visited
-
Days Won
2
Content Type
Profiles
Forums
Events
Everything posted by Fumbler
-
Smol run in the lacquer (annoyingly) managed to melt the base coat. Usually this means I've got to do it again. But I don't want to. Instead, I'm doing the right thing and splodging on some base with a Q tip and then some lacquer afterwards. I'm still doing some things properly though- the run was levelled with a razor blade and then blended with the rest of the panel

-
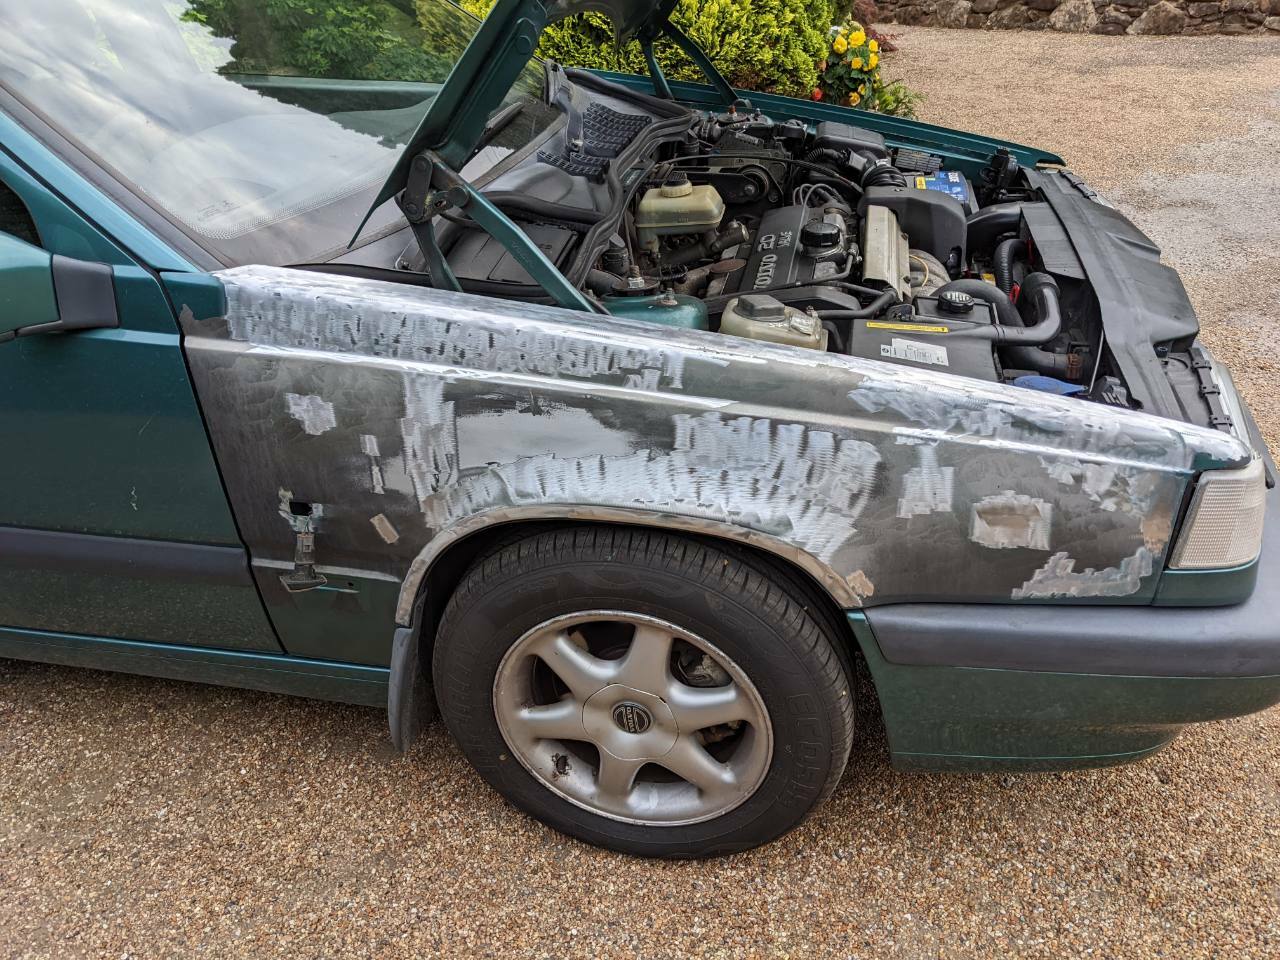
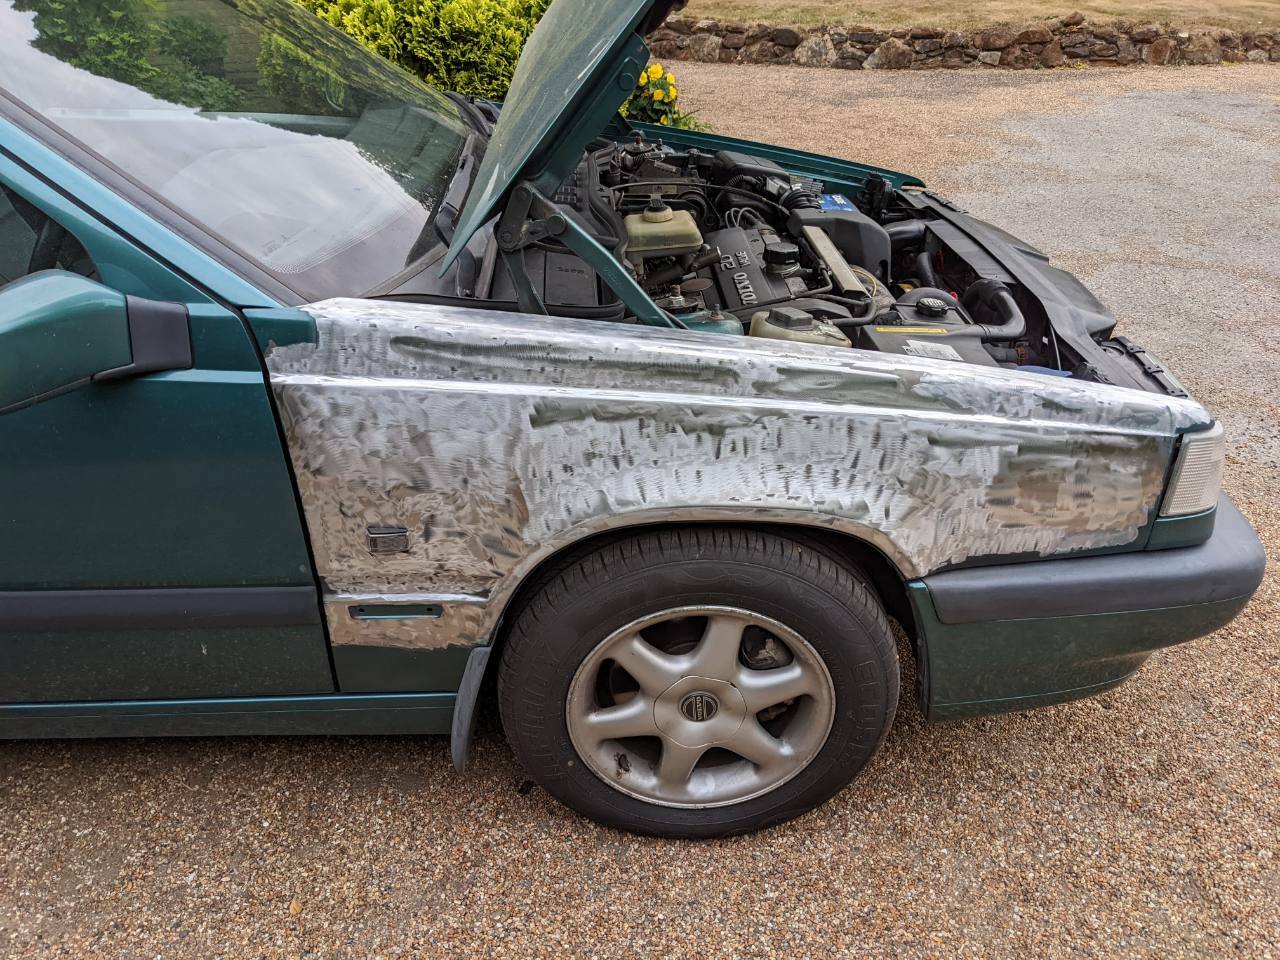
I have a feeling this is aluminium. As much as I'd like to polish it up, it'll go very furry very quickly, so it's best to paint it up. It's currently in primer awaiting a quick sanding before paint.
-
Ours wasn't. 1984 breadvan bought second hand in the late 80s. Sold in 1994 when we bought a new Micra. According to the DVLA it lasted until 2004.
-
Argh. I rather like it
-
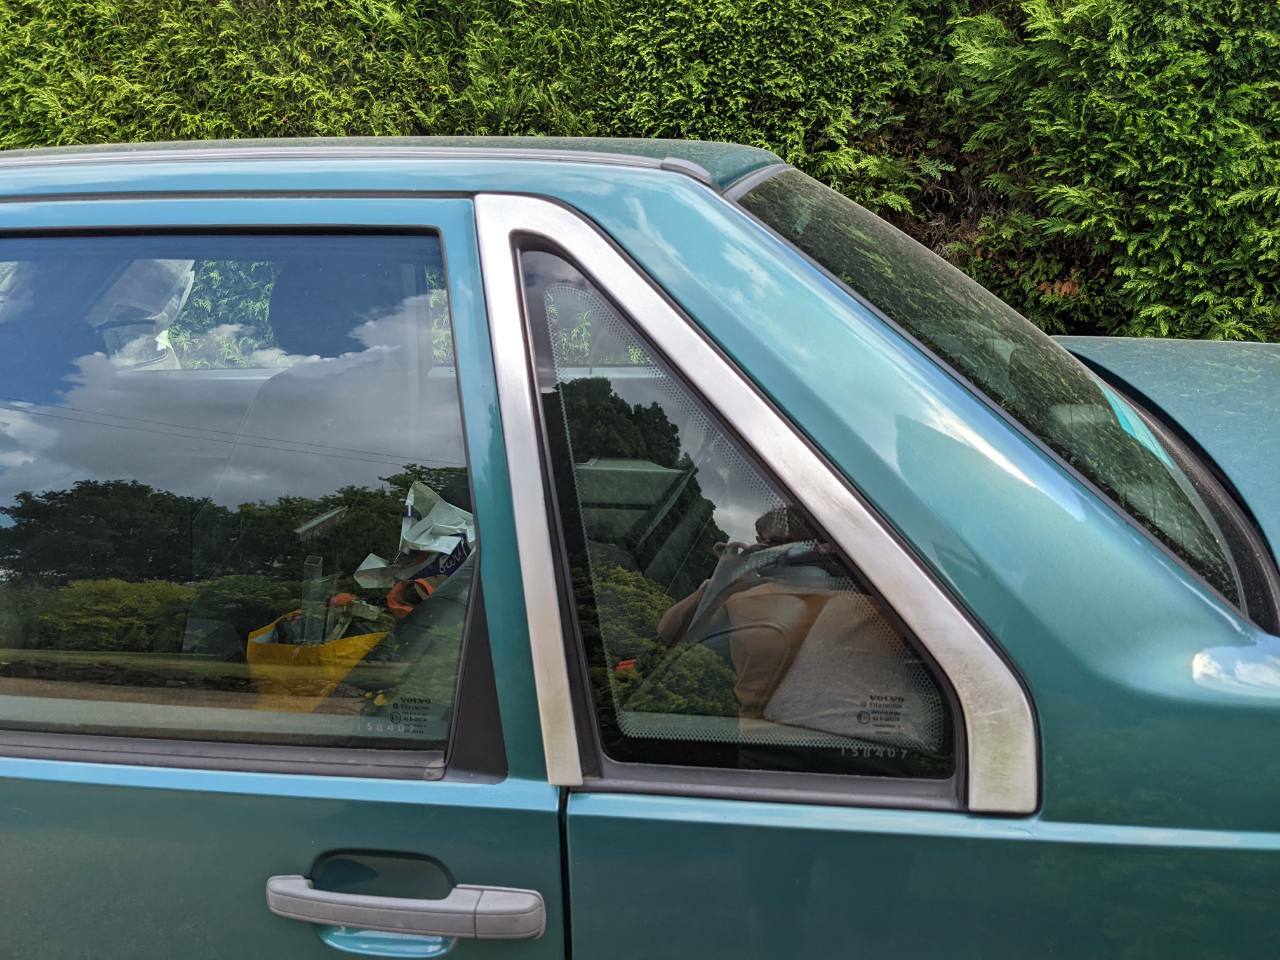
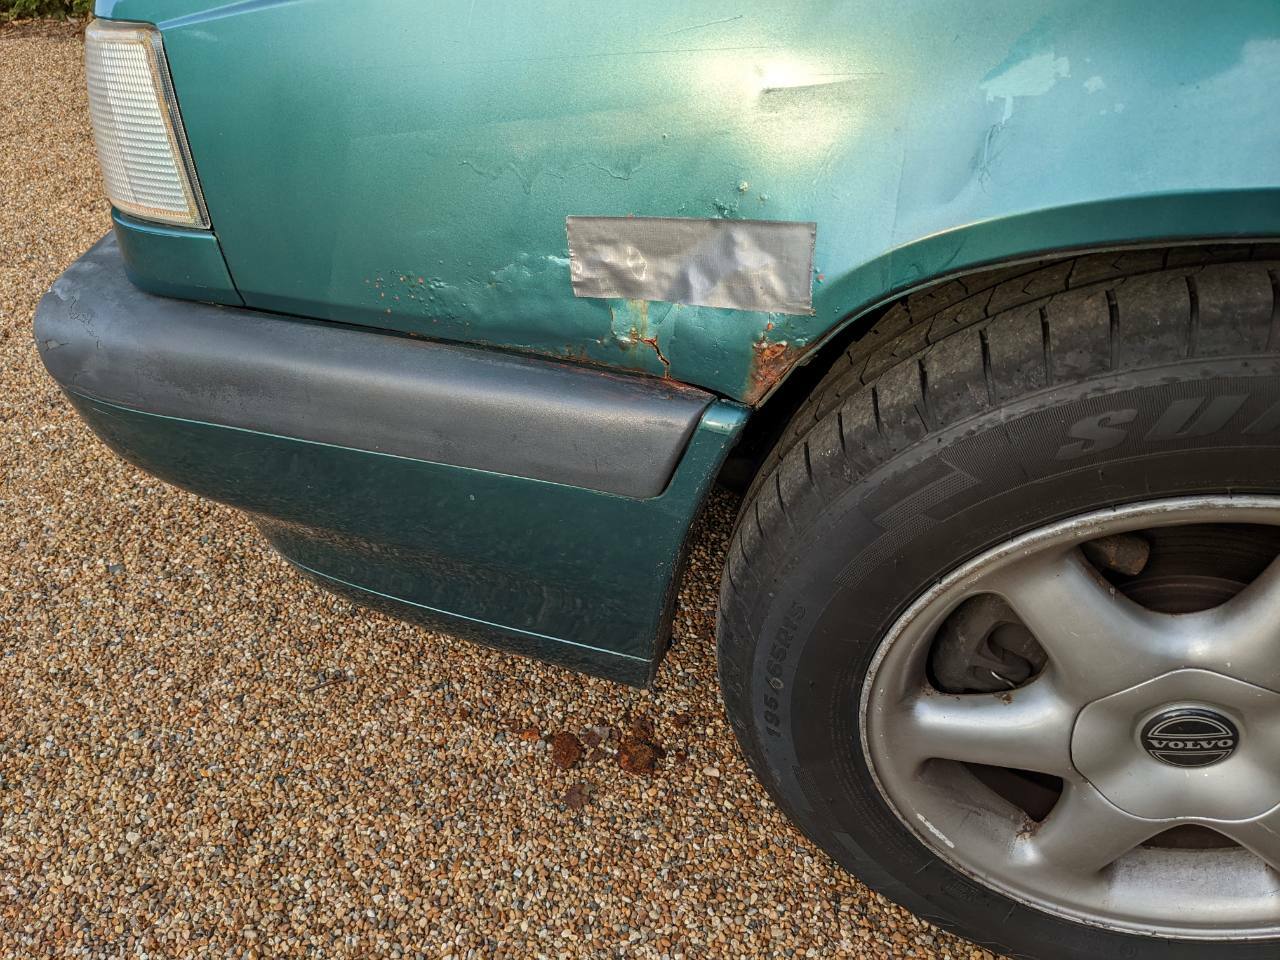
I've been stripping paint off the rear quarterlight trim on the Volvo, and I've found it's made from brushed stainless steel. I kind of want to polish it up
-
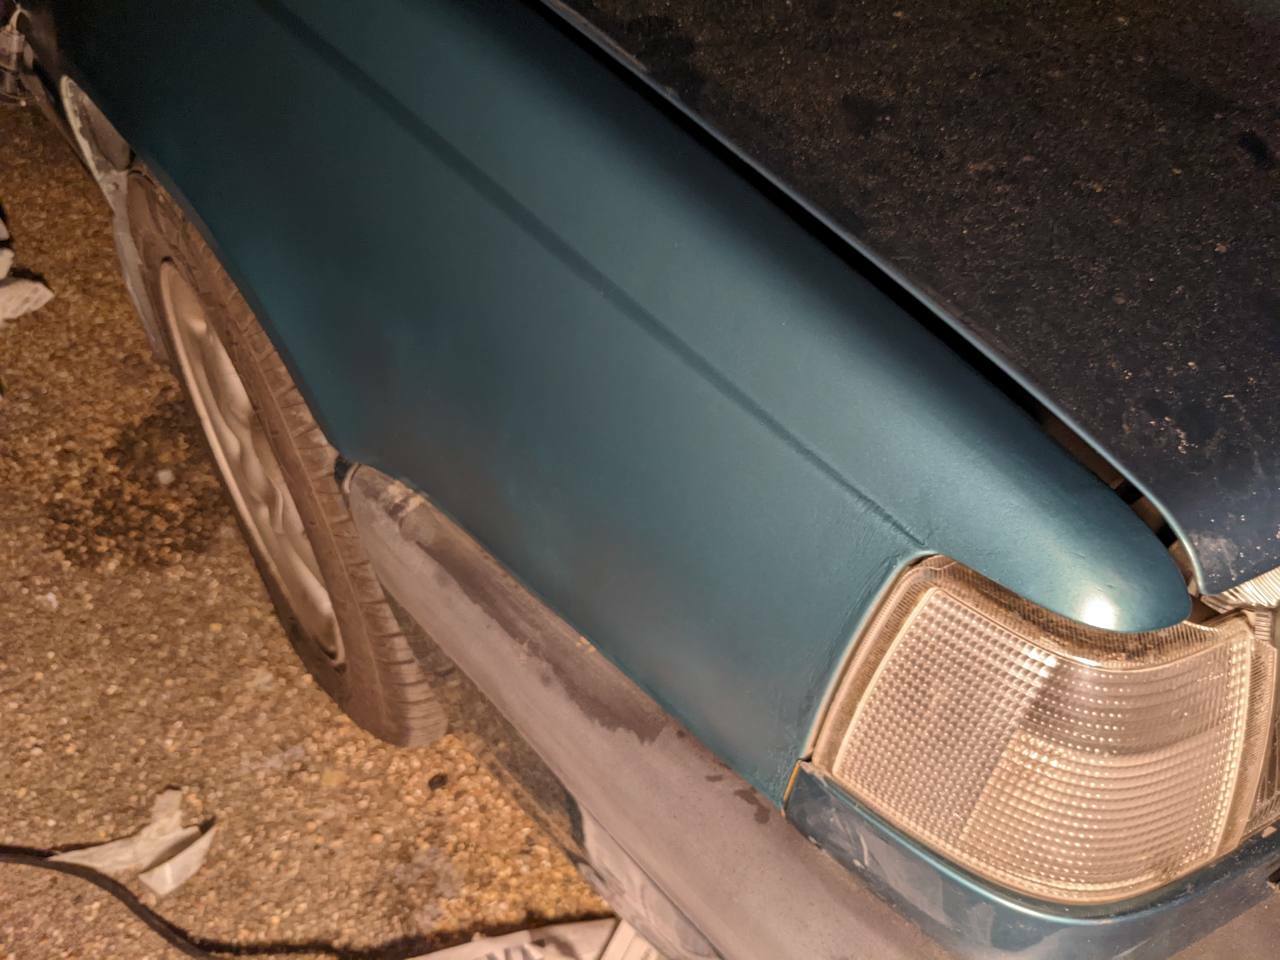
Lack of sun meant play was over, but at least there are two colour coats now on. The primer paint pen actually worked! The surface is a lot smoother than it was. Plus, all the crazing and brush strokes I filled in with the paint pen haven't come through. Win. Needs a very light rubbing down with very fine sandpaper to get rid of the nubs and whatnot (if you can even sand metallic basecoat that is), a few more coats to bring out teh colourz, then shit tons of lacquer, for shiny purposes.
-
But sir, that's the other side!
-
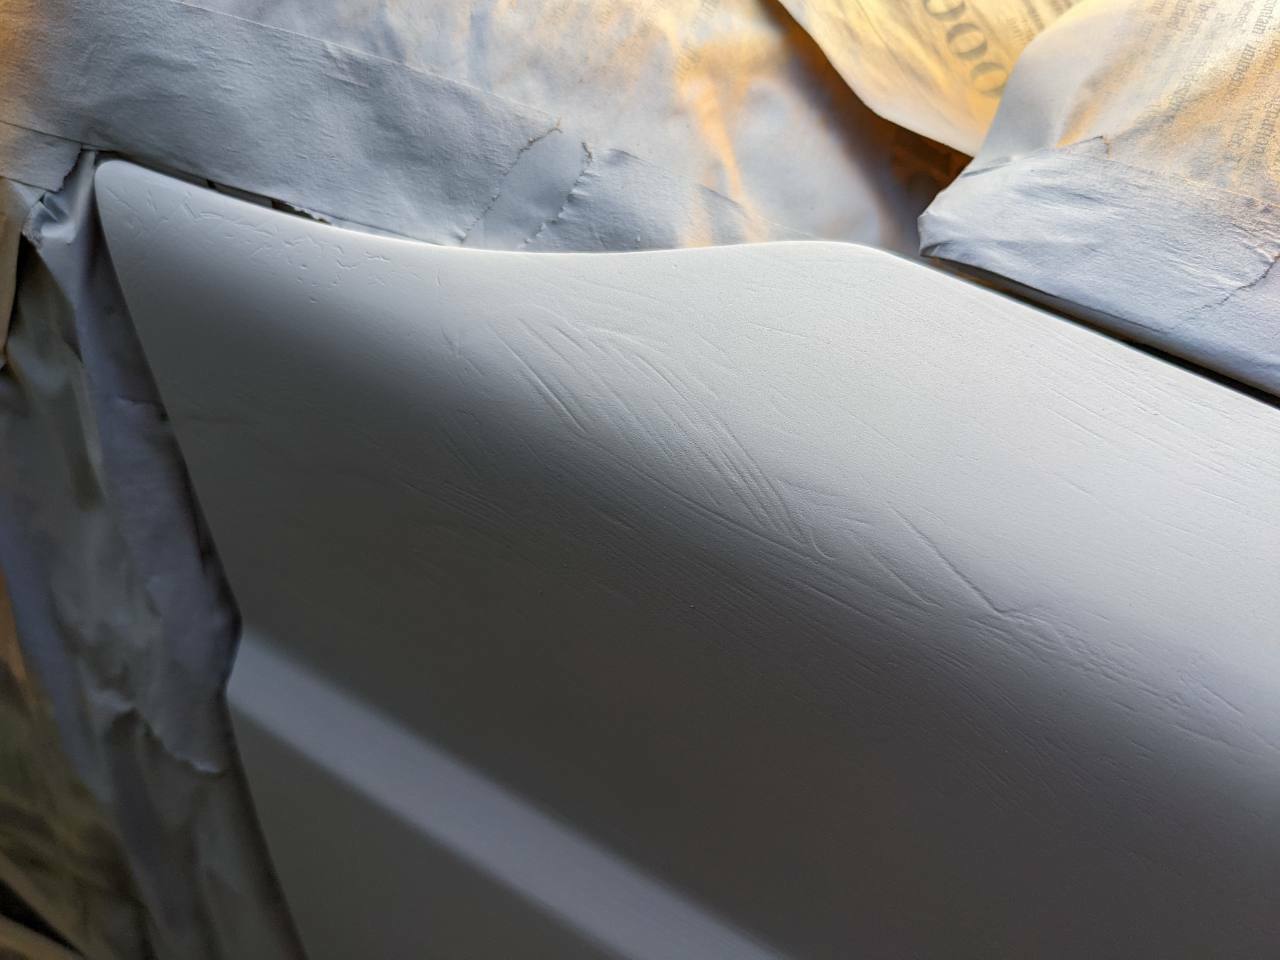
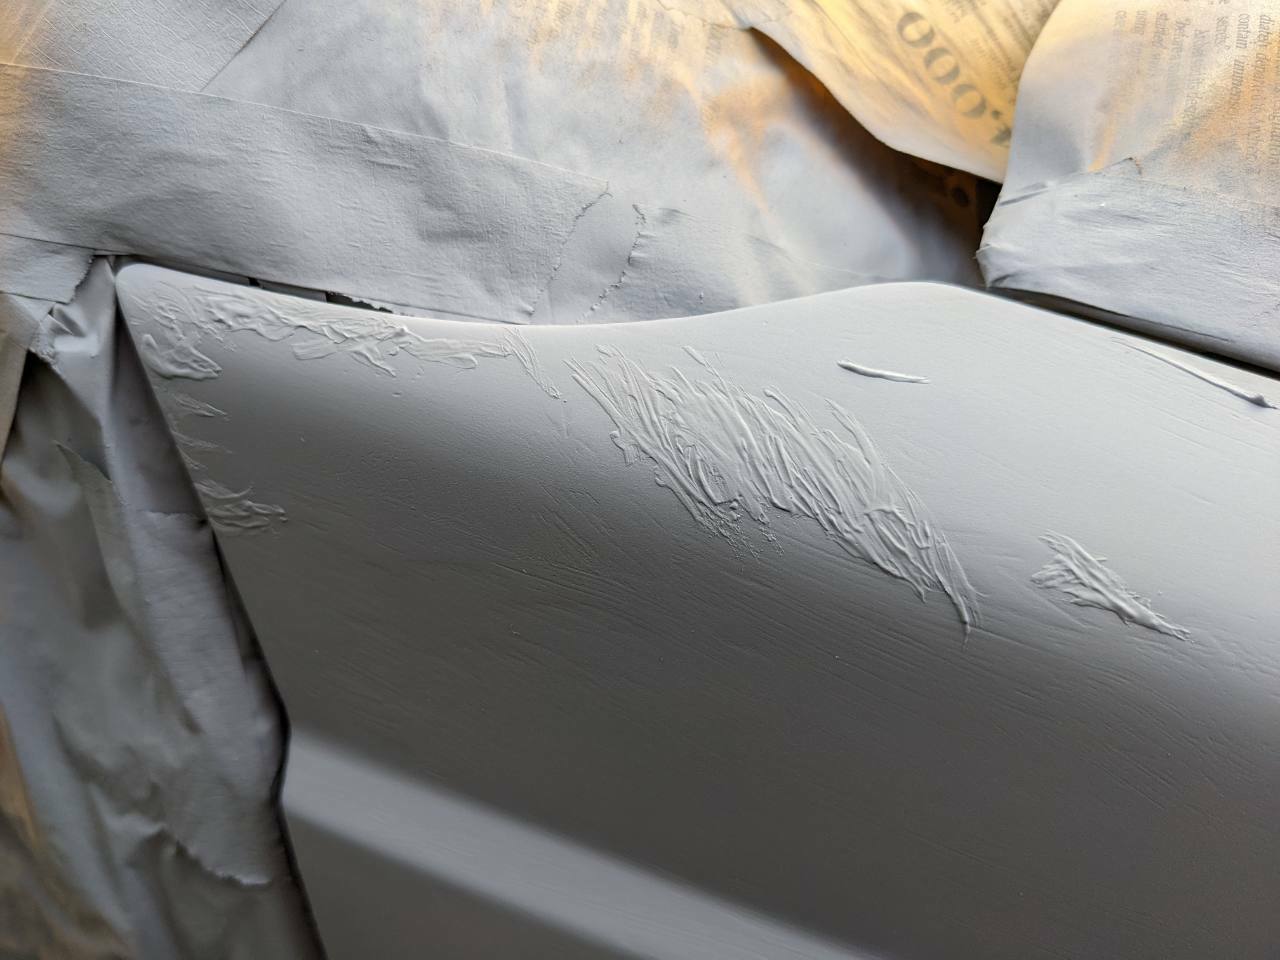
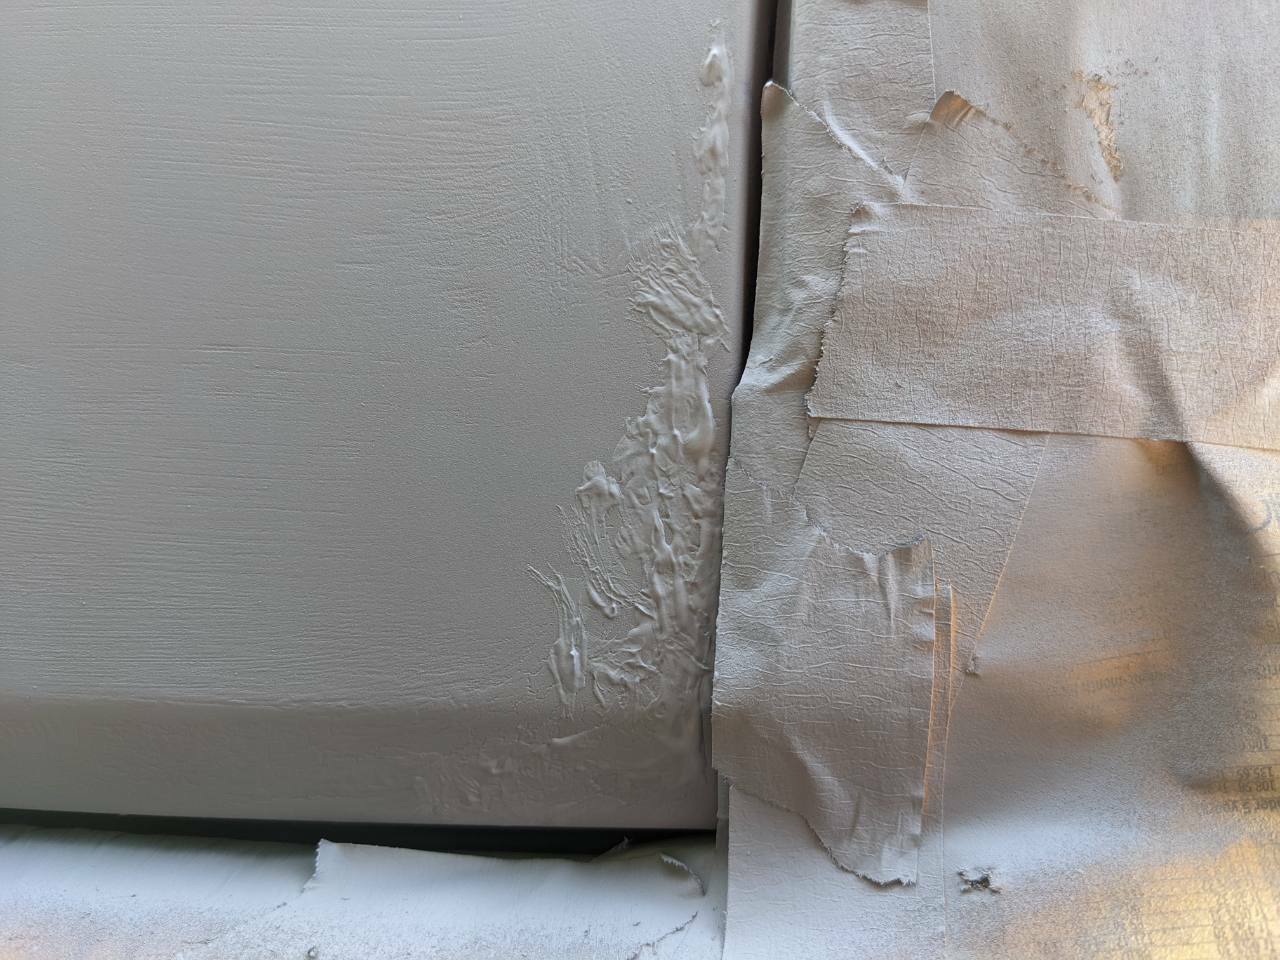
Block sanded the babysick yellow and turned the panel grey again This has highlighted some really high spots I made when I was brushing on the Electrox as well as some shrinkage where I didn't scuff up the original paint. I thought "there's no fixing that!", But then I remembered I had a small touch up primer pen with some super thick primer in it, and I used it to fill the voids and smooth out the worst of the brush strokes One more blocking then paint.
-
Wing goes from this To this fetching baby sick yellow!!!! Progress.
-
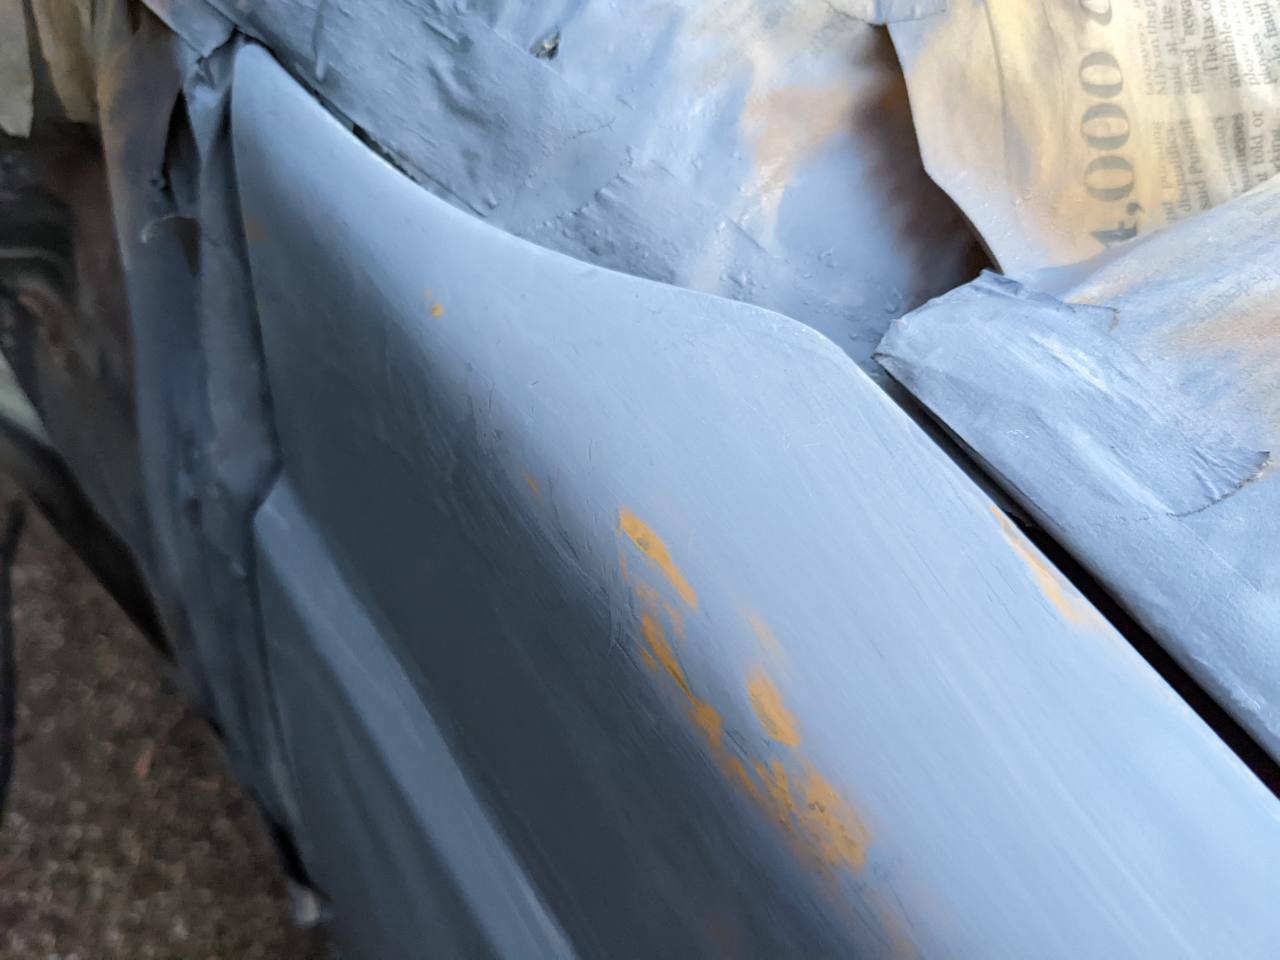
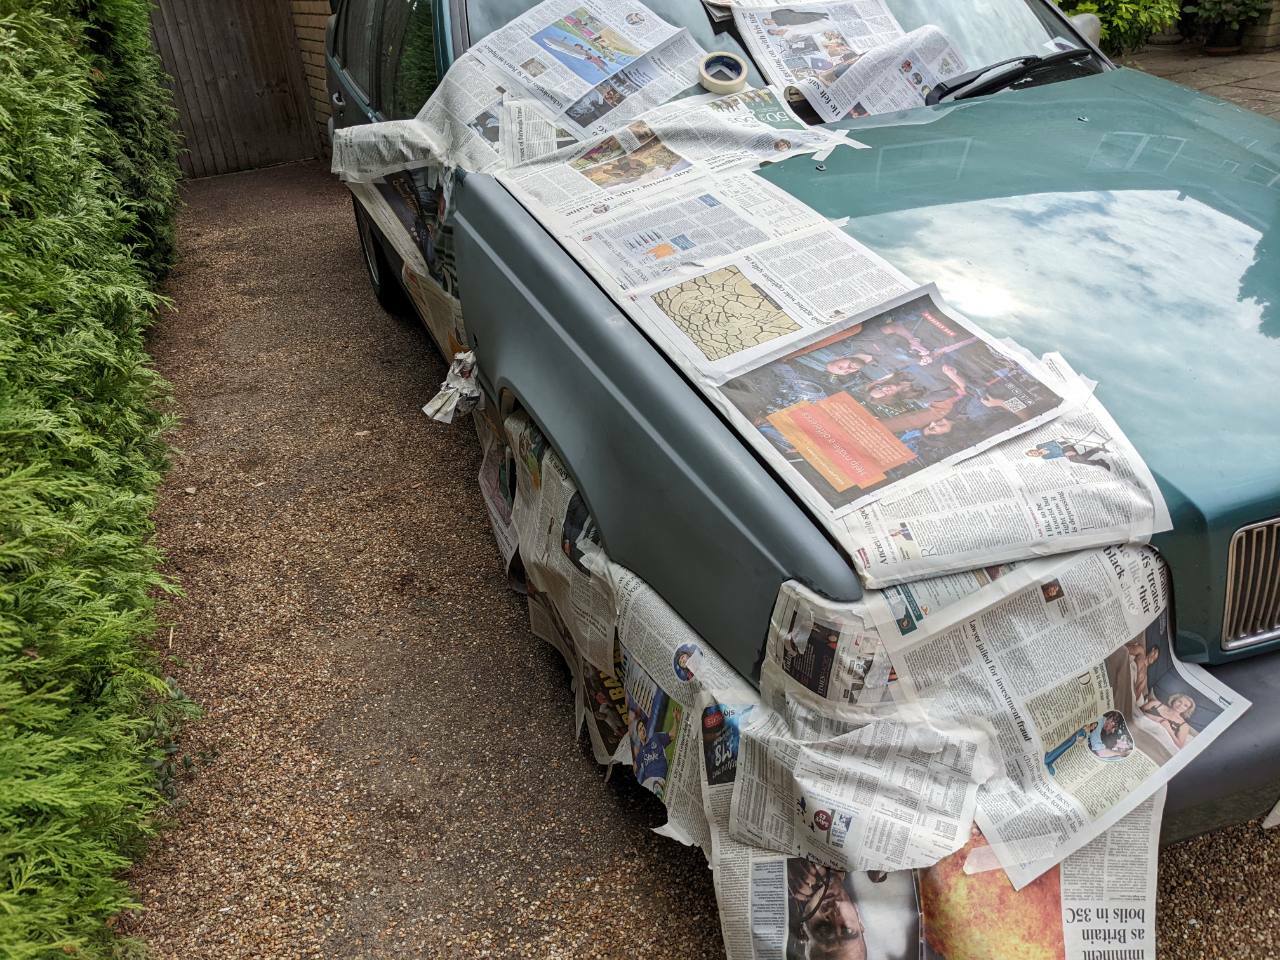
I've been prepping the 850's new nearside wing for paint. It looks like it's been on two cars already considering how thick the layers are!
-
Ah, we're on the same page. Nice! I've just thought of something better. Sod doing it through the pump. It'll be a restriction if it isn't turning anyway. As it's junk and I'll be removing it, I'll just shove a funnel in the HP line and flush it that way. It'll be easier if there's a drain plug on the rack, but I'm doubtful.
-
I'm only planning on flushing it through until the glitter is gone, because at that point it's clean enough for me. The premise behind diverting the return is so everything in the expanded reservoir is pushed through the pump, through the rack, then out, hopefully forcing the contents of the rack out so it can be replaced with uncontaminated fluid.
-
 Looks like the back of a digger. It's quite an old photo now that I come to think of it.
 -
It's exactly the method I was thinking of! I'll likely need to gaffa tape where the neck of the bottle wedges in the reservoir so the pressure of the liquid within doesn't pop the bottle out of place and dump lots of precious [bodily] fluids [Mandrake] everywhere.
-
Aw I spy a BX and Astra in the waiting line.
-
I don't much fancy running metal through my new PAS pump myself. It'd bad enough having the rack swimming in it which is why I'd prefer to try and get rid of as much as I can. Either I do that or try and see if there's a drain on the bottom of the rack somewhere, and use gravity to do the heavy lifting.
-
I got the advice from someone who's done the procedure before on their Volvo with no issue. With the amount of metal in there the the fluid looked like abrasive paste. A more foolproof method would be to increase reservoir capacity to a few litres so you don't need to constantly replenish it. I have an idea or three on how to do it.
-
Car's home. It did the journey great considering the failure! It seems that exercising the rack and leaving it to sit for a few more hours allowed the pump to lubricate some more and quieten down. I didn't hear a peep from it while driving, although there was some intermittent stiffness while turning. NOS part located for £91. The plan with this one is to get a pail of cheapo PAS fluid, fit the new pump, fill with fresh fluid but divert the return to a used oil container we have to get all the sludgy shit that's currently in the rack out. Then run the car and keep the reservoir topped up with the pail while someone turns the car from lock to lock. At the moment the fluid looks like slightly silvery mud, which is always reassuring*, but better than the grey-ish silver I saw yesterday before it broke on me today.
-
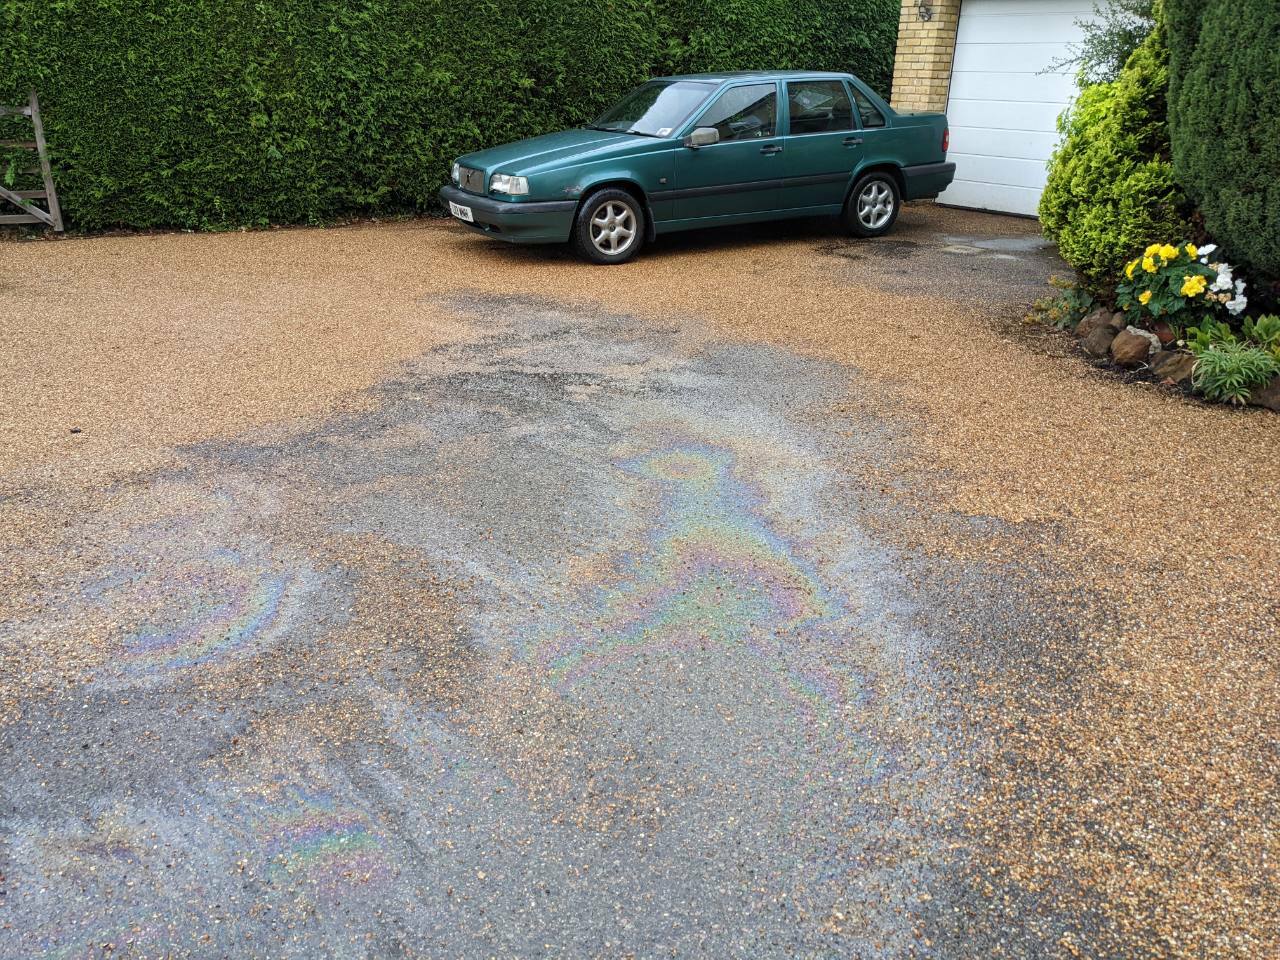
PAS pump shit the bed this morning on the way to work, explaining the mystery rainbow stain on the driveway yesterday. The high pressure union backed off somehow and caused fluid to piss out and run the pump dry. We've nipped it back up and refilled it, but the metal sludge I saw in the reservoir yesterday has returned, so the pump is proper lunched. Hopefully I can nurse it home.
-
I did check the fluid levels and they're all the same as they ever were. If it's anything my money is on a PAS leak as there's an advisory for a corroded PAS pipe.
-
Nein, the vehicle runs on petrol. The general consensus is that the heavy rain I've driven through has given the engine bay a bit of a washing down and when I stopped on the driveway (which is inclined where the rainbow is), the water dripped off the undertrays/crossmemeber.
-
Let's play the game of guess the fluid leak
-
Gave the wing a light sanding down and wash with thinners I then slapped a layer of Electrox on just before sundown With some drips on the mud guard and bumper wiped away, it's already looking better.
-
Wing be stripped Time to sand, paint with Electrox, sand, filler prime, sand, paint, sand, paint again, lacquer etc......
-
107s are quite nimble and fairly sturdy. I e only driven a manual but it certainly wasn't a chore to drive.