groovylee
-
Posts
852 -
Joined
-
Last visited
Content Type
Profiles
Forums
Events
Everything posted by groovylee
-
had the carb off the bantam and pulled it apart. all seems well in there, with the correct bits where they should be. one problem found - the pilot jet and air screw are in the wrong way around 🙄 that wont be the cure of all my ills, but it certainly wont help! pulled the head off, slight bit of rubbing where it nipped up, but not bad by any means. charging wise - found the earth connection on the reg/rec had come apart, so thats that sorted next steps, check the timing, set the points, then put back together and start the tweaking until it is running right, then some test rides. T-15 days till the trial.....
-
going to pull the carb and the plug tonight. probably the head to check theres no damage following the nip up too. this bike is a bit of an unknown to me tbh, so the more i can find out early on, the better really. i just wish i had more time!
-
yeah, currently 25:1, but there doesn't seem to be any smoke at all from the exhaust, which i would expect (could be wrong though). im wondering if the fuel/air mix is off 🤔
-
does anyone here have a recommendation for someone who could take a look at my 1971 bantam? nearer to the bedford or hitchin areas the better... it has a nasty habit of nipping up when on a run, and the battery isn't charging. im hoping to do the MCC Lands end trial on it on good friday, but im rapidly running out of time! old 2 strokes are still a bit of a mystery to me. cheers
-
The drive home was fun 😬 looking forwards to a nice run down to Newick tomorrow morning in it with Mrs groovy 👍
-
They seem fine. I've seen you can get repair kits on eBay if it comes to it 👍
-
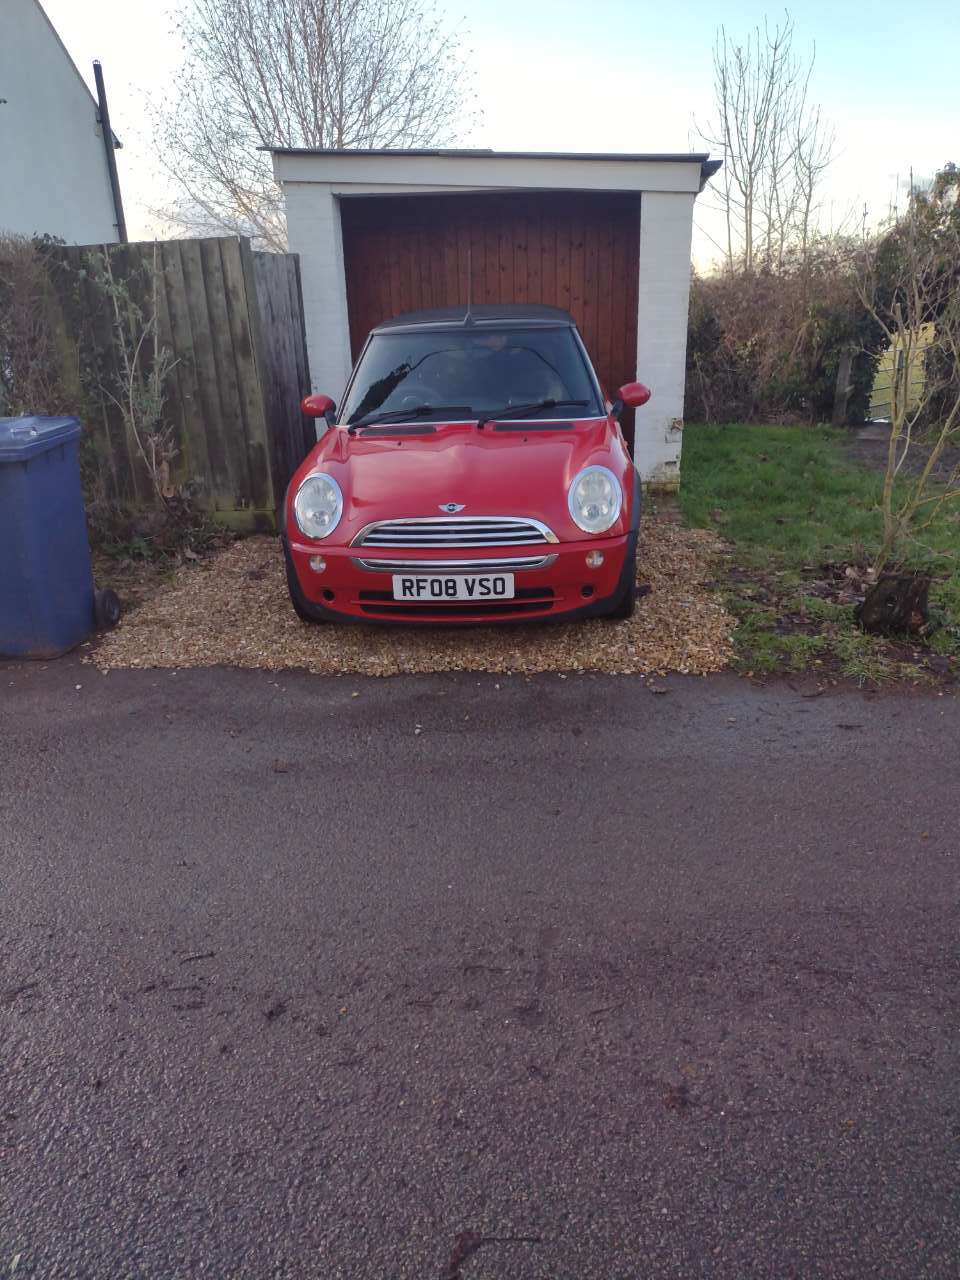
Mini purchased 😄 James and Family are most lovely. We will look after it 👍 12/10, would purchase from again etc etc.
-
We haz arrived!

- 15 replies
-
- 10
-

-
The conveyance of choice has arrived! Not my choice..... 😂
-
...in more ways than one. shortly due to embark on a MINI collection. MINI because, well, its a MINI. and mini, because it's only 35 mins away 🤣 i know, lame. but im super excited at the prospect of another quality autoshite purchase. just waiting for the conveyance of choice to arrive, and then i'll be on my way!
-
i found my AGV K5 to be noisier than the other ive had. as others have said, def wear earplugs, it make the experience a lot more fun. also, i tend not to ride my bike over hte winter, because being cold and wet when you have a car seems a bit daft. in the summer however, riding is awesome!
-
i think it is split manifolds, which are going to be £££s and take some time to do, which i have very little of at the moment with work etc. i could be wrong, but right now i just need a car that works to get to work, so needed to get rid and get something else. the main fear is that i change the manifolds, and then find something else, then something else, etc etc. i know its not very autoshite to throw in the towel, and i normally wouldn't, it's just circumstances at the moment that dictate the course of action.
-
well, the Jaaaaaag has gone to the big Copart in the sky im going to go and buy the mini cooper convertible from Jamescarruthers of this parish tomorrow night, so this needed to go. i did retain the refurbed alloys of this, so will see if there is any interest for them on here, if not, i'll be banging them on fleabay. Lee
-
i think i can remember them all: 1992 rover 214 SLi 1986 Astra mk2 1990 sierra 1.6 1989 Mini Mayfair 1990 mini cooper 1972 mini clubman 1275GT 1998 Vectra estate 1998 Peugeot 306 hatch 1999 Alfa Romeo GTV 2.0 TS 2002 Citroen Xsara estate 2005 mkIV Renner easpace 2002 Nissan Terrano 2001 MGF 1998 Ford Fiesta 1992 Reliant Rialto 1979 Rickman Ranger saloon 1989 Rickman Ranger cabrio 2000 Skoda Octavia hatch 1998 BMW E30 320 convertible 2004 Fiat Panda 1.2 2009 Jaguar XF 2014 Ford Focus estate 1.6 1979 Hollier Mosquito 2002 VW Passat estate 1992 Mini Neon i may have missed one or two . not too bad for 26 years motoring edit: forgot the 2000 Alfa Romeo 145 and the 2000 Alfa Romeo 145 QV
-
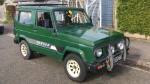
well, i managed to get both tubes sorted, and the bantam back together. yay! rode it 14 miles to work this morning. damn thing nipped up on me three times. nursed it in to work. looks like no trial on that tomorrow then chucked it in the back of a workmates van, drove it home... it fell over and broke the clutch lever. its now sulking in the garden while i prep the Ranger for the trial instead. open heart surgery planned for the bantam whenever i get a minute. ive got until easter to sort it ready for the next trial anyway. the fun of old two strokes eh?!
-
in todays biking fun, i decided to change the cracking tyres on the bantam for some nice new MT43s. all was going well, old ones came off nicely, new ones on ok for the first bead, fit the tubes, put the second side on.... you know where this is going.... pinched tube. dammit! got the brand new spare tube.... yep, pinched that one too. bugger. awaiting delvery of two new tubes tonight, and will be much more careful when trying to fit this one. the rear went on ok, but i cant quite get one section of the bead to seat properly. i'll give it a bashing with a mallet to help it along.... oh, and i hate rimlocks.
-
congratulations!
-
cheers Mexico, thats great info. my first challenge is getting it running roughly right, then get a decent exhaust fabbed up for it, get it tuned up, and then go from there. I'll give you a shout when im getting to the stage of actually getting out on a trial.
-
 i'll take 4 please, let me know how to send you ponds
 -
My secret Santa got me an awesome collection of cable ties, air fresheners, and electrical tape. I'm now checking the security to my security cameras at home, as I'd been chatting to Mrs groovy that I used the last of the cable ties on the bloody Xmas lights, and I need some for the mosquito 😳🤣 thanks Secret Santa 🎅
-
Secret Santa, Off to bed, see you next November
groovylee replied to 95 quid Peugeot's topic in AutoShite
Mine arrived today, the only mail I've had for over a week! Got mini groovy to open it just in case, so I'll save the reveal for the 27th when I'm back from deepest darkest Bodmin 😋 -
Secret Santa, Off to bed, see you next November
groovylee replied to 95 quid Peugeot's topic in AutoShite
im away over xmas, returning home on the 28th, so i will be delayed in sharing my *excitement on here. so whoever got me, im not being ungrateful on xmas day, im just not there lol -
Secret Santa, Off to bed, see you next November
groovylee replied to 95 quid Peugeot's topic in AutoShite
posted by mrs groovy this morning -
Secret Santa, Off to bed, see you next November
groovylee replied to 95 quid Peugeot's topic in AutoShite
Presents packed and ready to drop.off in the morning to the postal carrier of choice. -
Secret Santa, Off to bed, see you next November
groovylee replied to 95 quid Peugeot's topic in AutoShite
deets sent