fatharris
-
Posts
2,403 -
Joined
-
Last visited
-
Days Won
6
Content Type
Profiles
Forums
Events
Everything posted by fatharris
-
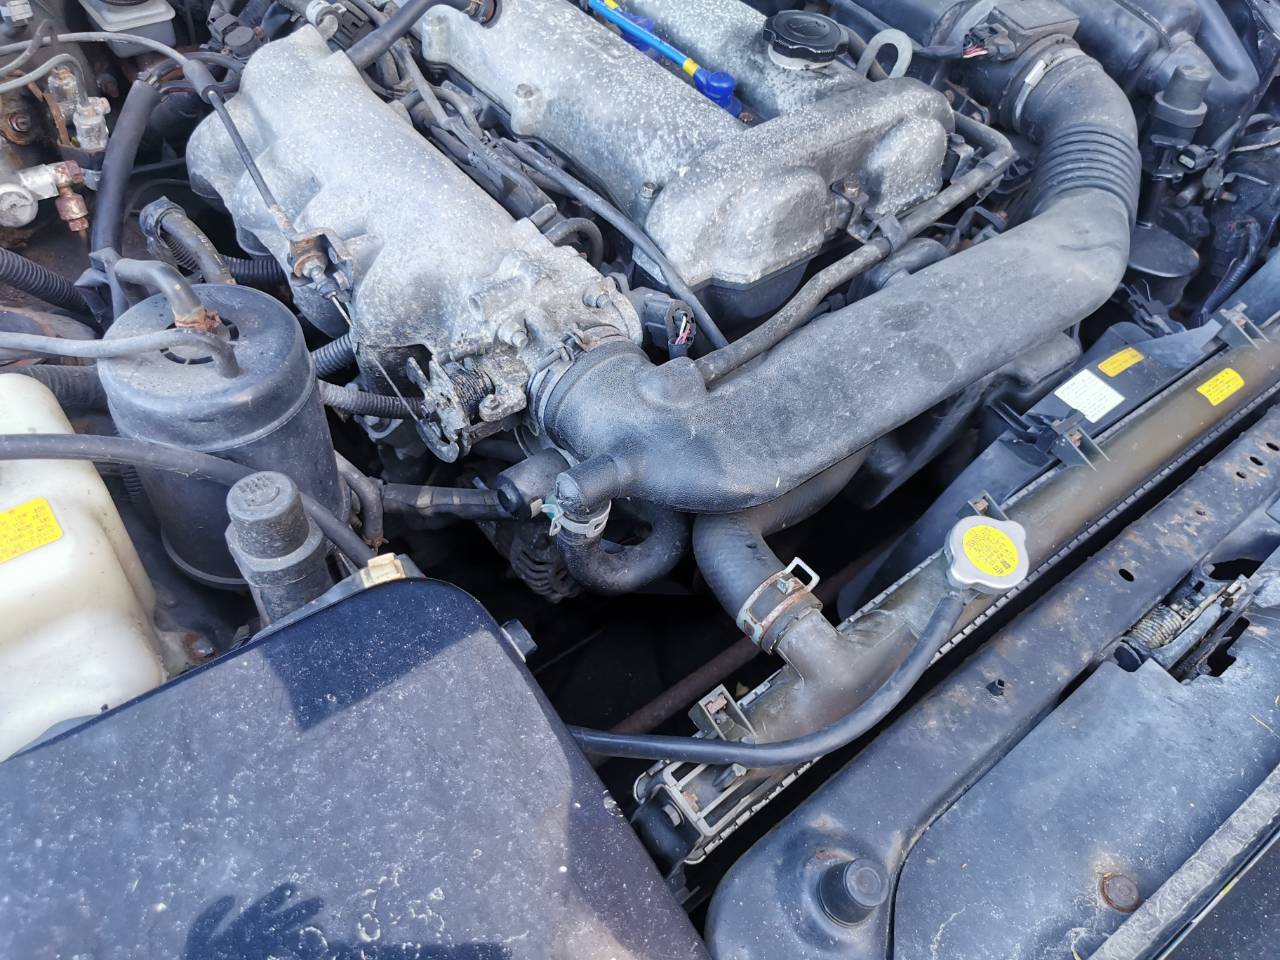
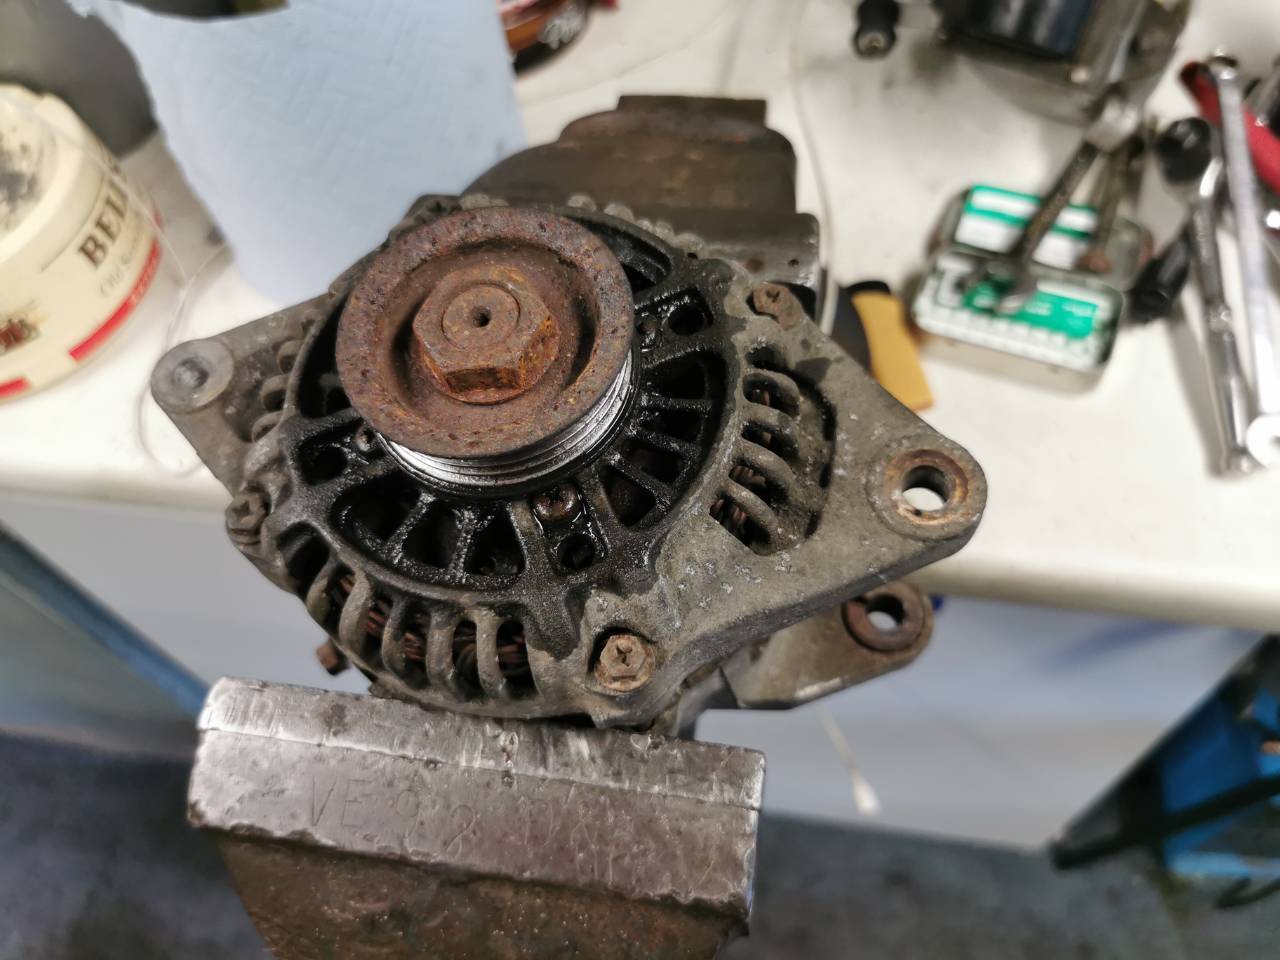
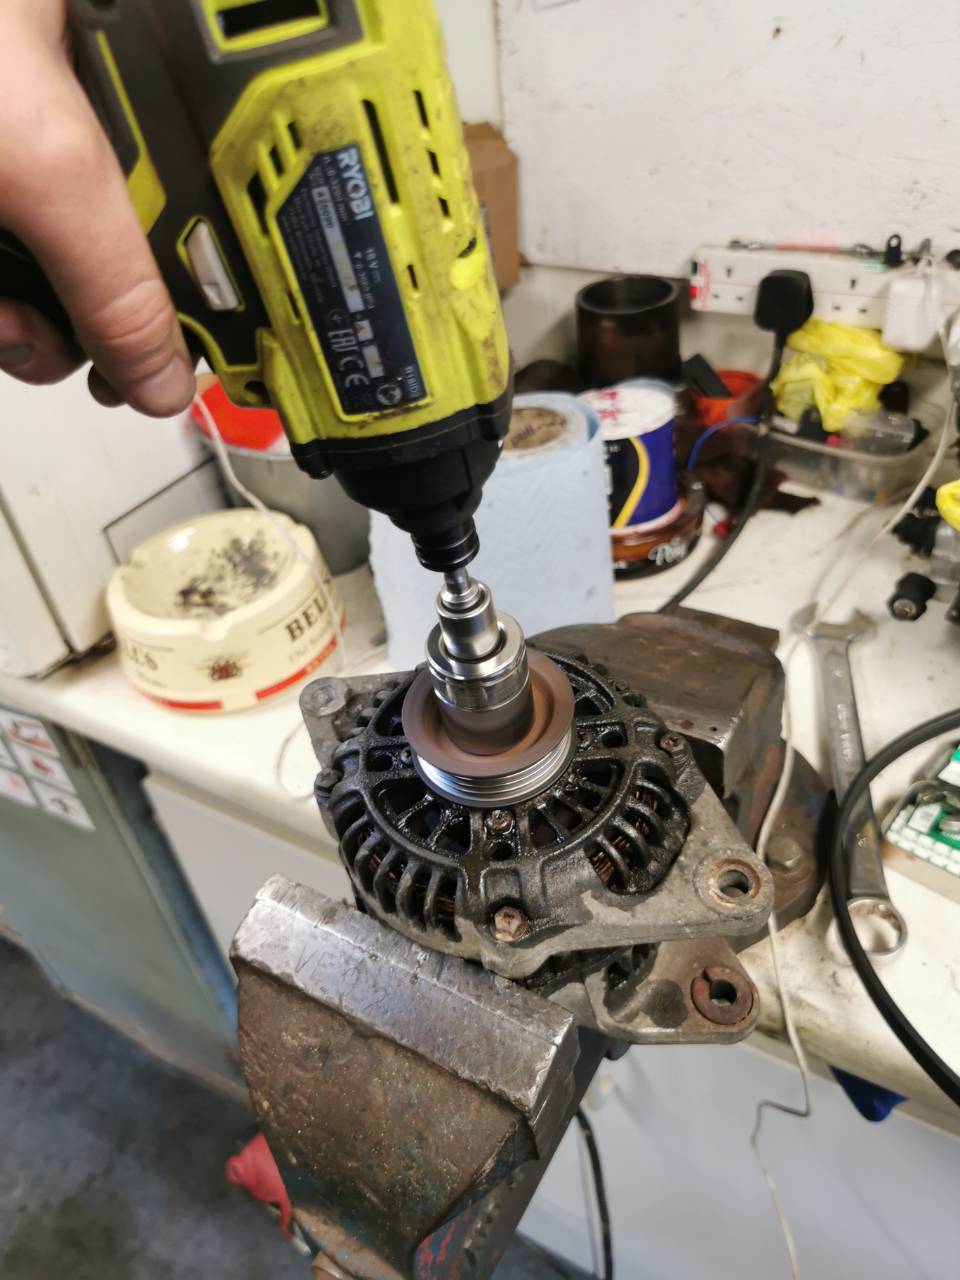
PARTS! Still awaiting rings though so I'm leaving the block until then, the tracking says it should be with me tomorrow. Still, whilst the sun was shining, it makes sense to look at one of the other pains in the ass. I wanted to rejig the driveway and get the Beat out of Winter Corner, so first things first, the MX5 needed to be fired up and moved. Wasn't overly optimistic, as it turned out I had left the battery connected the entire time, but fair play, it was a slow crank, but the engine fired into life. And immediately shut off because there was an awful screeching from the engine bay, and the battery light stayed on. I've encountered this one before on this car, 5 years ago so I knew the alternator had seized. Back then, I replaced it, so it's happened again, luckily I remembered how to contort it out of the engine bay. I got it in the vice and gave it a dousing of lubricant. Initially it barely turned with a 24mm ring spanner on, but eventually it freed up, and I kept it spinning on the impact driver for a bit to ensure it was free to rotate. The assembly free to rotate, it was a case of refitting the alternator and trying again. Aaaaand it didn't work. Once again, the screeching was back and the alternator wasn't spinning, so this alternator is toast. A quick browse of Facebook marketplace has located a new alternator for sale so I'm picking that up tomorrow, so I can at least get it moving again. The battery was placed on charge and probably won't be going back in, as it will be going back in the BX soon. At this point, MrsH came home with the boy and a very tired 2 year old girl who had a major case of the grumpies, so I knocked it on the head for the evening. Lunchtime finish at work tomorrow so I should be able to get some work done before the afternoon school run and swimming lesson. We shall see!

-
Presumably made of 8 £10 notes tied together 😂 A mate has said there's 3 E39 BMWs in a local scrappy so I'm going to figure out what tools I need to take to dismantle it, and take a trip over
-
Last day of leave from work and once again, no parts arrived. So, more cleaning and little jobs instead. The remainder of the gearbox was sprayed with degreaser and left to work in for a bit. First shitty job was the bonnet catch. Absolutely caked in old sticky grease and grime from 30 years of spraying any old shite onto it. Bit more degreaser and some aggressive scrubbing got it looking presentable again. Whilst re-lubricating the latch and operating the mechanism, it was clear that something wasn't quite right. The big spring on the left hand dislodged and was gouging into the catch. I held the spring in place with steel wire and twatted the top of the bracket to bend it over to retain the screw - job done. Was going to adjust the cable as there was quite a lot of slack in the system. Nice and simple, just one tiny screw to undo aaaaand... Never mind, it works just fine, I was just being picky. Next small job, the temperature sensor earth return terminal had came away from the cable - my old crimping tool was well past it. Annoyingly, I ran out of my tiny ring terminals, and with the clearance available, a generic one wouldn't work. In the end, I drilled out a male spade terminal to match the screw thread size and it fits perfectly. Anyway, with that done, I cracked on, and cleaned the rest of the gearbox up. Not perfect, but a hell of a lot better than what it was! Decided there was no better time to change the driveshaft seals. Old ones looked fine, but I had new ones so it made sense to change them! Both sides were changed, and rubber grease syringed into the seal cavity. I also greased up the gear change rod ball joints. In all honesty, there's very little I can do now until the last of the engine parts get here, so I'm going to take a break. LOL, as if. Herman has been sat on the drive since November, and his MOT has lapsed. There's currently an ABS fault that I need to look into, but as it was the first dry day with no BX work in months, I decided to start small and fit some bits that I've had on the shelf. For years and years, I've been told I need to change my throttle cable by Phill because it was corroded and the pedal felt stiff throughout the range of travel. I bought two replacement OE cables last year. First up, the throttle pedal cable. Surprisingly easy to strip and disconnect at the pedal box end, although the bulkhead clip was a bit of a twat to undo, due to the sound deadening. Brute force force got it out though. Followed the routing and it was adjusted and ready to go, resulting in a much smoother and lighter pedal. Next one was even easier, this was for the traction control. The actuator had to be unshipped for access to the other side of the cable. With a strong clip either side, I ended up taking it into the garage, clamping the free end of the cable in a vice, applying constant tension to the cable whilst simultaneously undoing both retaining clips. But it worked just fine the was a pleasant job. Sadly, whilst it needed changing, it wasn't the one I was intending to change, I was after the one for the cruise control actuator: The cable in this one is also pretty shagged, and at £90 for a replacement one, I'll be trying my luck at the scrappies in due course. It does work for now so it's not urgent. Whilst the airbox was out, I noticed some paint fretting and light corrosion on a contact surface. Treated it with Kurist, and applied some anti-chafing tape to the affected area. Anyway, with that all done, it was a quick and easy reassembly. Didn't start it up as the battery is still on conditioning charge in the garage. Up close, you can see the replacements were required! Anyway, I did decide to knock it on the head early for the night. I tidied the tools away and hoovered the garage floor, ready for the next evolution. Tomorrow, I'm back to work and we have a torque wrench tester. Going to take mine in so I can see what I need to set the torque wrenches to, in order to get the 20 and 60nm figures required for the head bolt torquing. Cheers!
-
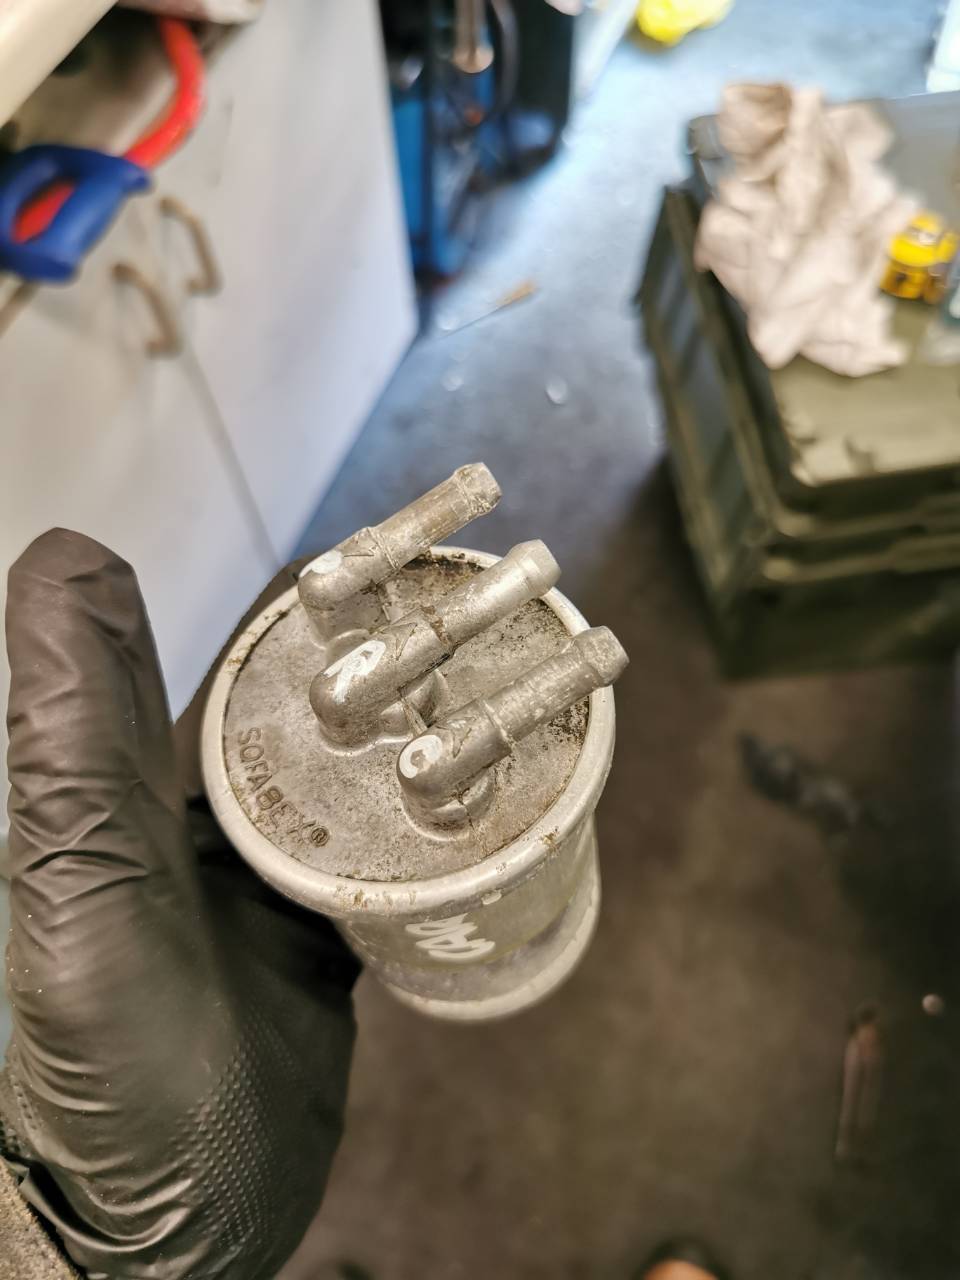
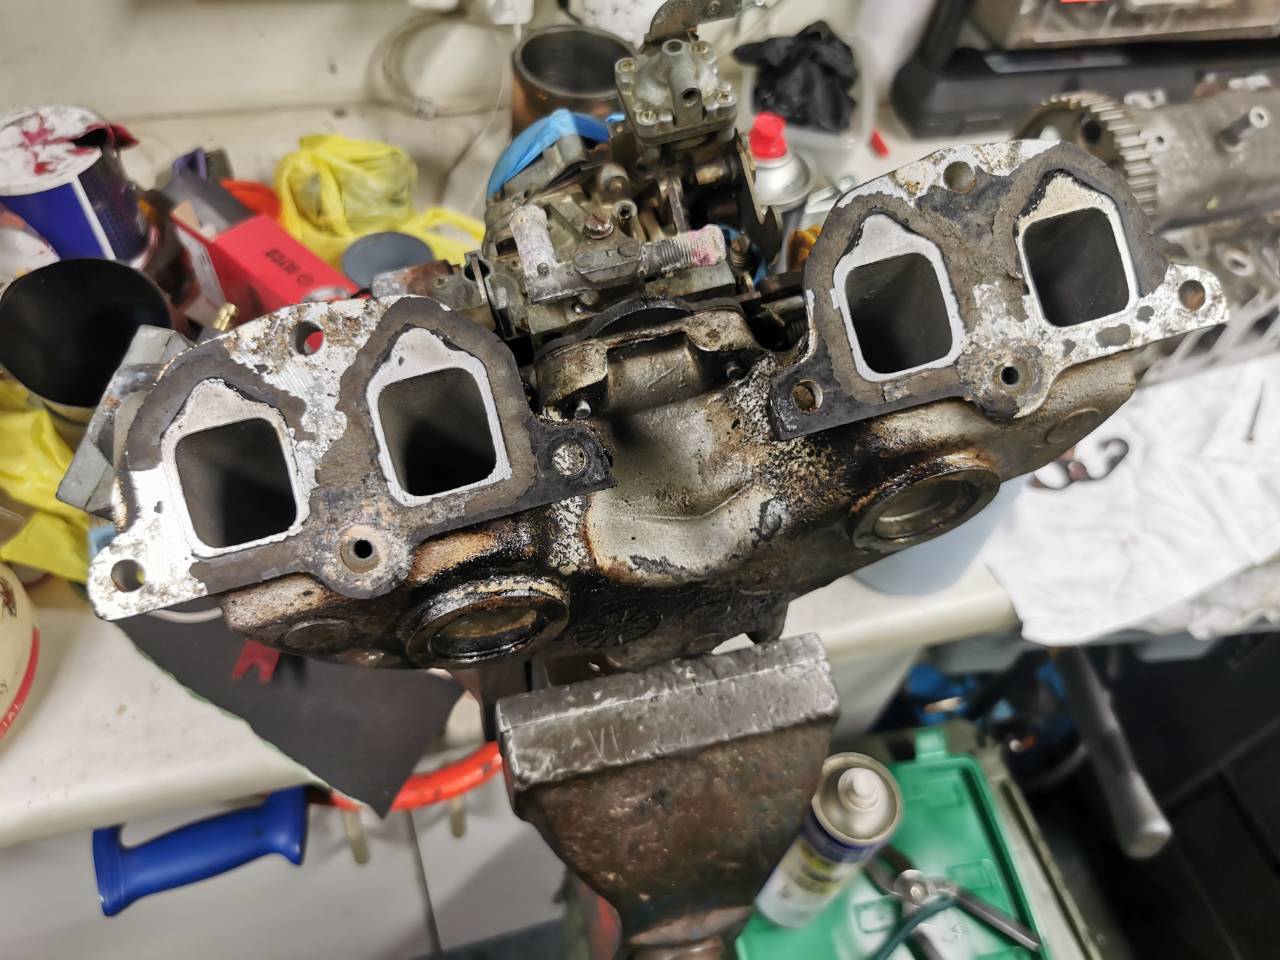
Another day with no parts, so it was lots of small jobs to prep for reassembly. First job was to source a new set of exhaust manifold studs. As I had a day off work, I went around all the local factors, including an exhaust specialist to get what I needed. And I came back empty-handed. Luckily, I've found a company that does the specific studs and nuts for a BX for £11 delivered online, so that'll arrive at some point. I also popped into @twosmoke300 who had a camshaft sprocket bolt, as well as lending me a set of engine head stands to check the valve clearances again. These turned out to be okay, only one was just out of limits and it wasn't enough to merit stripping down the head. I also removed the fuel manifold pipelines to measure up the required lengths and diameters of pipelines to replace them. Whilst dismantled, I gave the unit a clean, and marked where the pipelines go. I did get lucky at the exhaust place though, and got a manifold to downpipe fitting kit - I had to angle grind one of the bolts off during the engine removal. The cup washers required a sustained twatting effort to remove, but they gave up the goods eventually and I fitted the new cup washers and the conical mesh gasket. One of the bolts had to be fitted with the washer as it cannot be fitted afterwards. I gave the manifold mating faces a bit of a clean and scrub up too. Next, I cracked on with the inlet manifold. The carb had been replaced during my ownership by Dan, but I had a new set of carb gaskets and it seemed silly to let them go to waste. Noticed a little bit of erosion damage on one of the chamfered edges, so I filed it down slightly. Removed the old traces of gasket until the face was smooth. Then I blanked the holes and got busy with some parts cleaner and a brush - the entirety of the engine bay is bloody filthy, and lagged in a thick coating of oil-based grime. After a bit of time, I reassembled the inlet manifold. Looks much cleaner and nicer to handle! I also fitted the inlet manifold studs back into the head, after wire brushing the threads, they went back Finally, I decided to step away from engine and turn my attention to the next big component awaiting fitment. If the engine was considered dirty, this would be considered filthy. Annoyingly, as I removed the clutch arm for access and a re-grease, the pivot bush disintegrated. Annoying, but better it happened now instead of when I put it all back together. £7 for a replacement bush on eBay and we'll cross fingers that it arrives soon. The inner bellhousing did clean up nicely though. The outside of the box is also taking a bit of time, but there is progress being made. You can see the layer of grime I'm having to scrub off here, hopefully I'll finish this job tomorrow morning. I'm still waiting for the piston rings and hockey stick seals for No.1 crank bearing to arrive, once they're here I can really get cracking with the rebuild, but I'm not holding out much hope for the NL trip now. Not the end of the world as it's been a great target to strive for, but finding faults etc along the way adds extra time to the final date. Cheers 😁
- 366 replies
-
- 10
-

-
Thank you so much, I really feel it's important to tell it as it happens, warts and all. It certainly almost never goes according to plan but I'm not one to hide the fuckups and failures as it makes for a pretty dull thread otherwise. Thankfully @twosmoke300has been absolutely phenomenal with his advice and obscure knowledge, otherwise I'd still be curled up in a corner of the room sobbing 😅
-
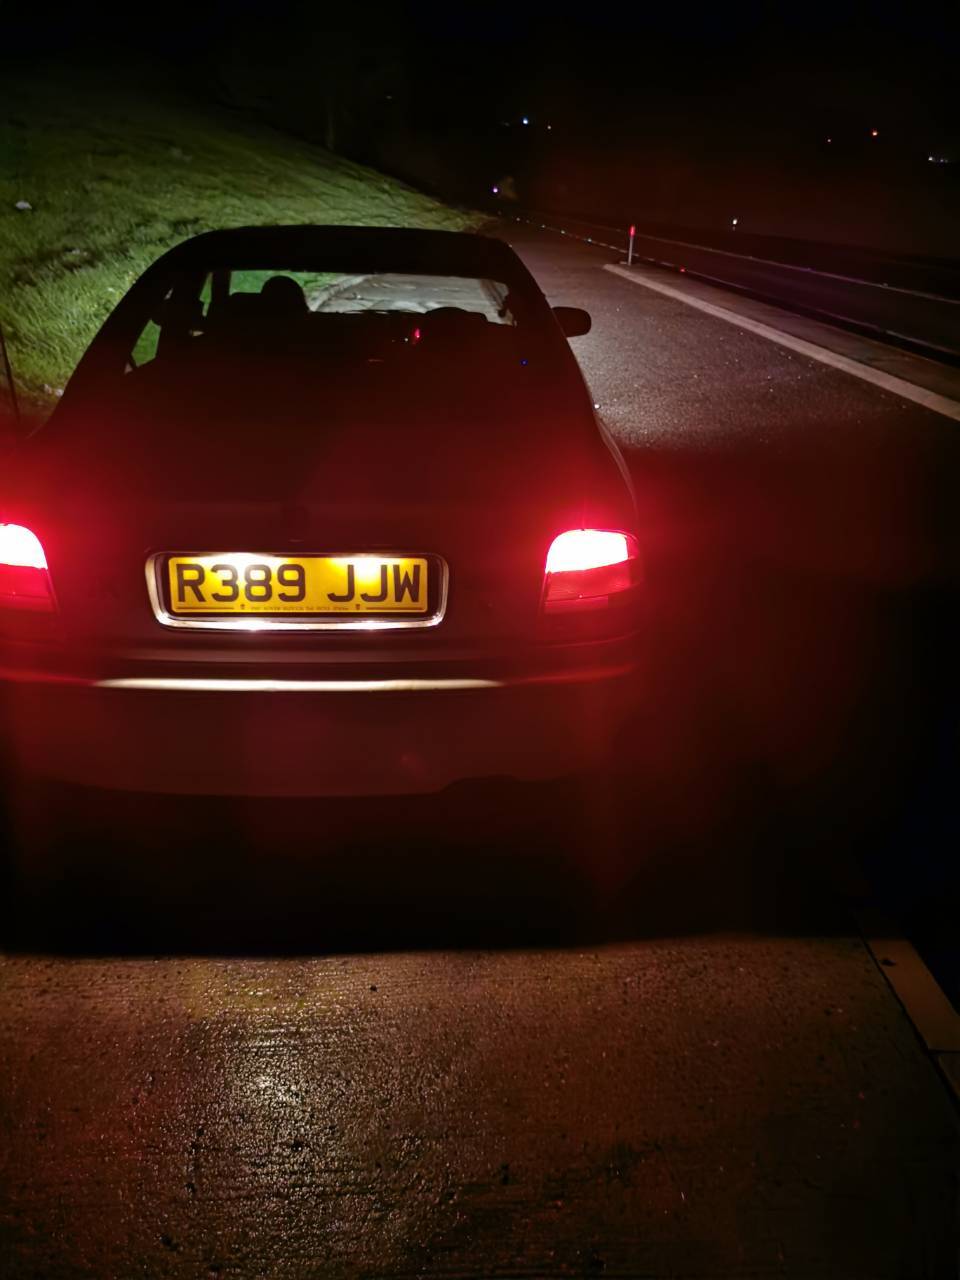
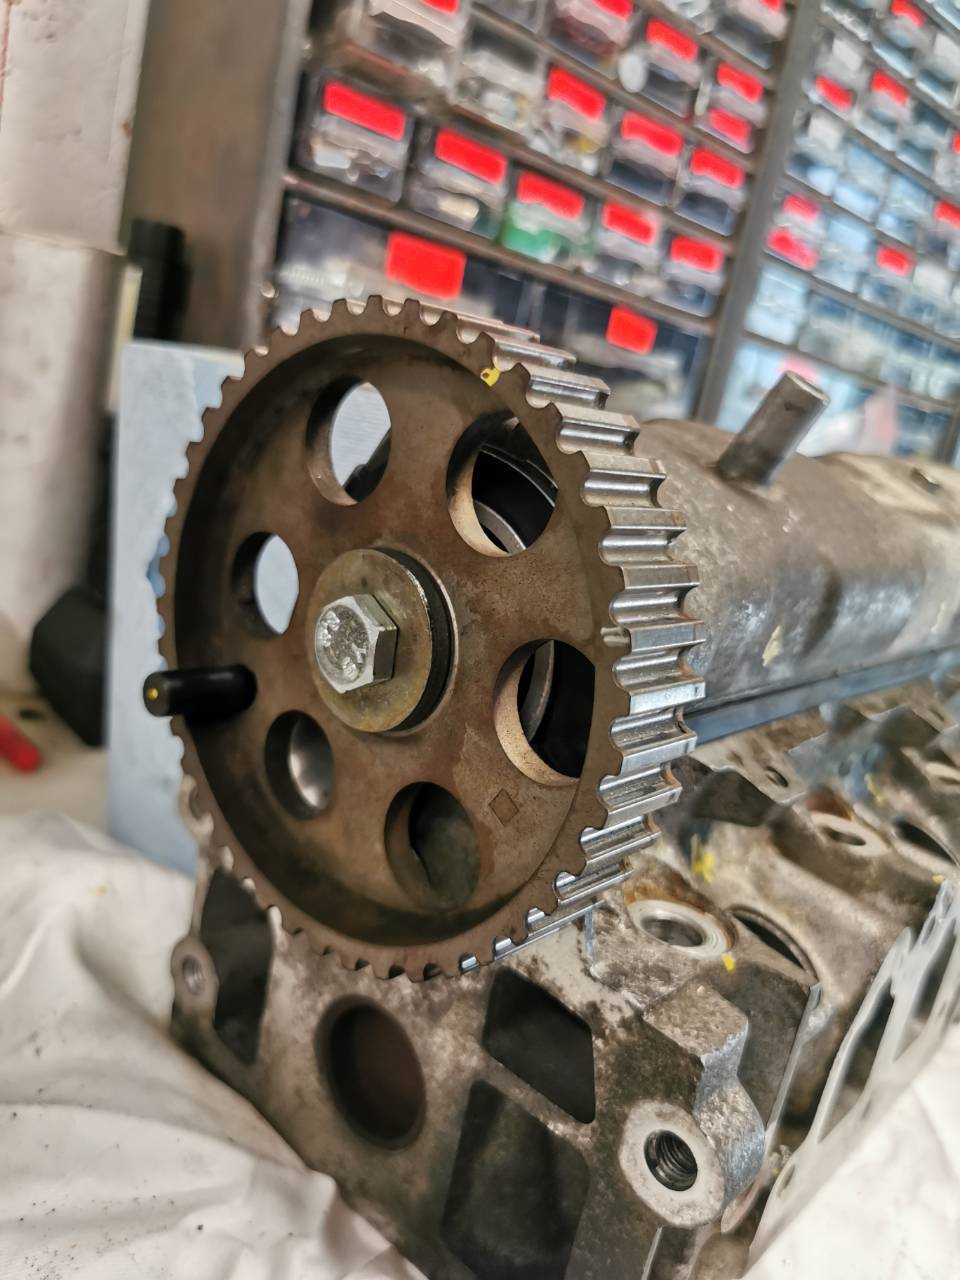
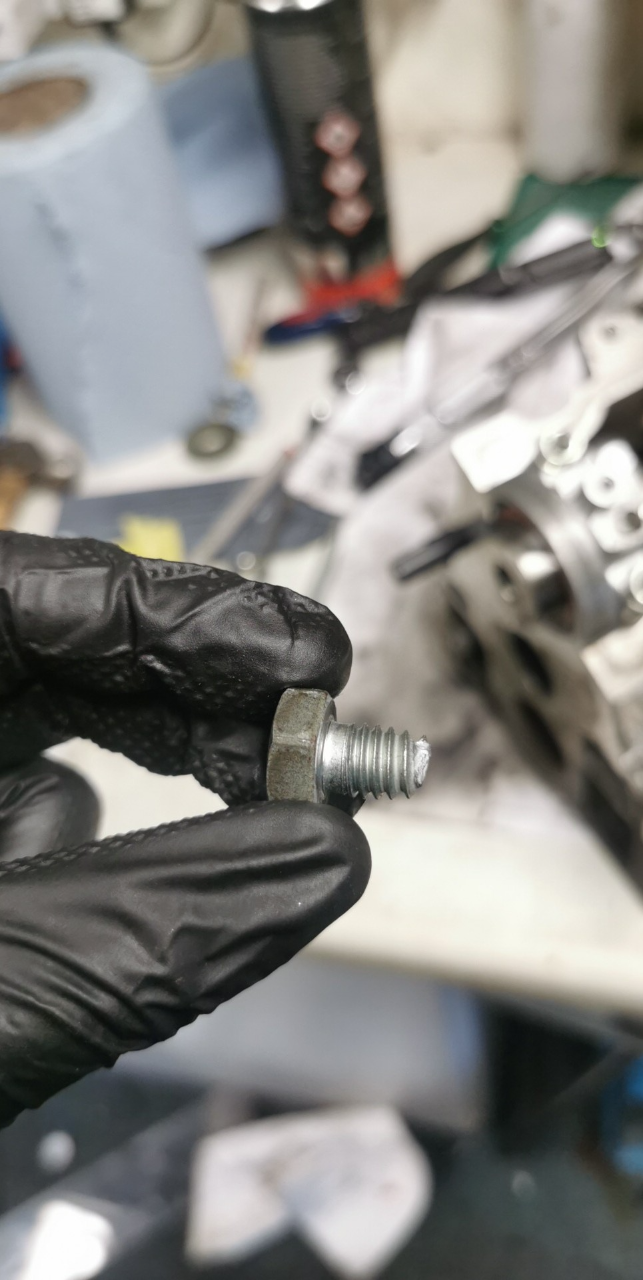
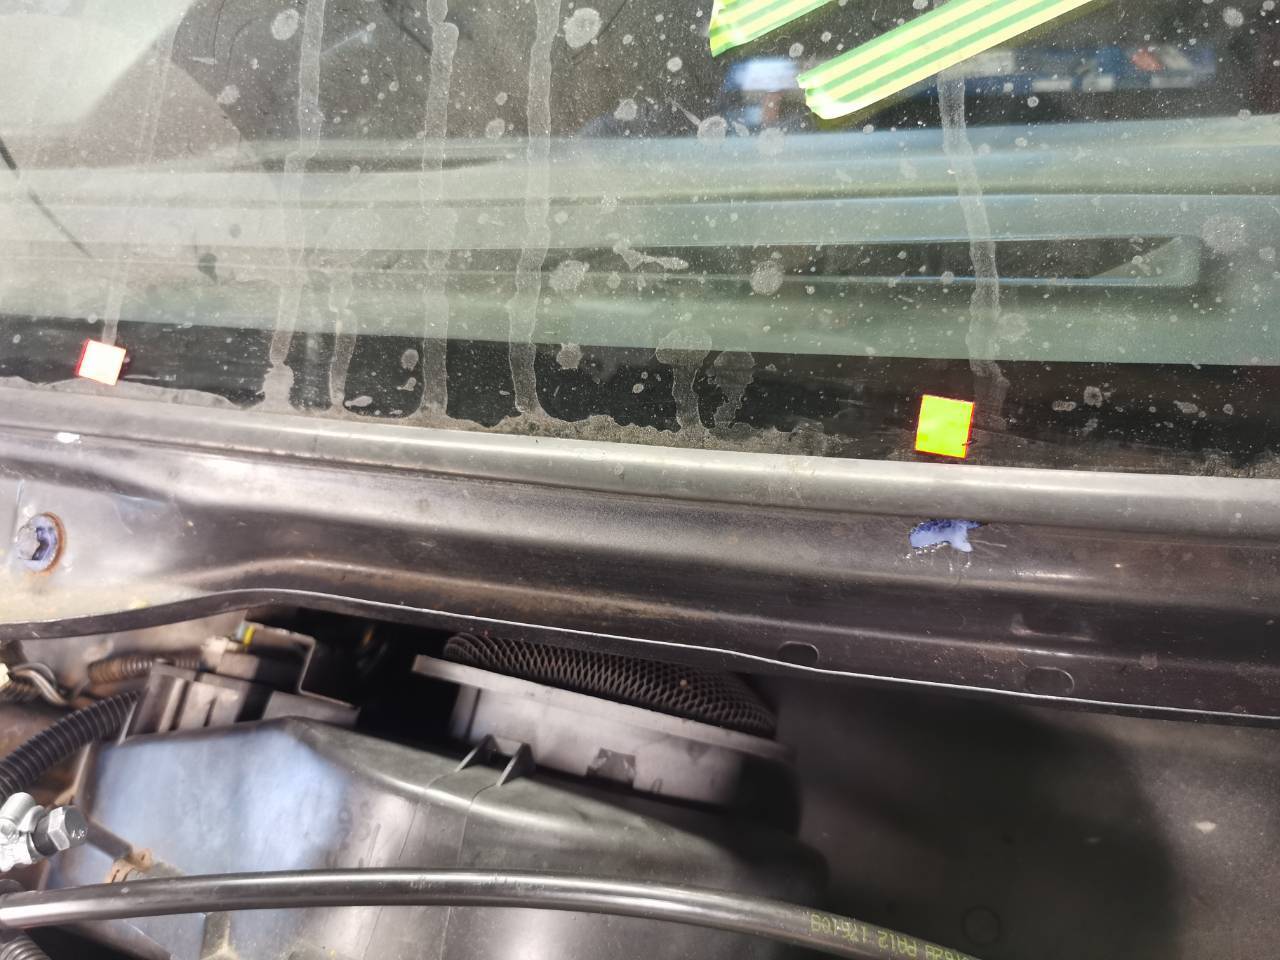
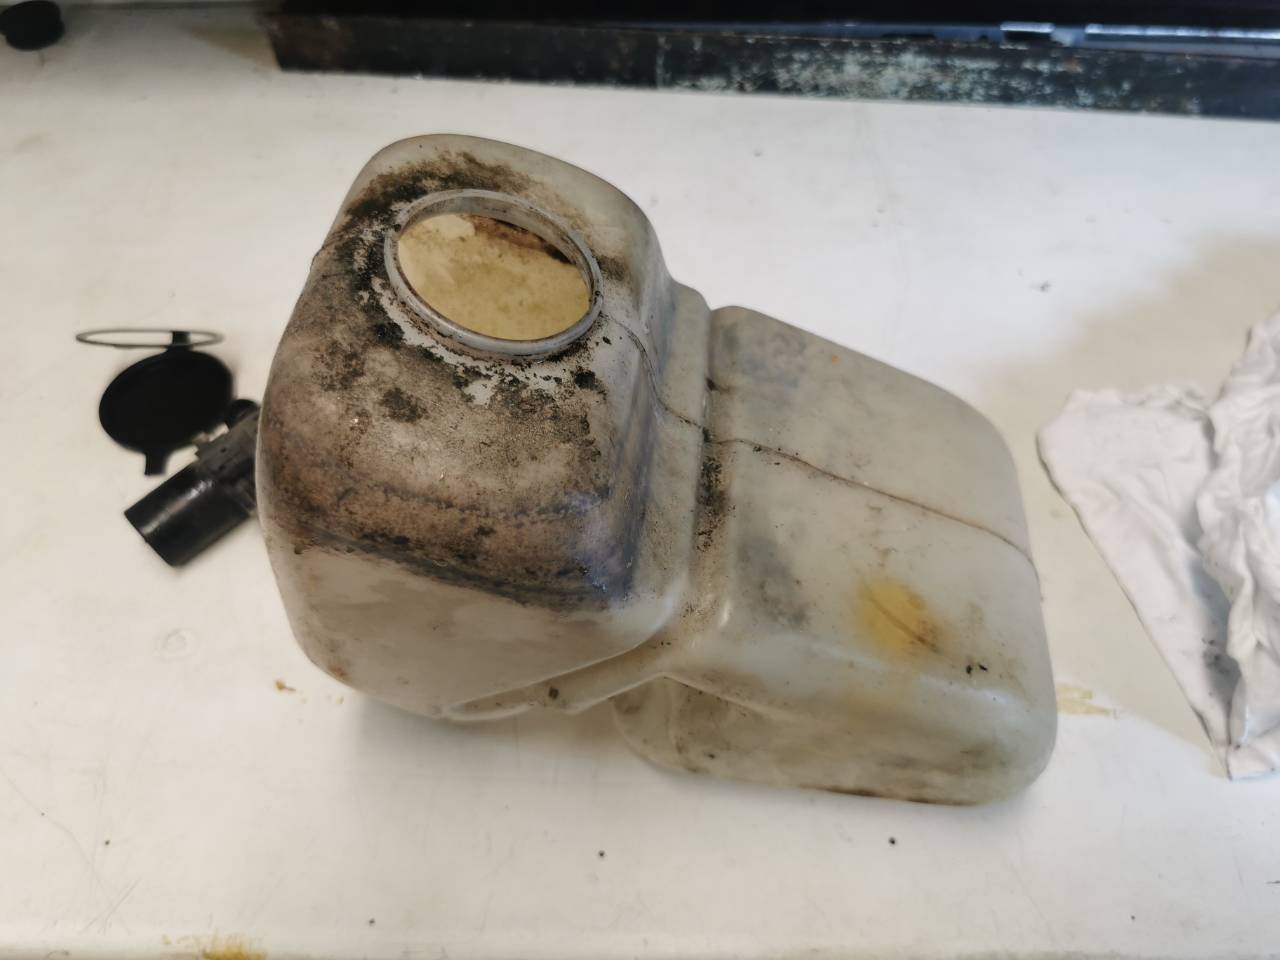
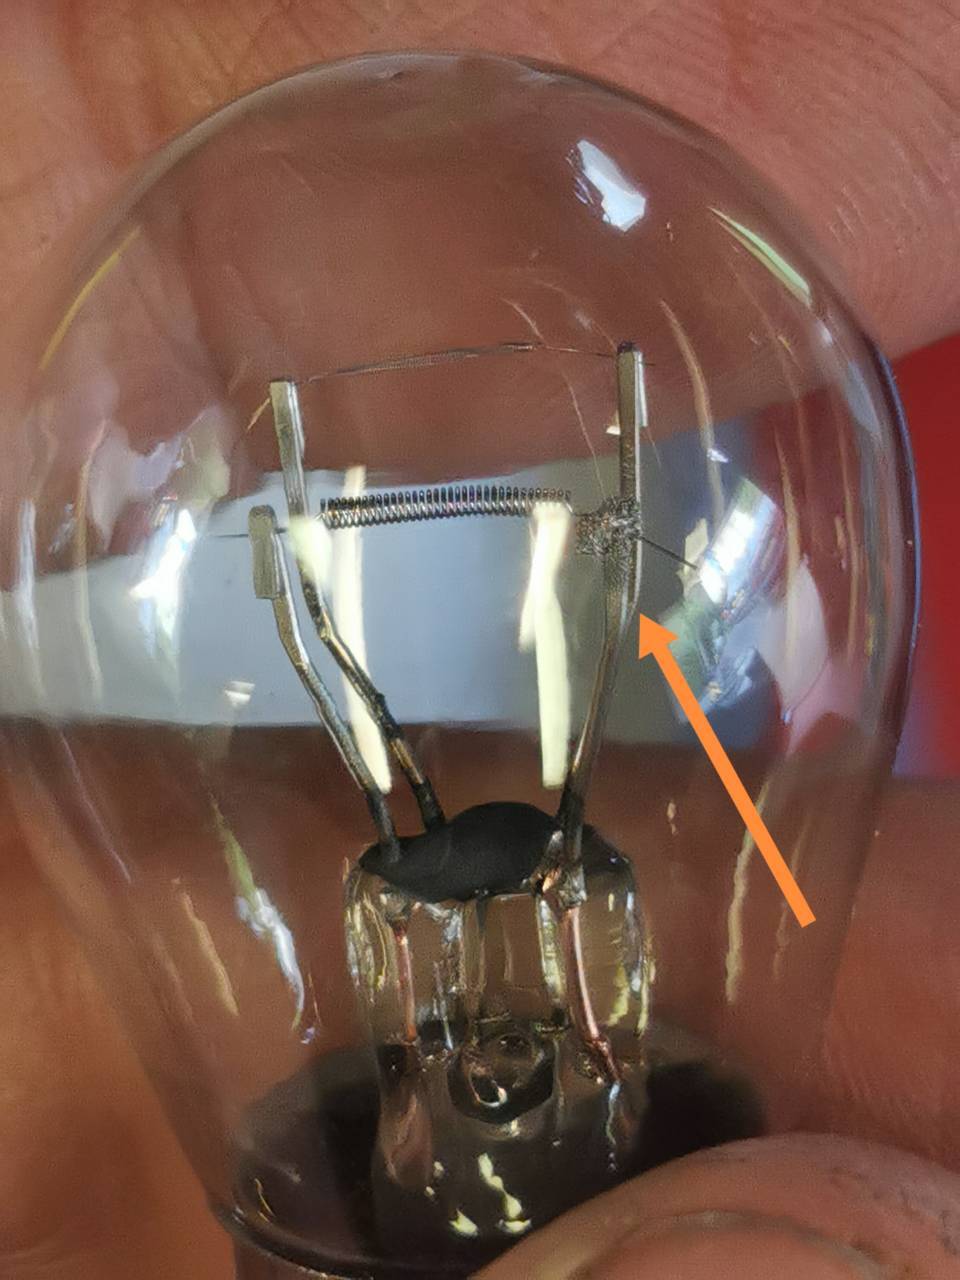
Been a lot of hits and misses this weekend. First up, trying to torque the camshaft cap studs was a pain, 15nm was simply not happening, even with the two nuts tight against each other, it was still turning down the shaft when close to 15nm. Tried adding a third nut to see if that would help matters, but ended up stripping the threads on the nut. In the end, I went for 10nm. It'll be fine, I hope. Fitted the cam, and new front cam seal before I torqued down the caps (minus one nut). Then it came to the camshaft pulley. Following the torque figure, I didn't even get close to the Haynes figure before disaster struck. That was....not ideal. I messaged Phill on a blind panic asking for advice, and he suggested drilling a 3mm hole in the bolt shank and hammering a torx socket into the hole to extract it. There were almost tears of joy when this came out. Then joy turned into anger when I decided to check the figures in my Autodata technical data book. Haynes (stated 80nm) for the sprocket bolt. Autodata? So the bolt failure was caused by a massive overtorque. Arse biscuits. To try and take my mind off it, I tackled some of the minor jobs, first job was removing and re-sealing the body seams around the bootlid hinge. Forgot to get any photos, but I scraped the old, dry seam sealer with a plastic scraper, masked the area off with tape and applied a healthy layer or Pureaflex40 to the joins. Whilst I was in the area, I managed to push the split section of the wiring rubber grommet into the hole, so it'll be a much better seal than the empty space that was there before! I continued the minor jobs, treating screen rust spots before they become sinister, Swapping out the rocker cover gasket: And getting this dirty bottle cleaned up as much as possible. Which cleaned up alright, but had highlighted how big the crack in the side of the tank was: As it was the rarely-used rear washer tank, I elected to try and repair it rather than replace. I used an old soldering iron to re-melt the plastic along the crack. It's not pretty, but it's sealed up and shouldn't leak so that's a win. The bottoms of these bottles have a sharp lip around their manufacturing joins which has been suggested aids corrosion by chafing through the paint - these were sanded down prior to install. The scuttle area had already been heavily lanoguarded about six weeks ago so all should be well there. Unrelated to the BX, but a mate followed me on the commute to work and told me one of the Rovers brake lights wasn't coming on every time. Luckily, I have spare bulbs, but it was quite interesting to see the where the filament had broken loose, flapped around a bit until it made the circuit and 'tacked' itself back on. Herman has had a front fog light doing that for years, so the build-up there must be spectacular. Eventually, I decided to carry on with assembling the 3 pistons and liners, I'm still awaiting parts to assemble the final cylinder but this is a good start. Turns out I needed to order another set of piston rings too, thanks to my ill-fated attempt to fit them last time: Annoyingly, this was a pain in the arse. Autodoc did them at a reasonable price, but the delivery time takes the piss at around a fortnight. I found some on eBay with a two day delivery, so I placed the order on Sunday. I then sent the seller my details, and they cancelled the order! Apparently they weren't compatible. I've told them I want the rings and will assume the risk - the manufacturers of the piston rings list the set as compatible for every 1.6 XU engine except the XU52C. I can't see what difference there would be though, so I guess we'll find out in a couple of days. Anyway, the ring gaps were checked prior to fitment, they were all bang on at around 0.50mm. With the new set of plier-style piston ring compressors, I was STILL having issues with the rings. I asked Phill for advice, and he very gently pointed out I was being a bit of a fuckwit and assembling the oil control ring at the bottom incorrectly, which in turn meant the ring wasn't compressing properly. With the correct advice dispensed, and a slight tweak to the piston ring compressor, we were finally making progress! A fresh seal was fitted to the base of the cylinder liner before slotting it into place. Eventually, I got all three complete assemblies in. And clamped the liners down. Then I nipped back to the house for a pee, and noticed that Mini had snuck into MrsH's car whilst she was unloading, and got himself locked in. Tit. I decided to crack on with bolting in some external components, so the oil pressure switch, water pump and timing belt tensioner pulley went on (the old one was really rather grumbly and rattly) The pump came from Autodoc and was their own brand (RIDEX) and it seemed pretty well made. Next up, the crank bearing seats were cleaned, new shells were fitted, and the crank lowered into place. This was a pain in the arse with the liners and pistons fitted as the conrods were in the way, this was aided with some steel wire to hold them in the middle position. The crank bearing caps had fresh shells and an oiling before being loosely assembled. I'm still awaiting the seals for No.1 bearing cap so I've not fitted that yet. After that, it was applying the last coat of lacquer to the windscreen frame rust spots. The paint colour match is pretty poor, but it won't rust and that's what matters. I spent the remainder of the evening googling part numbers, dimensions and specs of the cam cap nut. The Citroen parts catalogue specified a nut and washer assembly, the Peugeot catalogue specified a flange nut. Seeing as this was what was fitted, I went with that, got the size and thread pitch and started searching. I eventually got three part numbers, and the phone numbers for potential dealerships that could have the nut I need in stock. A bit of phoning around yesterday morning ensued. The Peugeot dealership said they could source the nuts, but they wouldn't be here till Wednesday and were £1.25 each. My second dealership took the part number, said 'Yep, we've got 14 in stock here, and they're 63p each+VAT'. Didn't bother ringing the third. The dealership? Yep, I went in my Rover that's really a Honda, to a BMW dealership to pick up some nuts for my Citroen, which was sourced using specs from a Peugeot parts catalogue. The parts fella that came out was very friendly, and couldn't believe what vehicle the nuts were for [emoji28] I ended up having a chat with him about the Rover parked outside and he was really enthusiastic. Ended up buying 10 nuts as it makes sense to replace the entire set. Got home and checked the nut - it's a good fit, a bit taller and with a wider flange than the originals, it feels much more substantial. The nut is originally used to hold inlet manifolds onto various BMWs. I started checking valve clearances but this ended up being a pain to rotate the camshaft without the sprocket bolted in. I checked the first 4 and found them to be juuuuust within limits, I'll check the other 4 later when I've got the camshaft bolt and torqued it in. Boring stuff, but prepping for when it gets reassembled, the fuel pump gaskets were changed, thedistributor oil seal was replaced: And the inlet manifold gasket was tackled. This took an absolute eternity - it was properly on there! The mating faces were eventually cleaned with a scotchbrite pad and WD40 to get a smoother mating face. Today, I'm into my two days off that was pencilled in for engine building - not much bloody use of I've not got all the parts together! I'll be working on various other little jobs instead. Cheers.
- 366 replies
-
- 12
-
-
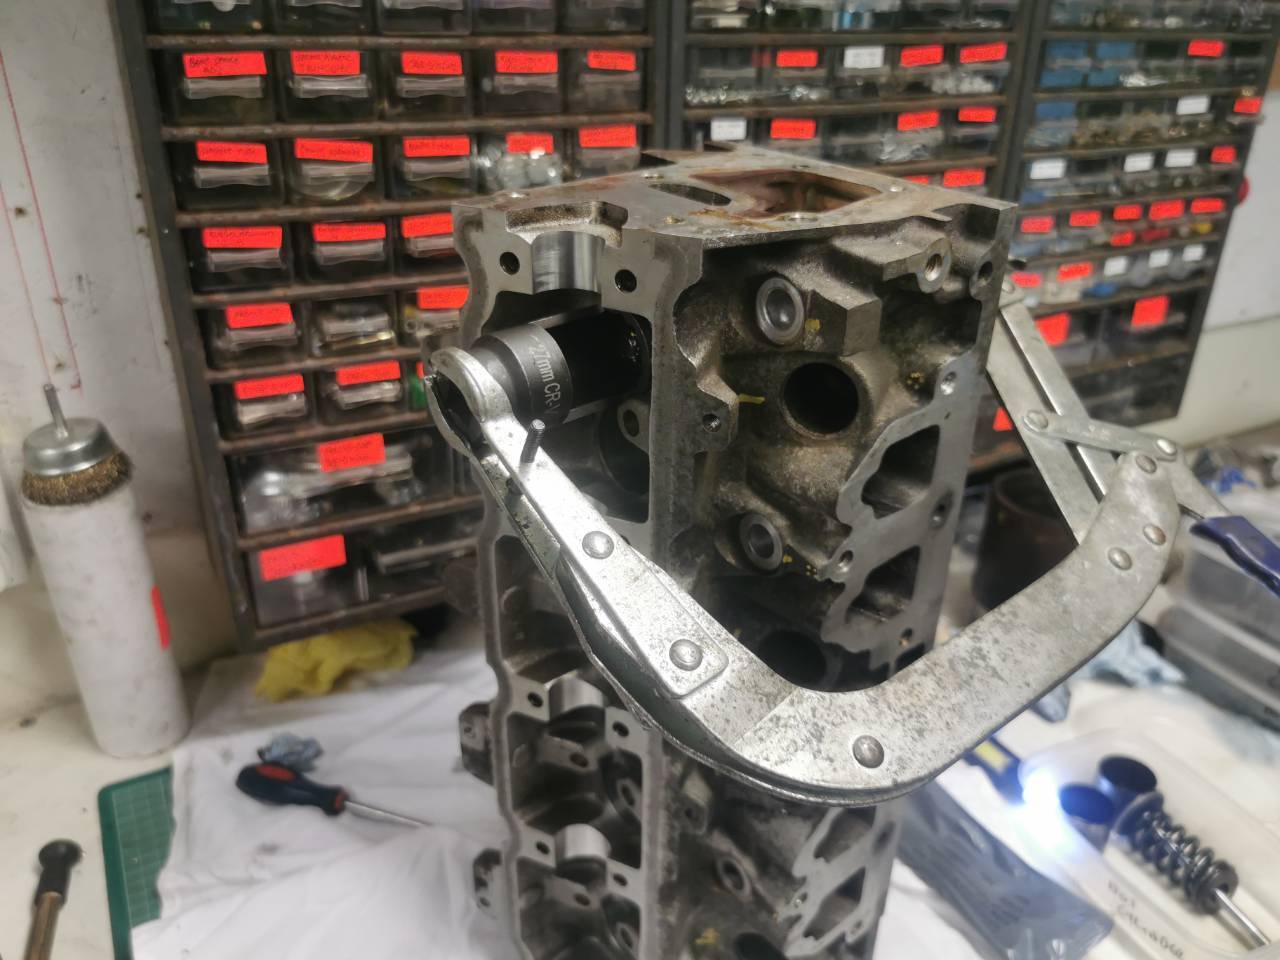
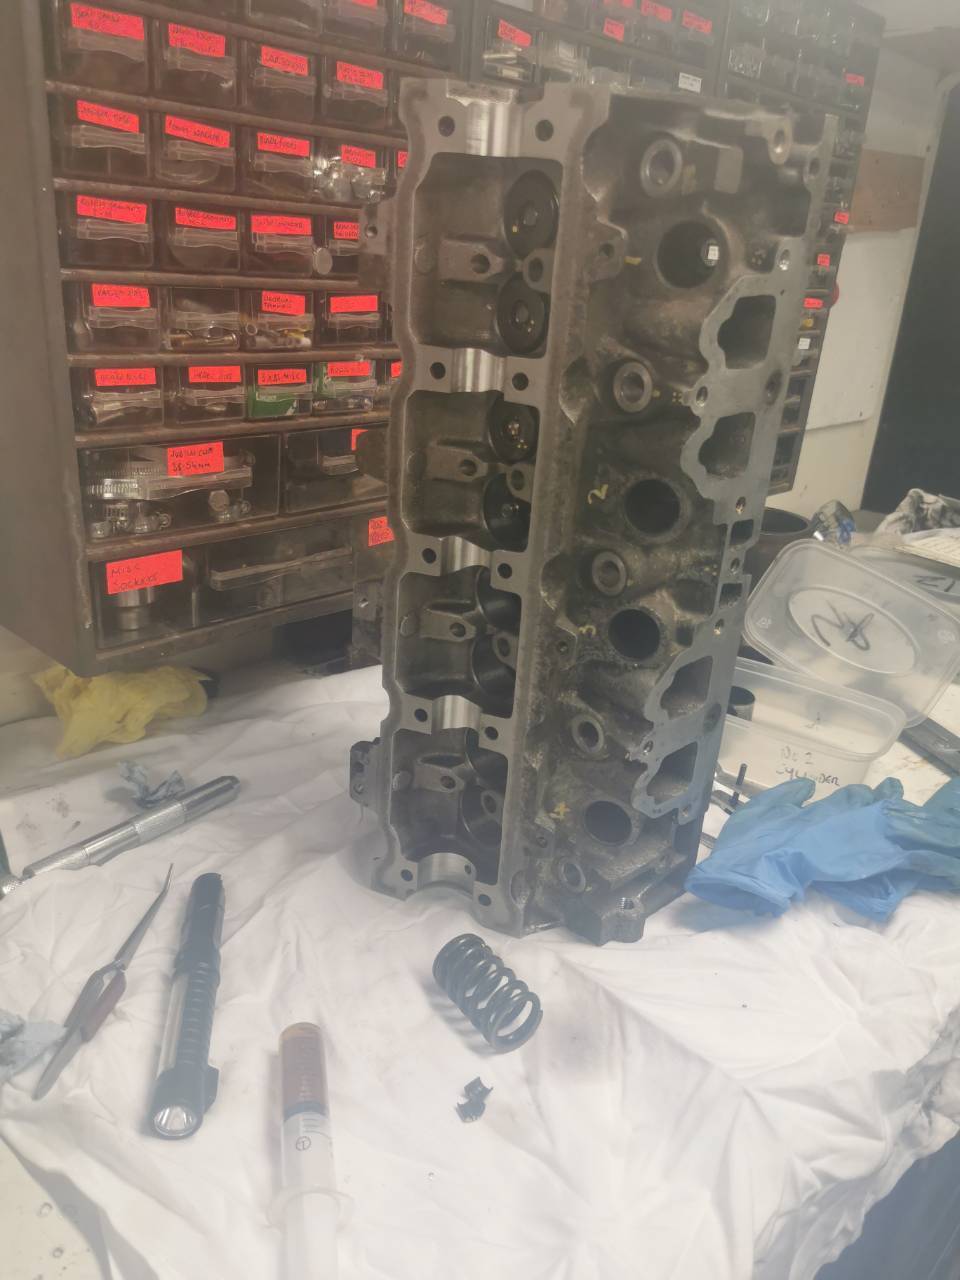
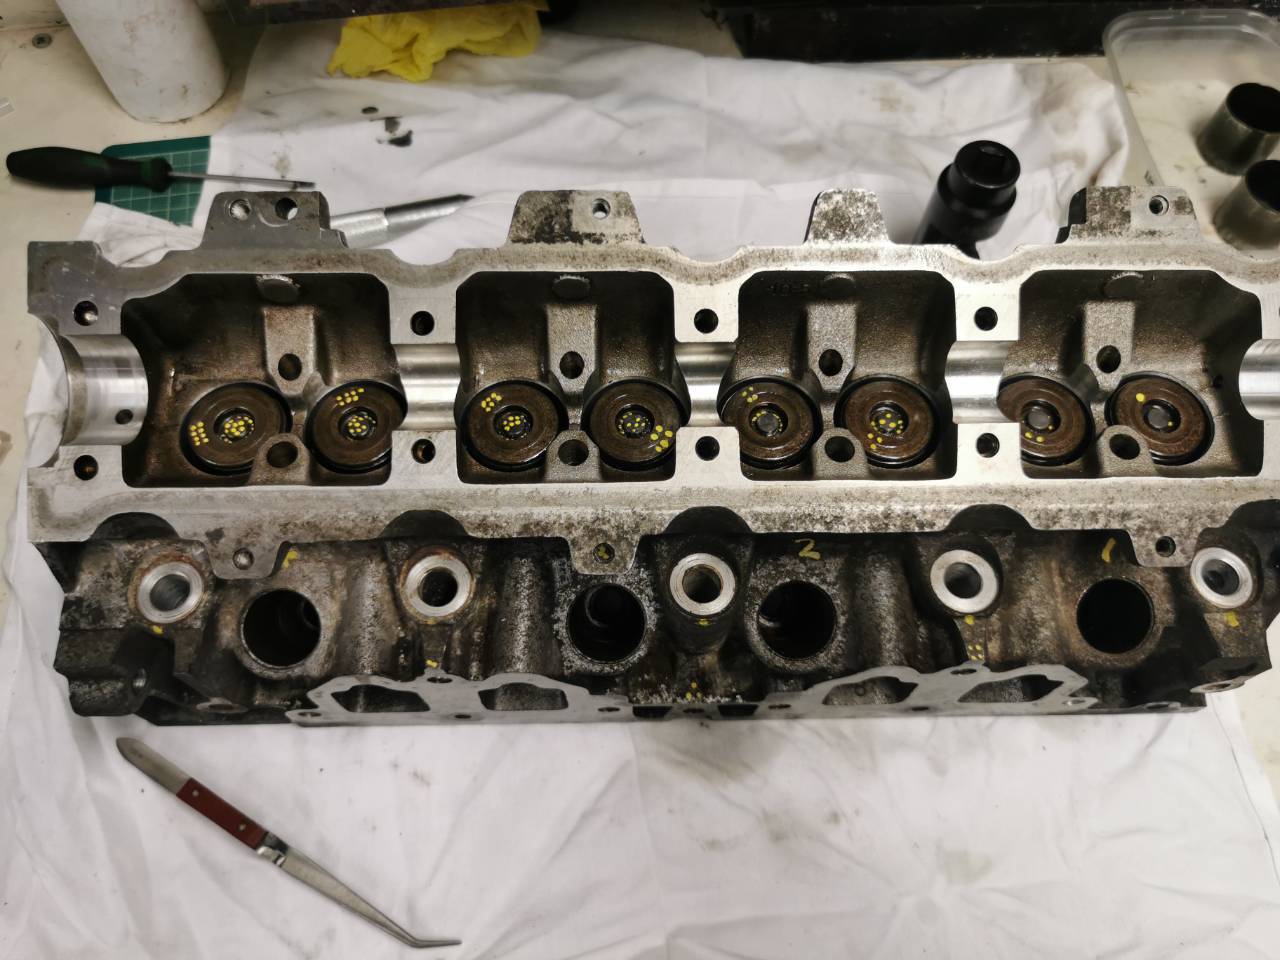
Well, the block is on hold until I get the new tooling and spares, so may as well crack on with the head. I've moved my leave at work one day later to Tuesday and Wednesday to work on the block - hopefully everything arrives before then 🤠 Starting with lapping the valves. This was actually one of the most relaxing jobs I've done on this car. Nice and steady, and taking my time. Results are promising too. Should help keep the head a bit more gastight! After a lot of tweezer action, fangs, and the air gun, I got the majority of the swarf out of the head chambers, I installed the valve stem seals - piece of cake with the insertion tool that came with the removal pliers. Finally, it was time to re-introduce this haggard lash-up to reassemble the valves! I was unsure if this was going to work this time around, but thankfully it did! With the stems lubed and the collets greased, everything came together nicely and all 8 valves were fitted. After that, the tappets and shims were greased/lubed and fitted, and the camshaft studs fitted. Going to check torque them again with the advice from @red5 (Thanks mate!). But first, it's breakfast time.
- 366 replies
-
- 11
-
-
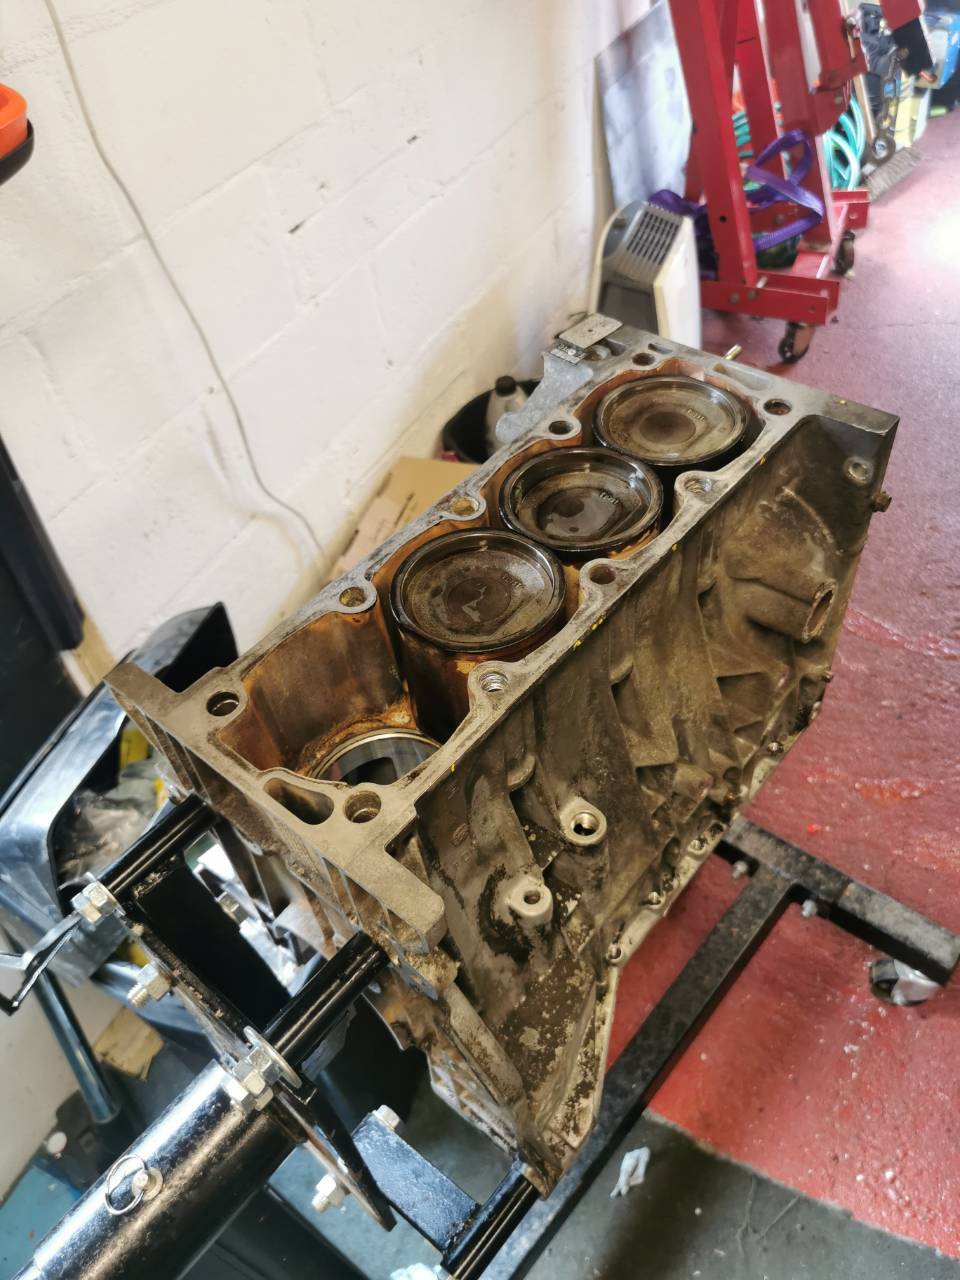
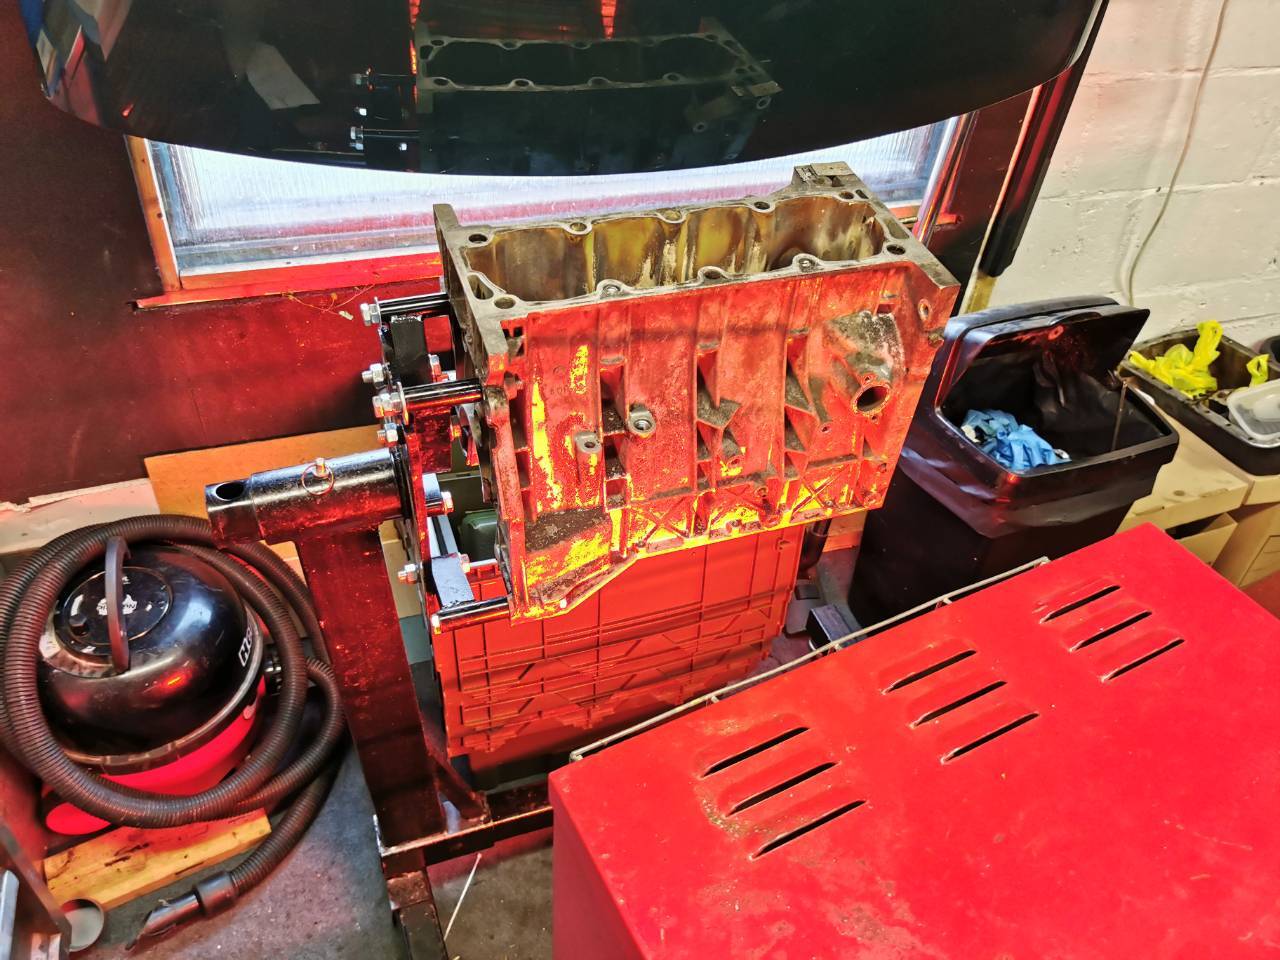
Ah Christ. One of those days. Started off promising, with me submitting two days work next week for the sole purpose of building and not installing the engine. Thought I'd get a head start on it by dragging the block out to clean it of all the swarf from the machining. Covered in neat degreaser, brushed on and pressure washed off. Popped it in front of the UV lamp to fully dry it off. Then, I loaded the piston rings onto the first piston. Then, the fuckery came in waves. Firstly the two piston ring compressors I had wouldn't tighten the rings enough to get in the liner. Then, big problem. The liner was found to have a crack in it. Granted, I'm not sure if this occurred when it fell off the bench earlier or wether it was always there, but it put me in a proper foul mood, so I stopped for the evening before I did something I regretted, fired up eBay to get a new one, and went inside for lots of booze. This is going to be tight to make the NL trip.
-
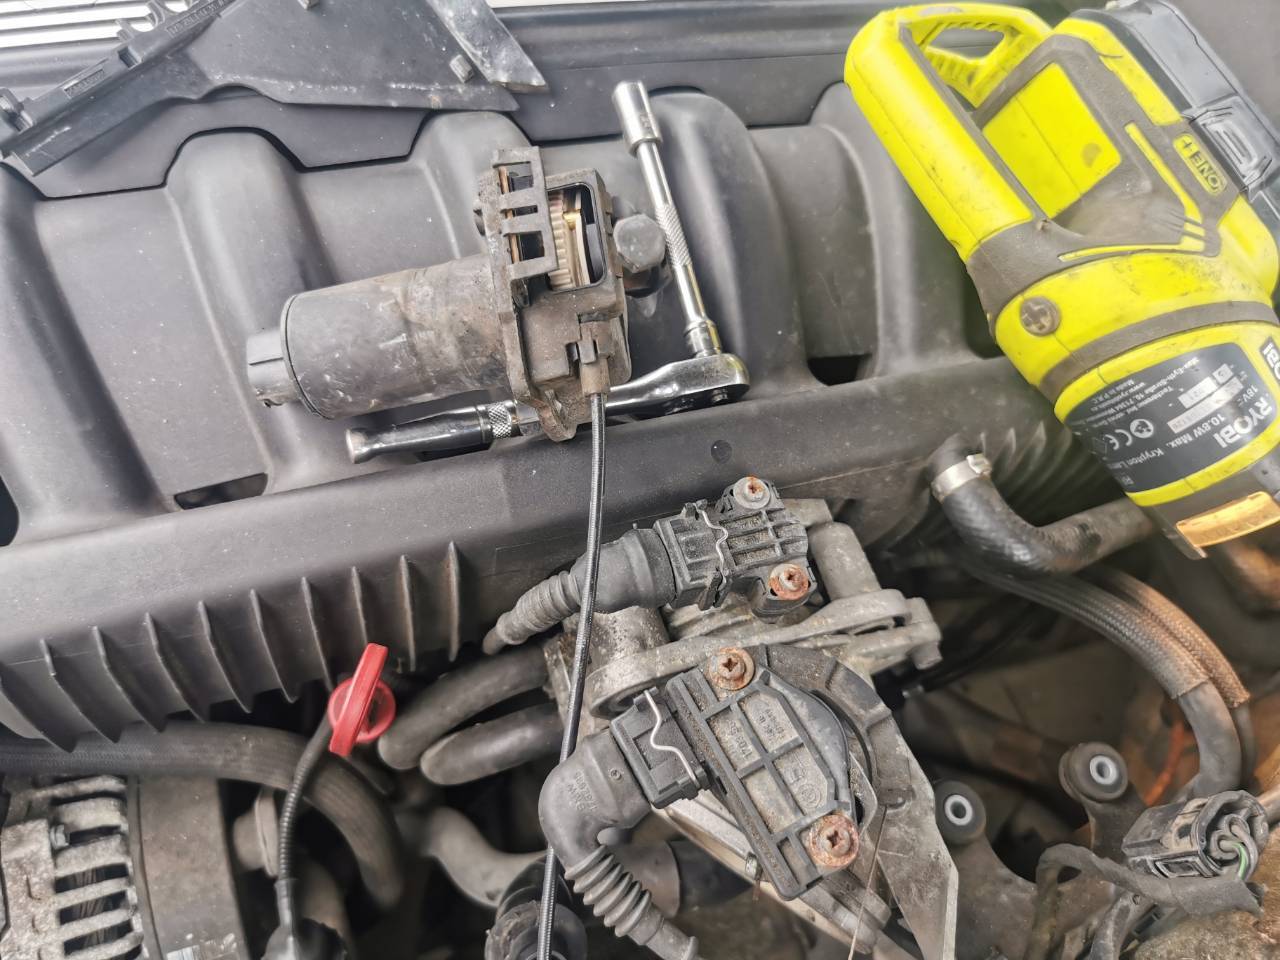
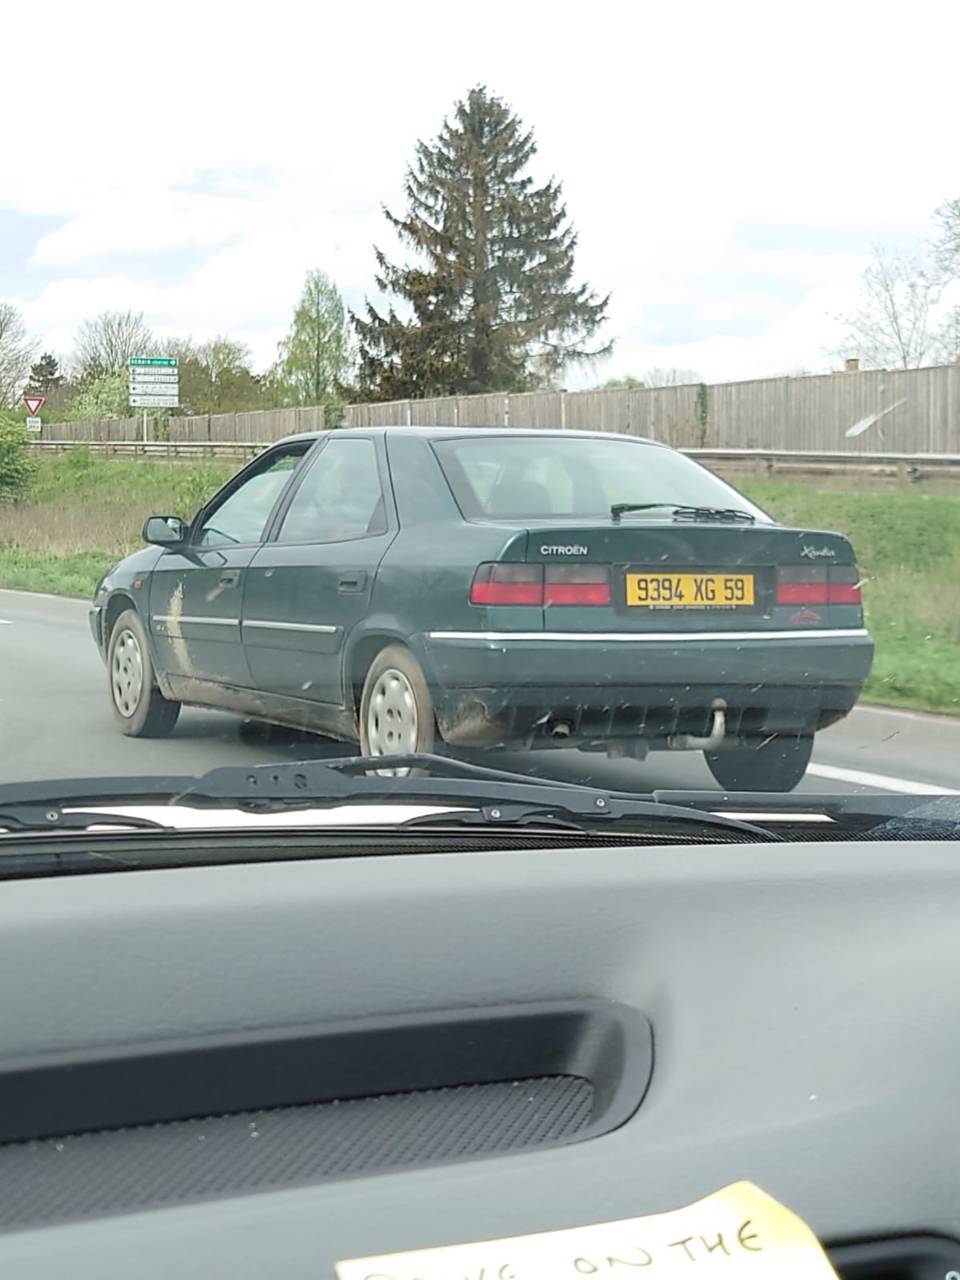
No point pussyfooting around it, I had to do one of the most unpleasant jobs on a BX today. The steering rack boot - usually a fairly simple swap. Not so with a BX. The power steering hydraulic ram is external to the steering rack, so ram eye-end attaches to the nearside rack arm via a protruding lug (shown after I installed the boot) First things first, the old one was whipped off. The track rod end was left connected to the hub on each side, and simply unscrewed from the steering rack, to roughly retain the tracking settings. The old rack boot had been fouling a bent handbrake cable bracket, and had also dislodged it at one end. The new boot was thrown into a boiling kettle for a while, in an attempt to soften the boot and give a bit more elasticity. The kitchen drawers were raided for spare spoons, in an attempt to allow the boot to safely stretch over the lug without tearing it. This was a total arseache, compounded by the fact the BX is on the lowest point of the axle stands at the moment. Crawling underneath it every few minutes was a pain, especially with the pigtail hydraulic pipes running through the middle of the engine bay. Through divine intervention, I eventually got it on after much swearing. The aftermarket boot was much bigger at one end than the 44mm either side, so a jubilee clip was utilised to evenly take the slack up. The other side was a breeze by comparison, and within half an hour, the offside boot was replaced and the track rod ends reconnected. The nearside boot does touch the hydraulic ram, but it shouldn't cause any issues. Pretty sure this concludes the jobs around the engine bay. I'm planning to take two days off work next week so I can try and put some graft in to get back on schedule for the target date. Oh yeah, here are a few random spots I forgot to post from last week: The Xantia was very bouncy on the road, suggesting the spheres are not having a good time. Cheers!
- 366 replies
-
- 14
-
-
That was the plan until I got dicked with those awful diversions. I've got excess leave anyway so this felt like a worthwhile use of a day 😅 Back in now though!
-
I have a 2 year old and a 6 year old. What's a lie-in? 😅
-
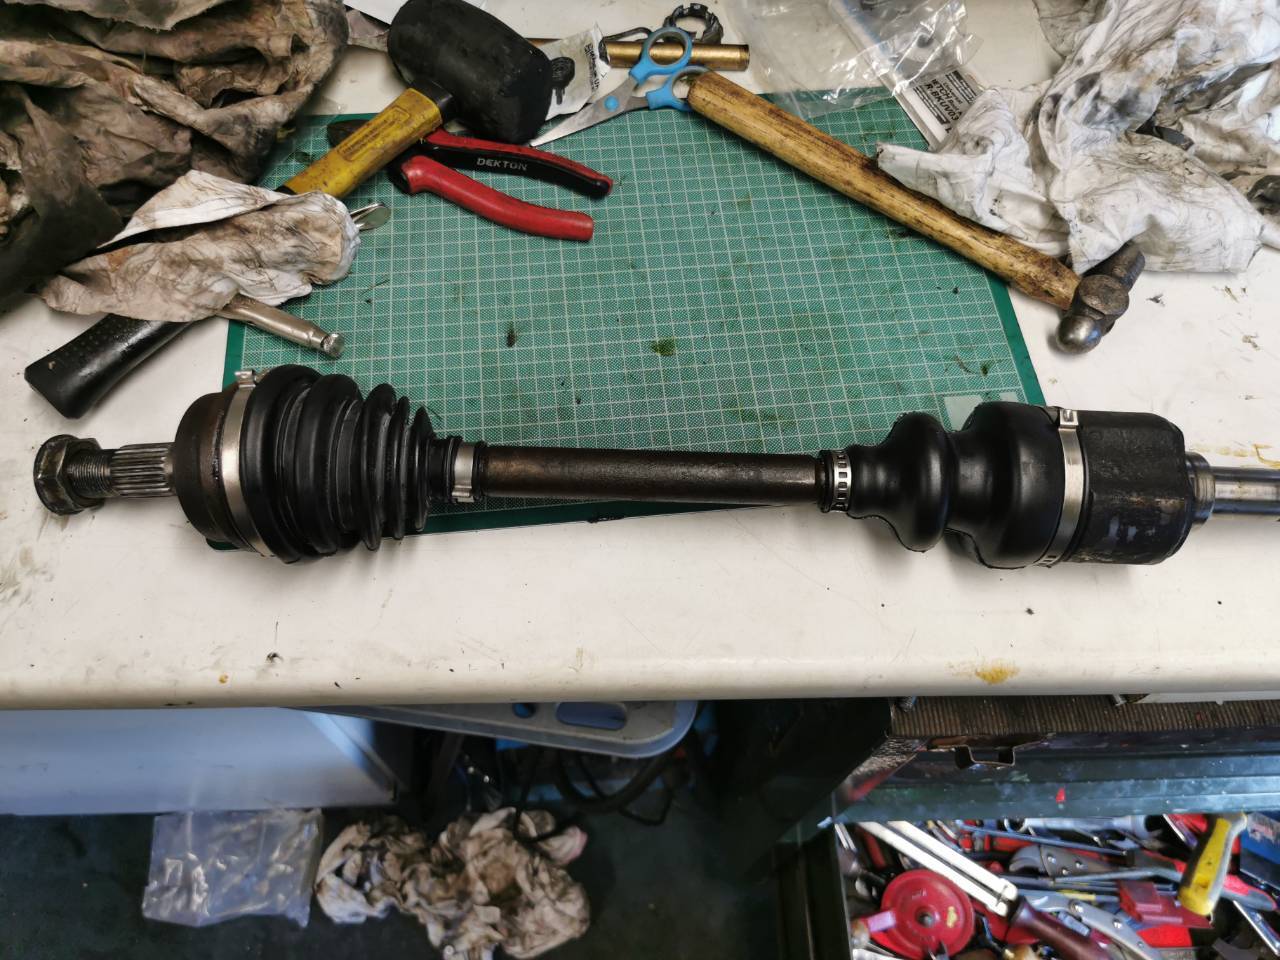
A slow day today, because I was still shattered from the drive. The postman had been busy dropping more bits off for me, namely the brand new middle timing belt cover I snagged on eBay - the old one was too far gone to be reused, and would touch the belt if fitted. I was expecting three more parcels which should have been delivered last week, but hadn't appeared yet. The delivery service tracker (Evri) said they were 'out for delivery' on Saturday. I was panicking about this one, as it was the bulk of the parts needed to build the engine back up, as well as the steering rack ram which was now showing as out of stock. A quick email and a couple of hours later, a knock on the door. Phew! Aside from some easily sourced consumables items, I think I've finally got all I need to finish this. As I didn't have the engine back yet, I cracked on with one of the more unpleasant jobs. Bloody hate the grease on this, spreads everywhere, stinks and is a bastard to clean off. The CV joint was putting up a fight to come off, but eventually gave in. There was a plastic ring in the old boot, so I transferred it over. There was only one driveshaft boot that had actually torn, but it made sense to get them all replaced now whilst it was all in bits. Onto the next one. Both done and ready for fitment. After that, it was time to hop in the car for a little drive. Left some money in a box. And loaded up some precious cargo. Safety first. Got it mounted into the stand. Both the block and head have loads of swarf and debris in the chambers so they'll require a thorough clean before assembly. As it's late and I have work in the morning, I tried my hand at removing the valve stem seals. Tricky little bastards, but heating them up with a heat gun helped free them. The work is going to start ramping up now - the deadline is rushing up and I've still a lot to do. Going to take a few days off work soon, hopefully I'll get to lock myself in the garage and get this cracked out. Either way, small jobs today, but straight back into it.
-
Home. This car has utterly proven itself this week. Averaged low to mid 30s which is good because it was fully loaded and I wasn't hanging about!
- 366 replies
-
- 10
-
-
Fuck me, getting home is being a right palaver. No joke, so far we're on about 60 miles of detours and diversions and still over two hours from home.
-
Immediately after my last post was submitted, a wonderfully eccentric French fancy rolled up. After speaking to the owner (who had much better English than I did French!) he informed me it is a 1984 Renault 18 to look like a paris-dakar replica from 1986. Despite the lack of wiper arms, he had been on an adventure to Norway! Mad as a box of frogs, I love it. Anyway, the last 130km went by without incident, we stopped to do the typical 'Brit in France shop' And arrived at the Ferry terminal. Prepped myself for driving back on the correct side of the road: And now we wait. Sent from my VOG-L09 using Tapatalk
- 366 replies
-
- 10
-
-
I gave it a blast with the hose before I set off, because the windows were impossible to see through 😅 I'm intending to crack on and get home with the driving done in one stint - I've got work tomorrow 😎 We're having a quick stop in France, we're currently 130km from the Ferry port. We've had a casualty too, in the form of a front fog light catching a stone. These are a pain the arse to source, I should imagine! Weather has been lovely the last few days, and today has been no exception. However, I can't imagine it is going to stay like this. We set off in plenty of time, which was handy because an hour after setting off, we got a message saying the ferry departure has been moved to an earlier slot due to the weather.
-
Woke up this morning to find the Rover covered in Saharan dust. Quick blast with the hose and it's got the worst of it off. Car is loaded and we're ready to go! Long old day ahead of us. Setting off now.
-
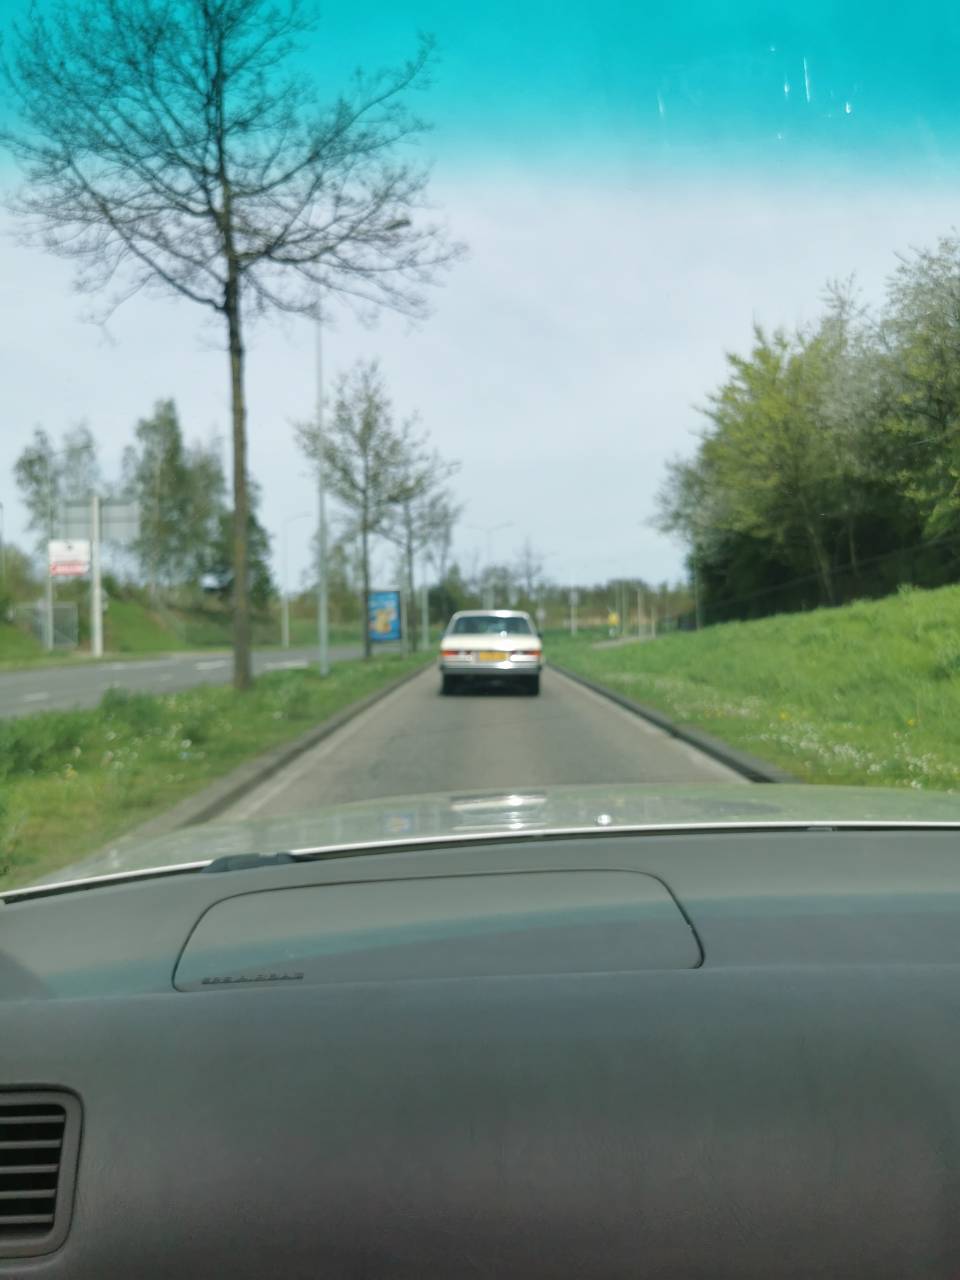
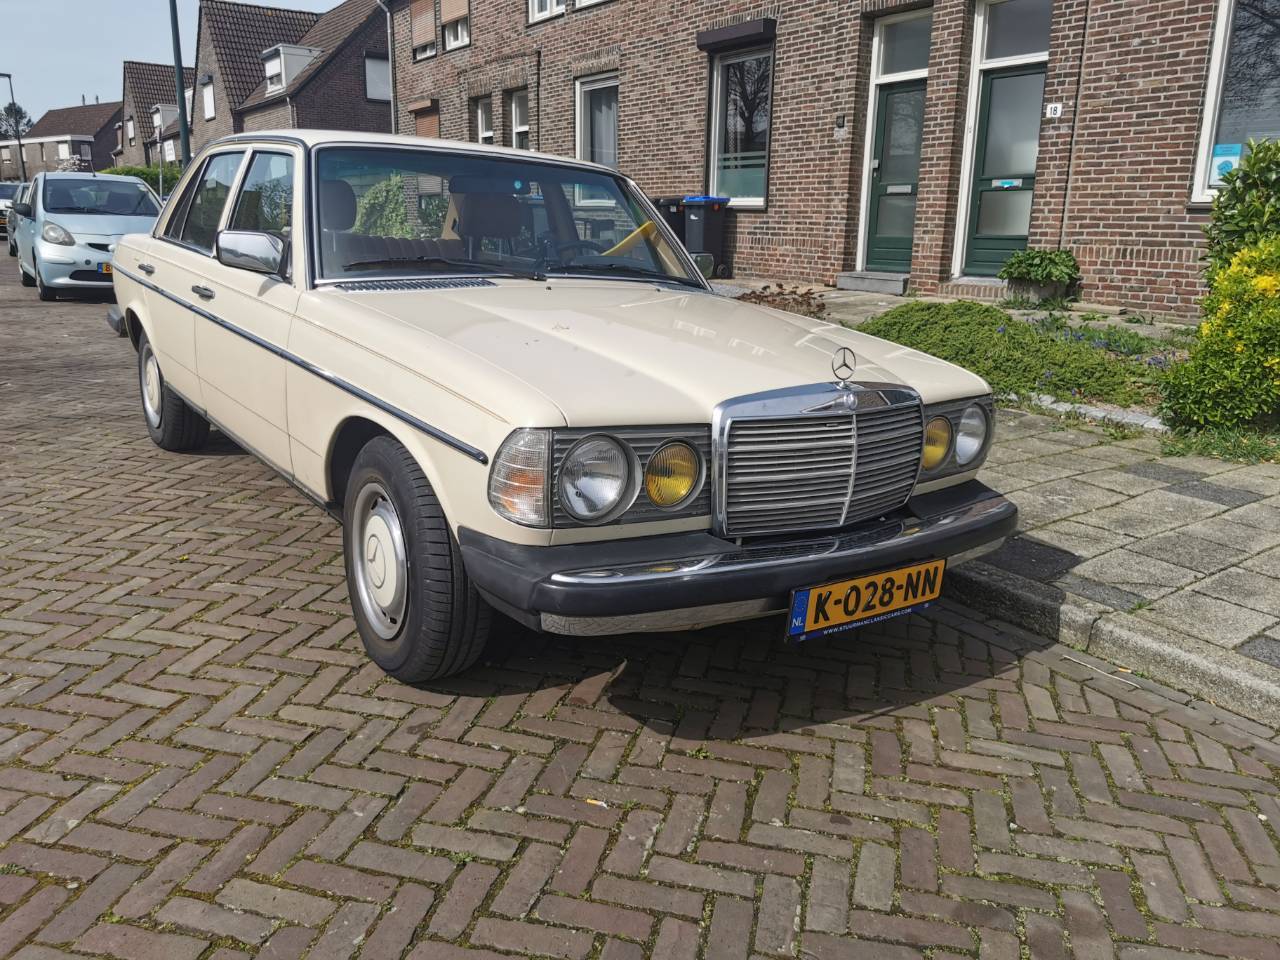
Only nipped out to the shops today - it was our last day in NL so we wanted to rest before the big drive home tomorrow morning. Only one spot worth sharing: The owner came out as I was taking photos and we got chatting, it was a 1980 model and he bought it a few months ago for his nephew. Also finally spotted my first Rover of the trip! Going to have an early night tonight - got to be at the ferry terminal for 1530 so we're leaving about 1000.
-
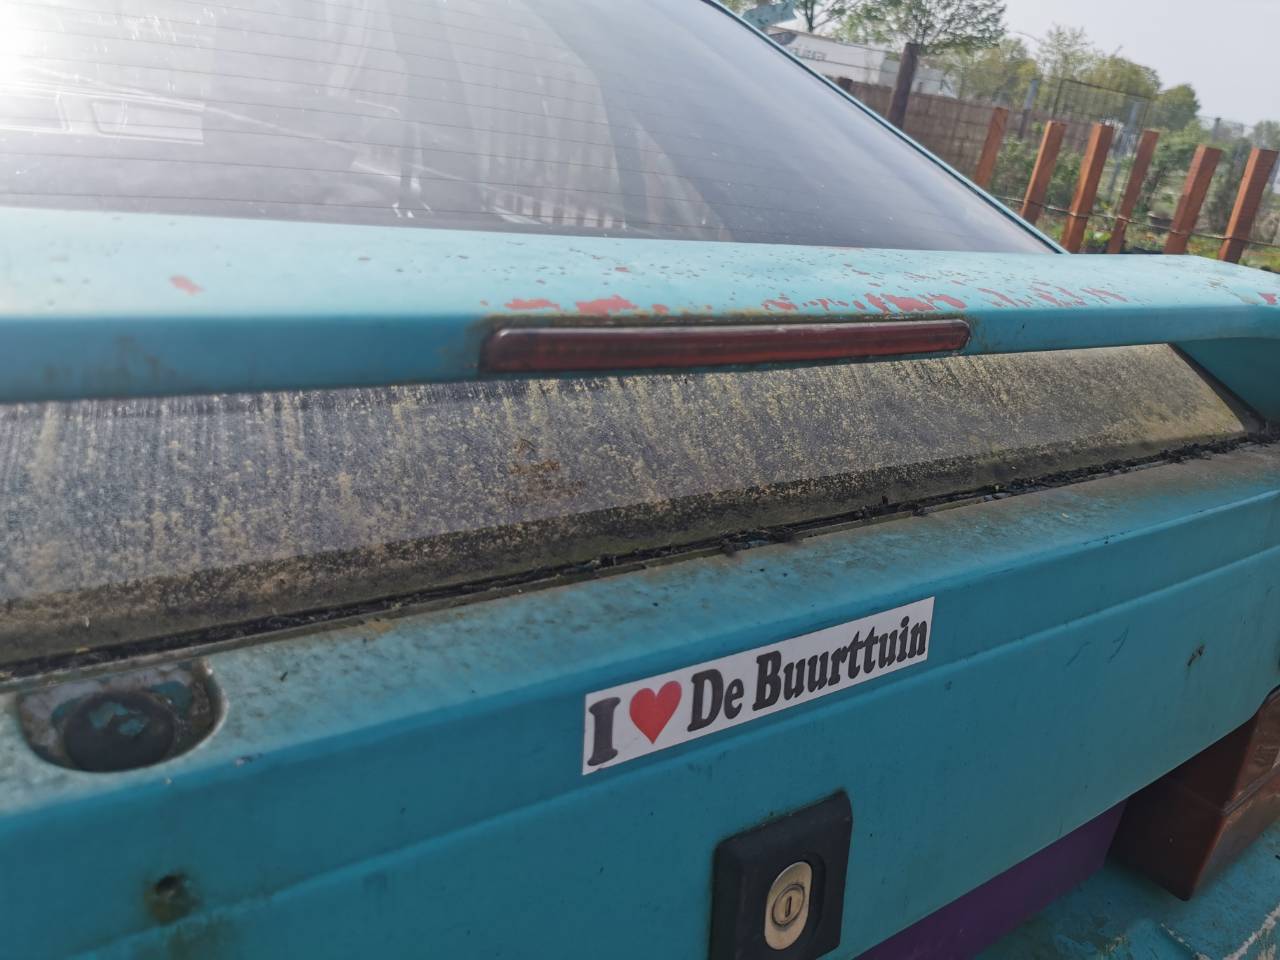
Today's Spottage: I spotted this BX (the only one on the trip so far!) parked up at the bottom of an allotment. Got chatting to the owner and it transpired it was getting scrapped next week and offered me any parts I wanted from it. I didn't have any tools with me, but I happened to be on a Facebook group for BXs in the Netherlands, so I made a post on there and a few former owners popped out of the woodwork and shared some pictures of it in a previous life! I believe someone is going down there to get a few bits and bobs off it, so at least it's not entirely going to waste. We also saw another football match, supporting Mons away in Belgium. They're a different breed when it comes to crowd safety, with flares and firecrackers going off! The team won 3-1, thankfully. Wouldn't like to see the aftermath of they had lost 😅
-
Unfortunately not, the weather was bloody awful that day so they closed it, probably for the best as nowadays with Google maps satellite views, you could be out in mere moments [emoji28] Sent from my VOG-L09 using Tapatalk
-
Popped to Liege, Belgium today to tick off some bucket list items for the family. You can definitely tell when you go over the border from NL to Belgium, because the road surfaces deteriorate almost instantly. Rover appears to be behaving again for now. Anyway, Waffles achieved. Youngest had chocolate and marshmallows with hers and was 90% Nutella by the time she finished. Had a few spots: Dunno if I posted this one from Germany earlier in the week, but I loved it 😅
-
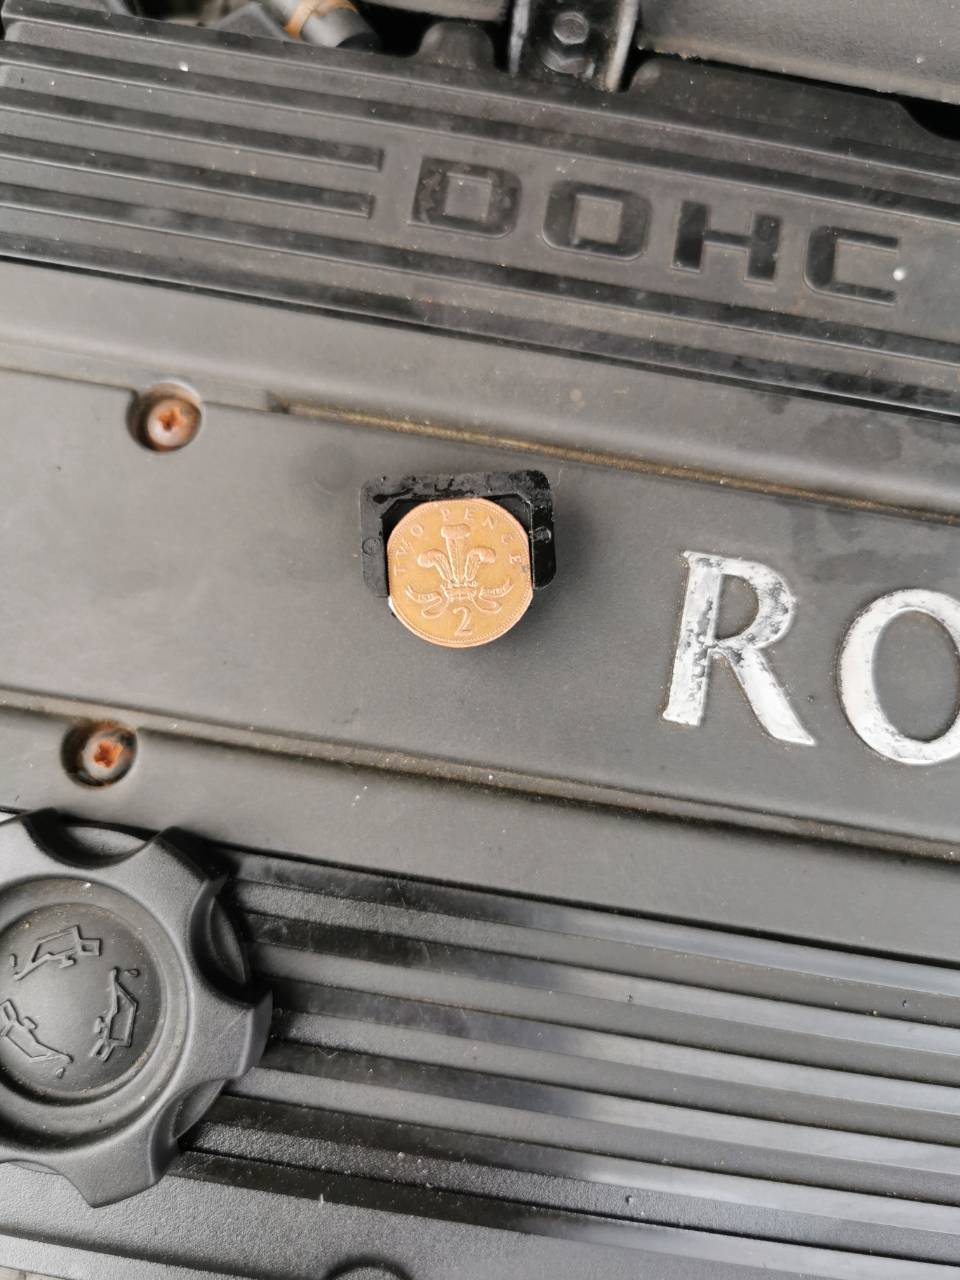
Ha, spoke too soon didn't I? I think it's sorted now, I gave the seal another wipe and flipped the coin. It was dry after a 20 mile drive home, but I'll watch it like a hawk. Spots: Also spotted a MK1 Mondeo, 2CV, DS and an immaculate 80s Civic, I was driving at the time though. Took the kids to Holland's answer to Disneyland - very much recommended. Borrowed Alex's C-Class for the journey because it was diesel. Nice enough to drive 😅
-
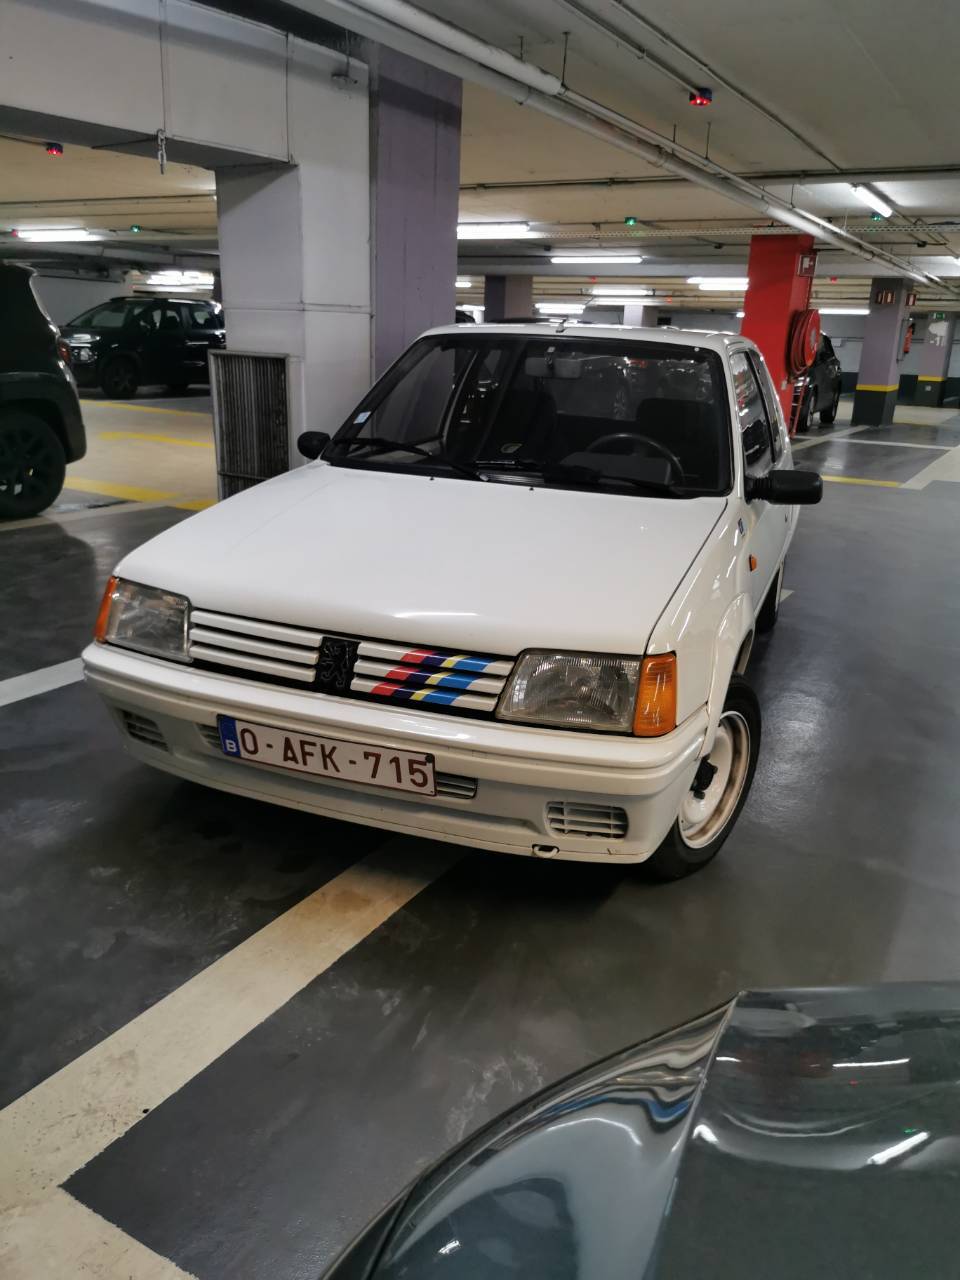
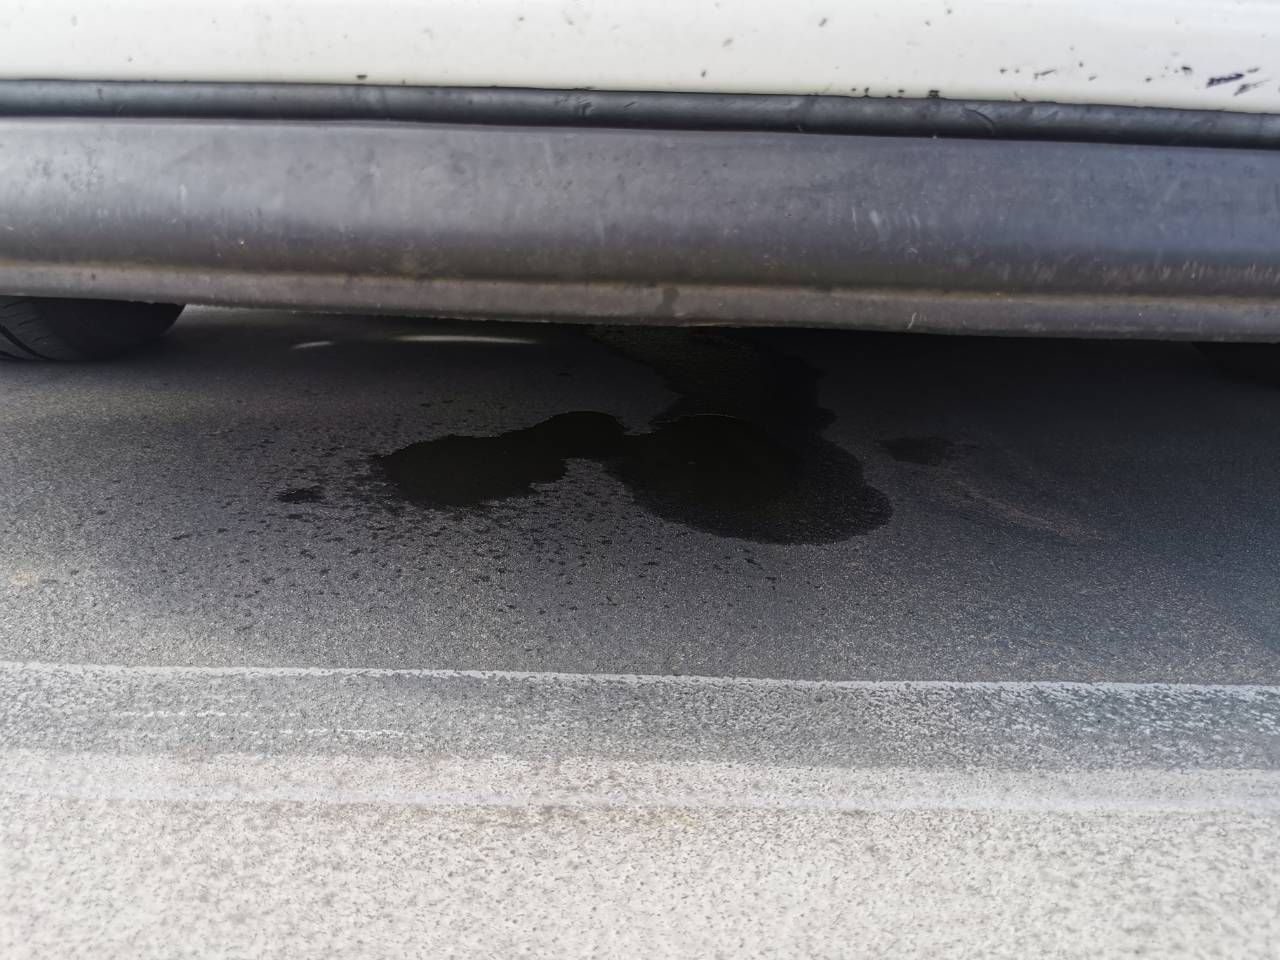
Has a long enough driving period to highlight another coolant leak. Same area as last time, from the plastic bung-sealed one. The 2p fix is still bone dry, and I only changed one to see if cleaning the bung and seal up was an effective fix. That clearly wasn't the case! Luckily, I was already prepared for this and had a second 2p piece filed down and in the car in case the plastic bung ever leaked. Two seconds to swap out and minimal coolant loss this time, I've dried up the area and will monitor it over the next couple of days.
-
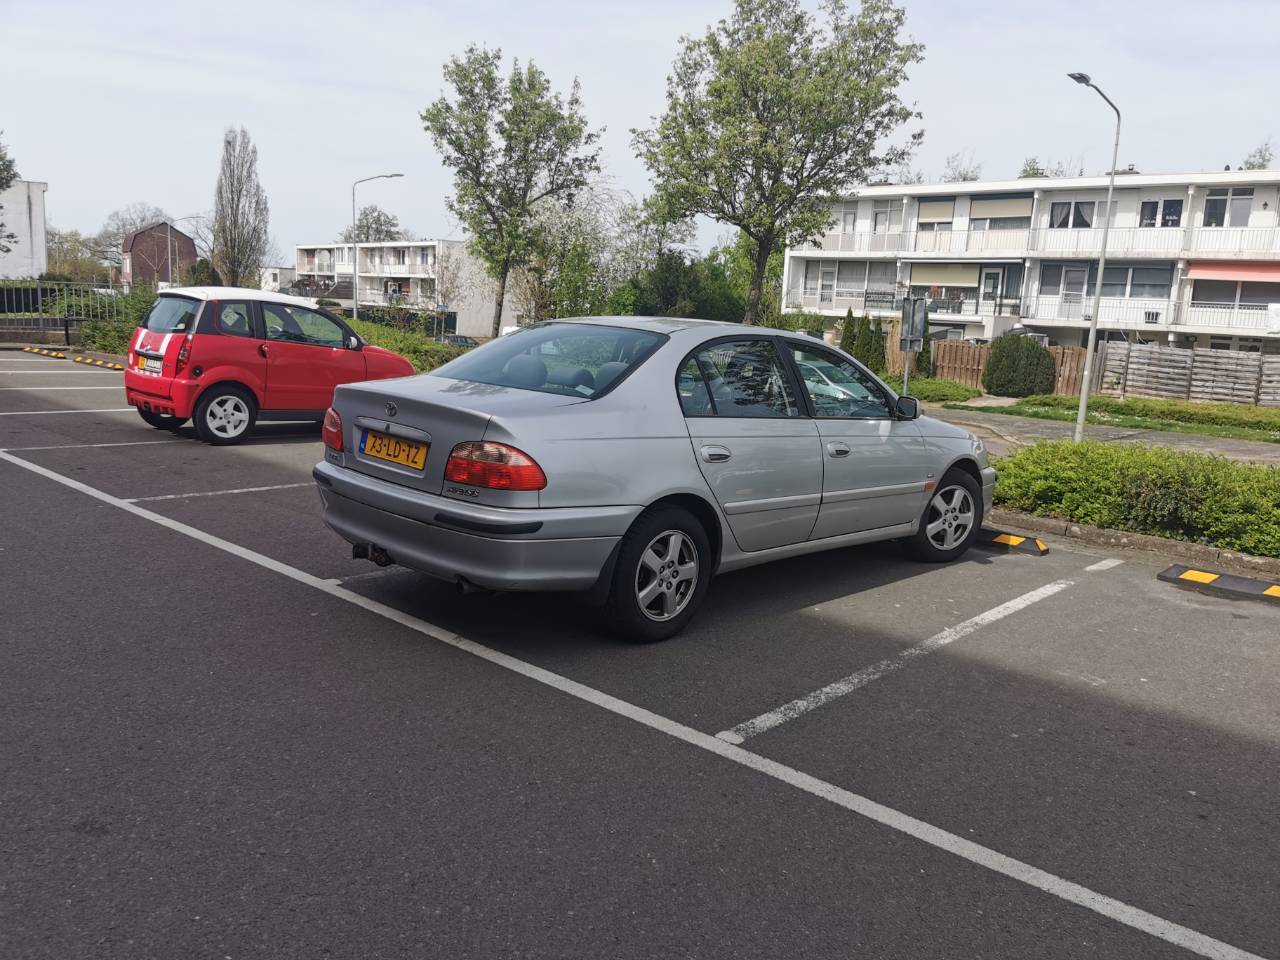
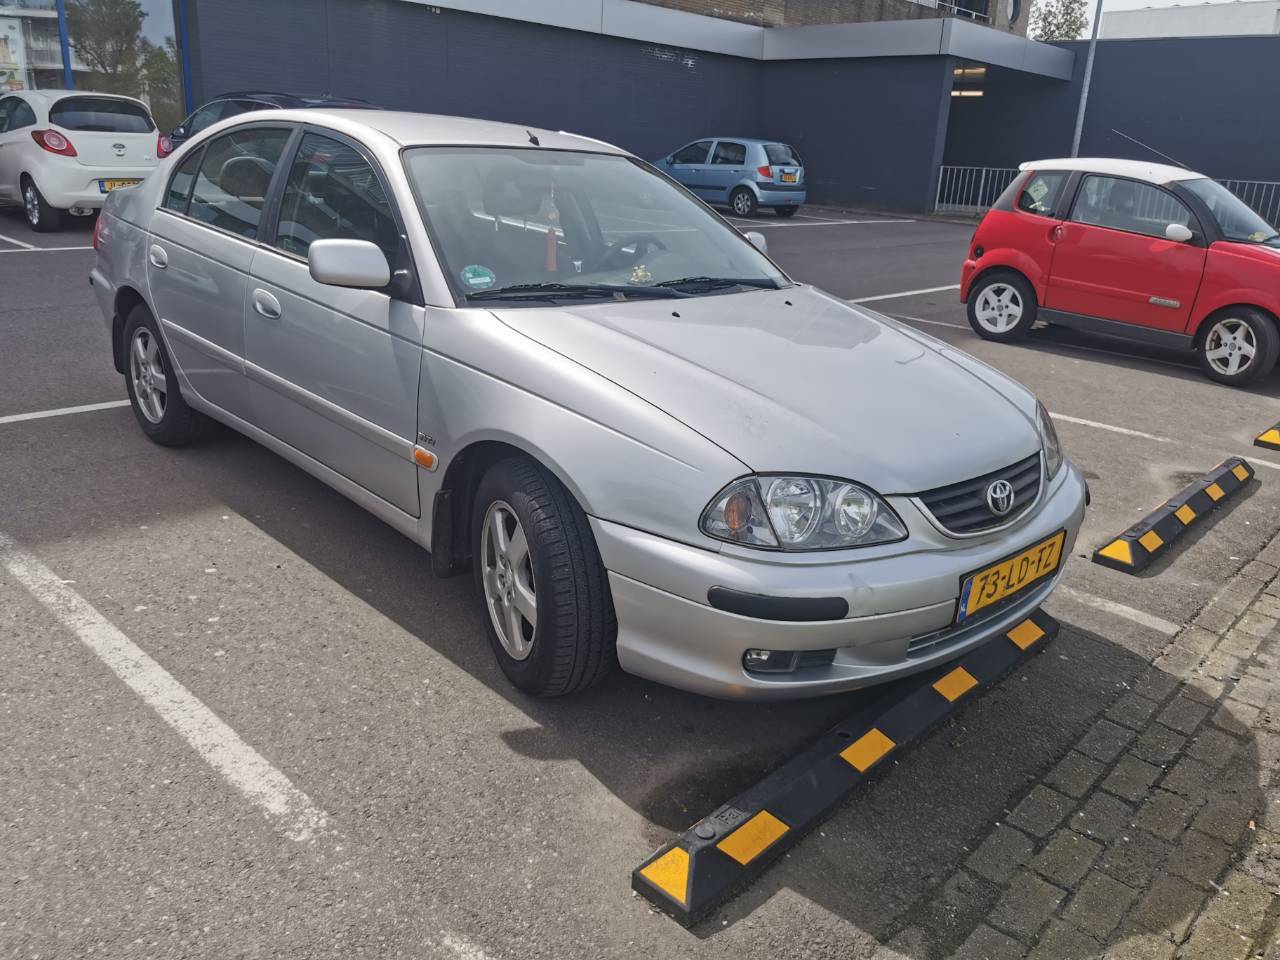
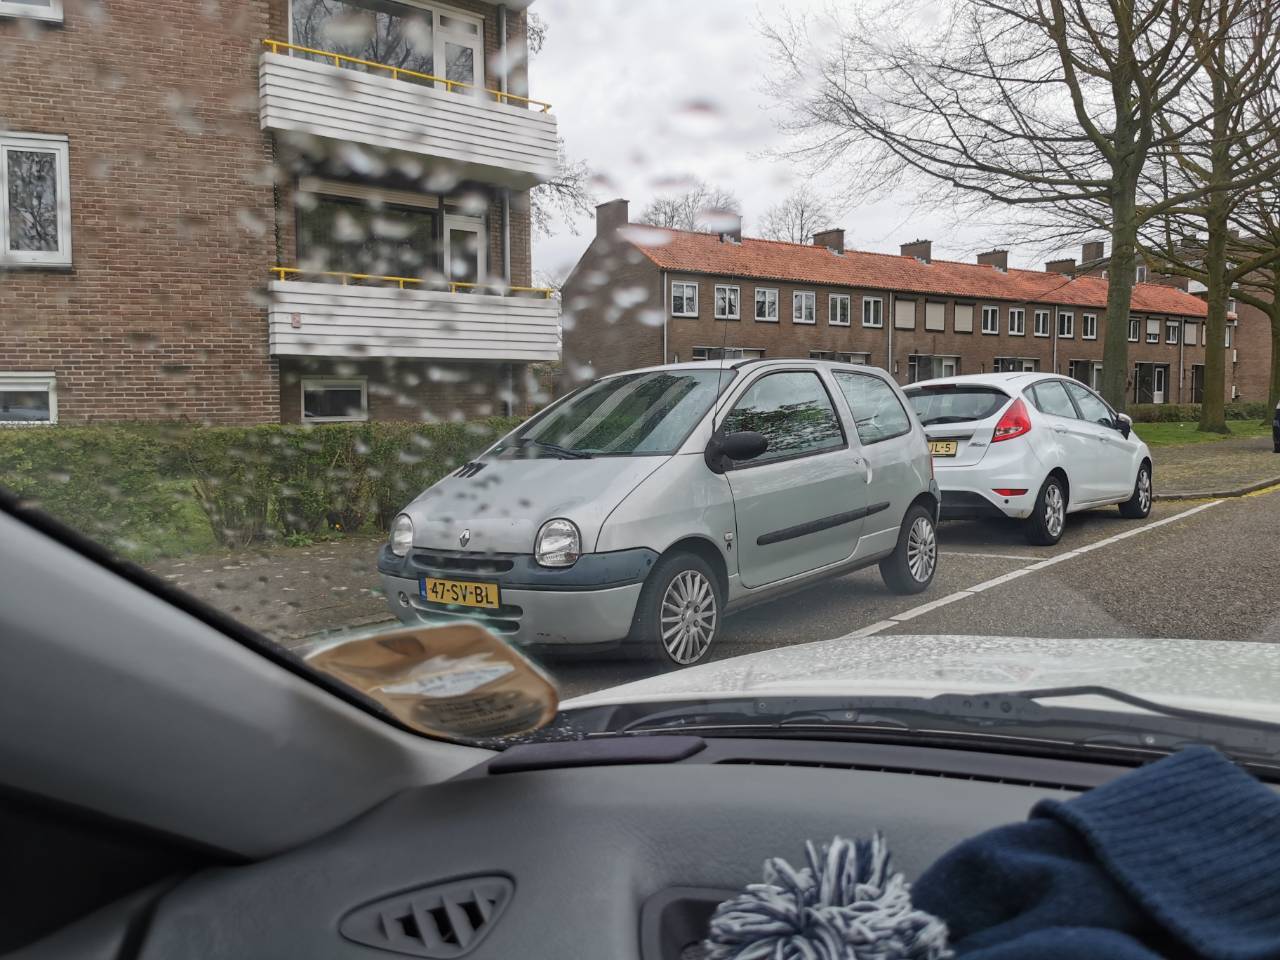
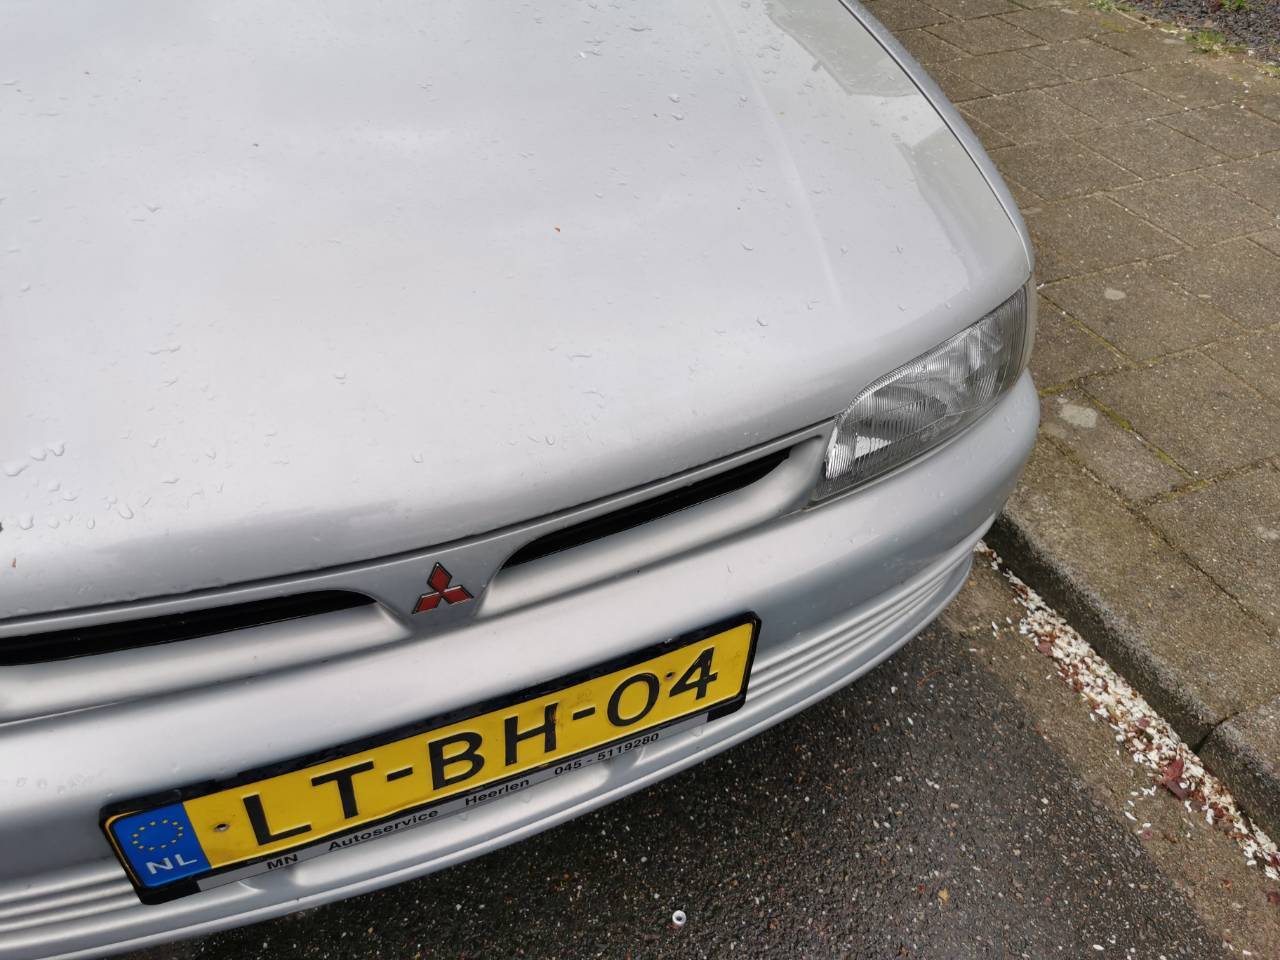
Chod spotting? Chod spotting. The Netherlands has no car culture at all. Zero. They're memed about this for a reason. Remarkably, the car park of the local Lidl was surprisingly fruitful. On the way home, I saw my first JDM car of the entire trip! See? It counts. (I expect someone from the AS collective will know immediately where the tail lights are from) Even had JDM wheels! Not sure on the dashboard, but think it's upmarket 106? Bonus twingo content. And spotted a lovely original Lancer! And eventually consoled myself with retail therapy: Later, we popped to the Drielandenpunt, a point where Belgium, Germany and Netherlands meet. It's also where the highest point in Netherlands is, at a whopping* 325.5 metres. Got to recreate a classic Simpsons moment: Tonight, I'm watching some football with the boy and @chatsharris. Not a bad way to spend an evening. Cheers!
- 366 replies
-
- 10
-


.jpeg.8ac88f0c32aa45ac0cc4f1d0e4d7ee7f.jpeg)